 Save to Pinterest
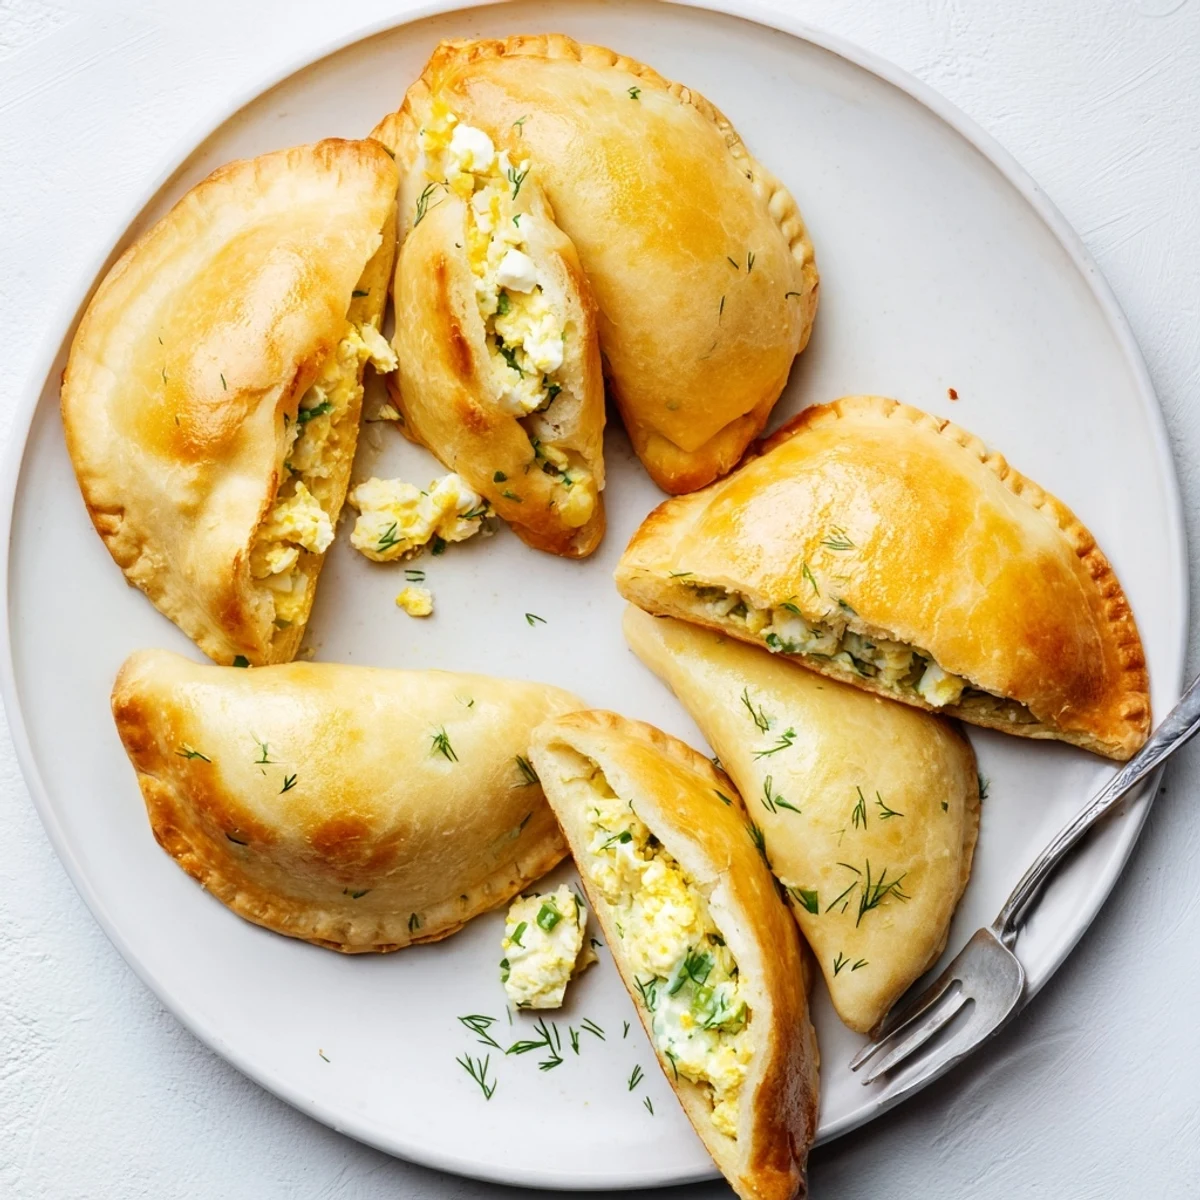
 These soft, golden pastries feature a tender yeast dough wrapped around a savory filling of chopped hard-boiled eggs, melted mozzarella, and tangy crumbled feta. Fresh dill and green onions add brightness, while an egg wash creates the signature glossy, golden crust. Perfect for breakfast, lunch, or as a satisfying snack, these Eastern European treats come together in under an hour and yield 12 generous portions.
My grandmother never measured anything when she made piroshki. She would dump flour onto the table, make a well, add milk and eggs, and somehow these perfect golden pastries emerged every single time. I spent years trying to decode her pinch-of-this technique until I finally got brave enough to ask her to actually measure. She laughed and admitted even she did not know exactly, but we worked it out together over three Sunday afternoons.
Last winter, my neighbor smelled these baking through our apartment vents and actually knocked on my door to investigate. We ended up eating half the batch right there on the counter while her toddler kept pointing and shouting more, more. Now she shows up every time I tell her piroshki are in the oven.
Ingredients
- All-purpose flour: This creates the tender yet sturdy structure needed to hold that generous filling without tearing
- Warm milk: Activate your yeast properly but keep it under 110°F or you will kill the yeast and end up with flat, sad piroshki
- Active dry yeast: Let this foam up for a full 10 minutes because bubbles mean your dough will puff up beautifully in the oven
- Unsalted butter, melted: Adds richness to the dough and helps create that golden color we are all after
- Hard-boiled eggs: Chop these into small, even pieces so every bite gets some egg instead of one big chunk surprise
- Shredded mozzarella: This cheese melts into those gorgeous stretchy strands that make piroshki so satisfying to bite into
- Crumbled feta: Adds tang and saltiness that cuts through the mild mozzarella and keeps things interesting
- Fresh dill: Do not even think about using dried dill here because fresh brings this bright, spring-like flavor that makes everything taste lighter
- Green onions: These add a mild bite and gorgeous green flecks throughout the filling
Instructions
- Wake up the yeast:
- Dissolve sugar in warm milk and sprinkle yeast on top. Watch for bubbles and foam, which tell you the yeast is alive and ready to work.
- Build the dough:
- Mix flour and salt in a large bowl, then add melted butter, one egg, and that foamy yeast mixture. Stir until everything comes together into a shaggy mass.
- Knead with purpose:
- Turn onto a floured surface and knead for 7 to 8 minutes until the dough feels smooth and springs back when you poke it. This develops gluten for structure.
- Let it rise:
- Place dough in a greased bowl, cover with a towel, and walk away for an hour. It should double in size, which is your cue that the yeast has done its job.
- Mix the filling:
- Combine chopped eggs, mozzarella, feta, dill, green onions, pepper, and salt until evenly distributed. Taste and adjust salt since feta can vary in intensity.
- Prep your station:
- Preheat oven to 375°F and line a baking sheet with parchment paper so nothing sticks and cleanup is practically nonexistent.
- Divide and roll:
- Punch down dough and cut into 12 equal pieces. Roll each into a 4-inch circle, keeping the rest covered so they do not dry out.
- Fill and seal:
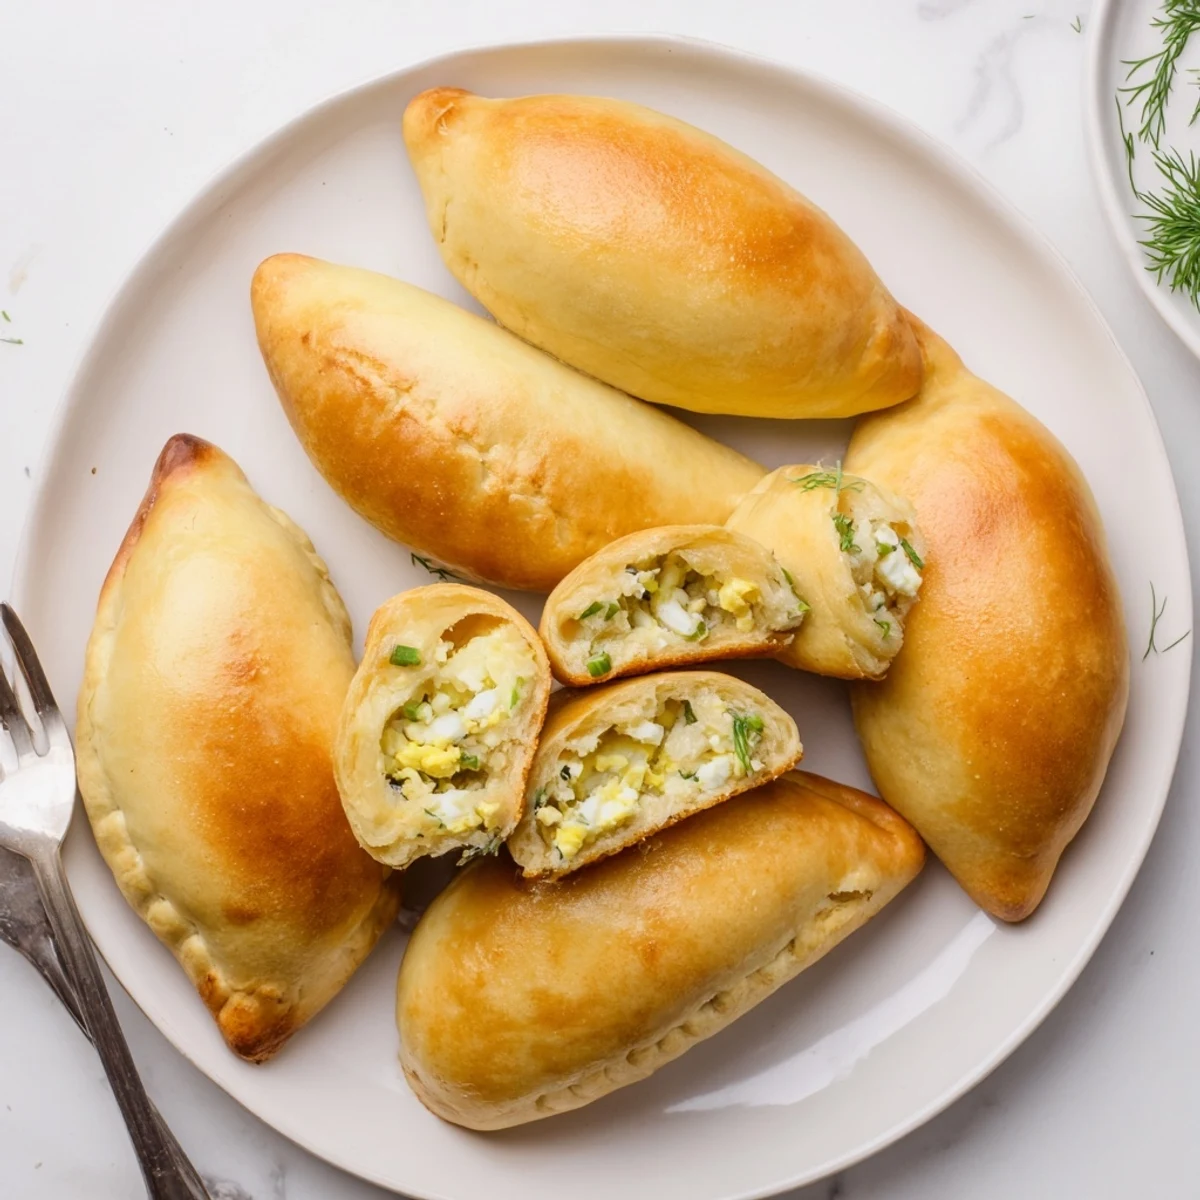
- Pile 2 tablespoons of filling in the center, fold dough over, and pinch edges tightly. Any gaps will leak cheese and nobody wants that tragedy.
- Brush and bake:
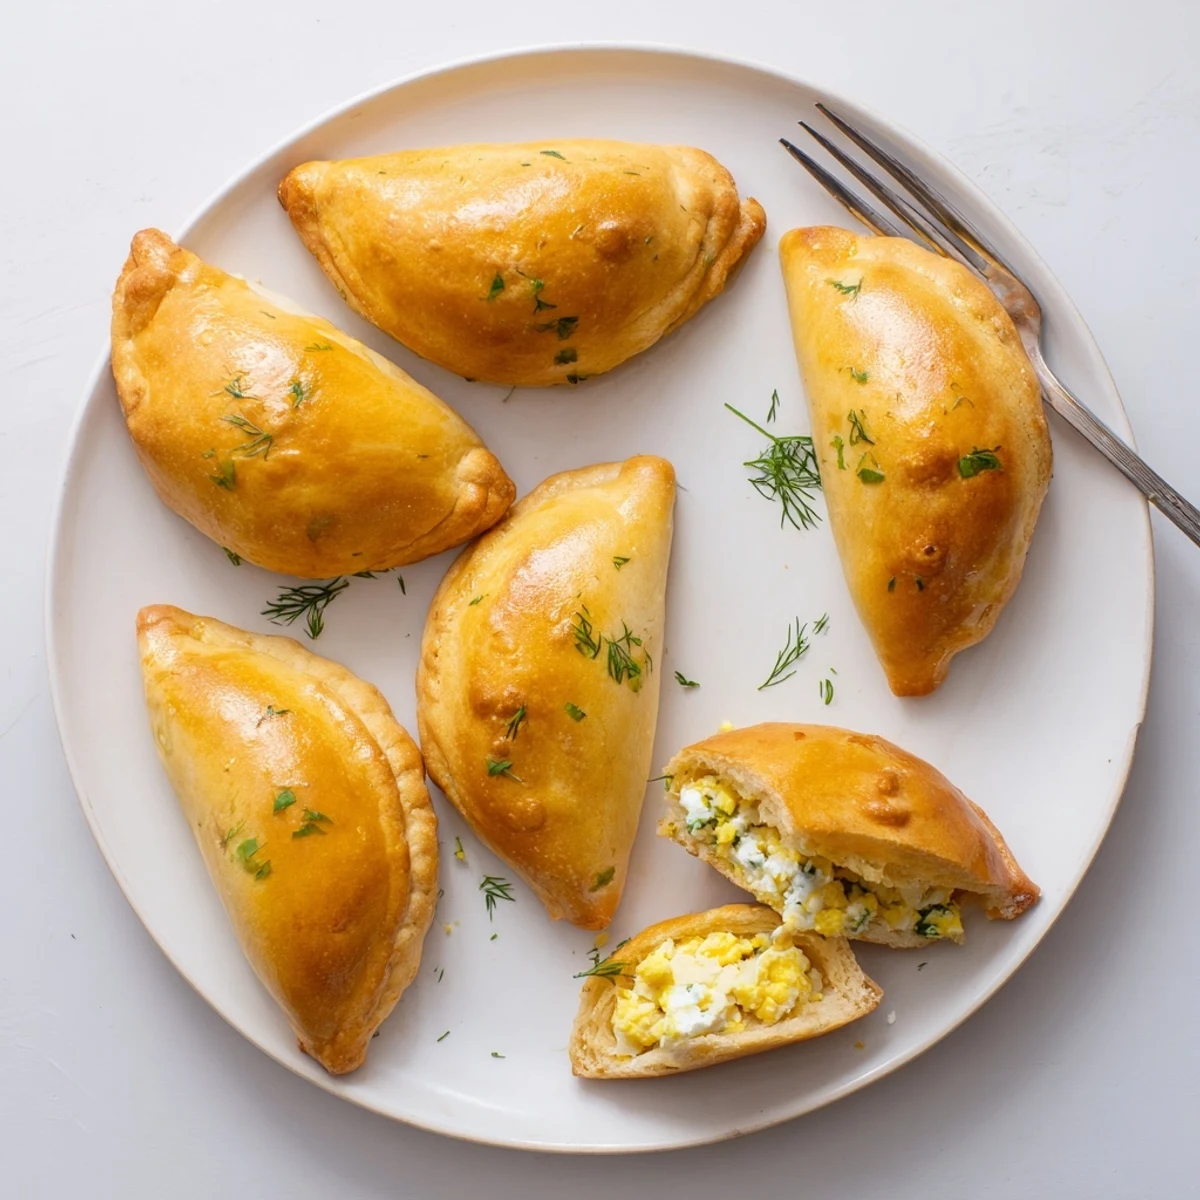
- Arrange seam-side down, brush with beaten egg, and bake for 20 to 25 minutes until deeply golden. That egg wash is what creates the glossy, professional finish.
 Save to Pinterest
 These became my go-to contribution for potlucks after my sister took one bite and immediately asked if I could make them for her wedding shower. I spent three days making 72 piroshki and the bride practically hovered over the serving platter the whole time.
Make Them Ahead
You can freeze unbaked piroshki on a baking sheet until firm, then transfer to a freezer bag for up to 3 months. Bake from frozen, adding 5 extra minutes, and nobody will know the difference.
Troubleshooting
If your dough will not rise, check that your milk was not too hot or that your yeast was not expired. Dough that feels sticky needs a little more flour, but add it gradually or you will end up with tough piroshki.
Serving Ideas
These shine alongside a simple cucumber and tomato salad with a splash of vinegar. In Russia, they often appear with clear broth soup or just a dollop of sour cream for dipping.
- Try swapping dill for parsley if that is what you have on hand
- A pinch of paprika mixed into the egg wash gives them a reddish glow
- Reheat leftovers in a 350°F oven for 10 minutes to recrisp the exterior
 Save to Pinterest
 There is something deeply satisfying about pulling warm, cheese-filled pastries from the oven and watching everyone instinctively move closer to the kitchen.
Recipe Questions & Answers
- → What makes the dough so tender?
-
The combination of warm milk, melted butter, and a proper rising period creates an exceptionally soft dough. Kneading for 7-8 minutes develops gluten structure while keeping the texture light and pillowy.
- → Can I prepare these ahead of time?
-
Yes! You can assemble the piroshki and refrigerate them overnight before baking. Alternatively, freeze unbaked pastries on a baking sheet, then transfer to a freezer bag. Bake from frozen, adding 5-10 minutes to the cooking time.
- → What cheese works best in the filling?
-
The mozzarella provides melt and stretch, while feta adds tang and saltiness. You can substitute cheddar for mozzarella or use cottage cheese for a lighter version. Just ensure total cheese volume remains around 2 1/2 cups.
- → Why hard-boiled instead of scrambled eggs?
-
Hard-boiled eggs provide texture and structure to the filling. Their solid pieces create satisfying bites and prevent the filling from becoming too soft or runny inside the pastry.
- → How do I know when they're done baking?
-
Look for a deep golden-brown color on top and bottom. The crust should feel firm and slightly crisp, while the interior remains soft. An instant thermometer inserted into the center should read 165°F (74°C).
- → Can I make these without a stand mixer?
-
Absolutely! Mix the dough by hand using a wooden spoon or your hands. The kneading step is essential—work the dough on a floured surface for the full 7-8 minutes to develop proper elasticity and structure.
