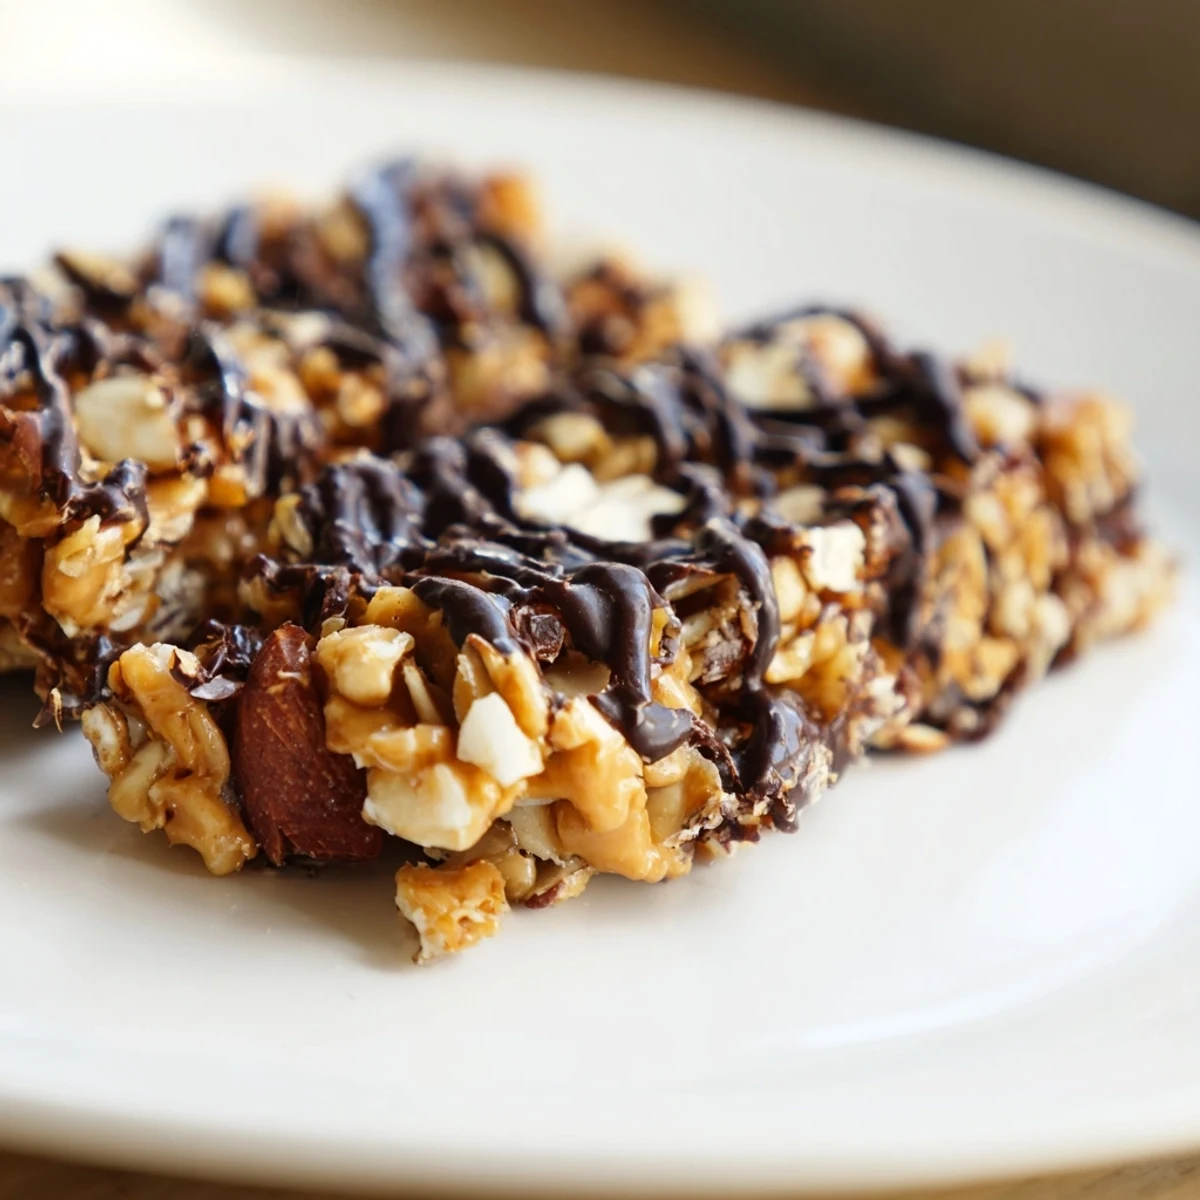
 Save to Pinterest
 This chocolate bar blends rolled oats, almonds, walnuts, and shredded coconut with a smooth mixture of honey, butter, and peanut butter. Dark chocolate adds a rich touch, both inside and drizzled on top. After chilling, the bars firm up into a delicious snack perfect for an afternoon boost. Nut-free and fruity variations are possible by swapping ingredients. Store chilled for freshness.
There's something about chocolate bars that stops you mid-afternoon, that moment when your energy dips and you need something that tastes indulgent but doesn't require sitting down with a fork and plate. I started making these after my neighbor handed me one from her kitchen, and I've been obsessed ever since—turns out the secret is folding chocolate into the base instead of just layering it on top, which creates these little pockets of richness throughout. They're the kind of snack you reach for twice before lunch is even over.
I made a batch last winter when my sister was going through a stressful project deadline, and I wrapped them individually so she could grab one without thinking. She texted me three days later asking for the recipe, which meant everything. That's when I knew these weren't just my snack anymore—they were the kind of thing people actually want to make themselves.
Ingredients
- Rolled oats: The backbone of everything—buy the old-fashioned kind, not instant, so they stay chewy rather than turning mushy.
- Almonds and walnuts: Chopped, not powdered, because you want those little bursts of nuttiness in every bite.
- Shredded coconut: Just a quarter cup adds this subtle tropical note that somehow makes the chocolate taste richer.
- Salt: A pinch that makes people stop and ask what you did differently.
- Honey or maple syrup: Either works, though maple syrup gives a deeper flavor if you're in the mood for it.
- Butter and peanut butter: Together they create this glossy, sticky base that holds everything together without feeling greasy.
- Vanilla extract: Don't skip it—it rounds out the chocolate and keeps things from tasting one-dimensional.
- Dark chocolate chips: Go for 60-70% cacao; milk chocolate is too sweet and anything higher tastes almost bitter here.
Instructions
- Line and prep:
- Grab an 8x8-inch pan and line it with parchment, leaving some hanging over the sides—this is how you'll lift everything out cleanly without crumbs left behind in the pan. This step takes 30 seconds and saves you from frustration later.
- Combine the dry ingredients:
- Toss the oats, nuts, coconut, and salt together in a big bowl, giving everything a good stir so the salt is evenly distributed. Nothing fancy here, just getting everything ready to meet the wet stuff.
- Warm and melt the binder:
- In a small saucepan over medium heat, let the honey, butter, and peanut butter become friends—stir constantly until it's smooth and glossy, about 2-3 minutes. Once everything's melted together, kill the heat and add the vanilla, which will smell incredible.
- Bring it all together:
- Pour that warm, sticky mixture over the oats and nuts, then stir like you mean it until every oat is coated and nothing's dry anymore. You'll feel it transform from separate ingredients into something unified.
- Fold in the chocolate:
- Add half the chocolate chips and gently fold them in—not so much that you're crushing them, just until they're distributed throughout. These will melt slightly from the warmth, creating little flavor bombs.
- Press into the pan:
- Transfer everything to your lined pan and use your hands or a spatula to press it down firmly and evenly, working it into the corners. The more compact you press it, the cleaner your bars will slice.
- Melt the chocolate topping:
- Heat the remaining chocolate either in the microwave in 30-second bursts or over a double boiler—either way, you want it smooth and pourable, not scorched. Drizzle it over the top in whatever pattern feels natural.
- Chill and set:
- Slide the whole pan into the refrigerator for at least an hour, or until the chocolate is completely set and the whole thing feels firm when you press it. You can eat one straight from the fridge or let it sit on the counter for 5 minutes first—both are perfect.
- Slice and serve:
- Use the parchment to lift everything out, then cut into 12 bars with a sharp knife, wiping the blade clean between cuts if the chocolate sticks. Wrap them individually if you want them to last longer than a day.
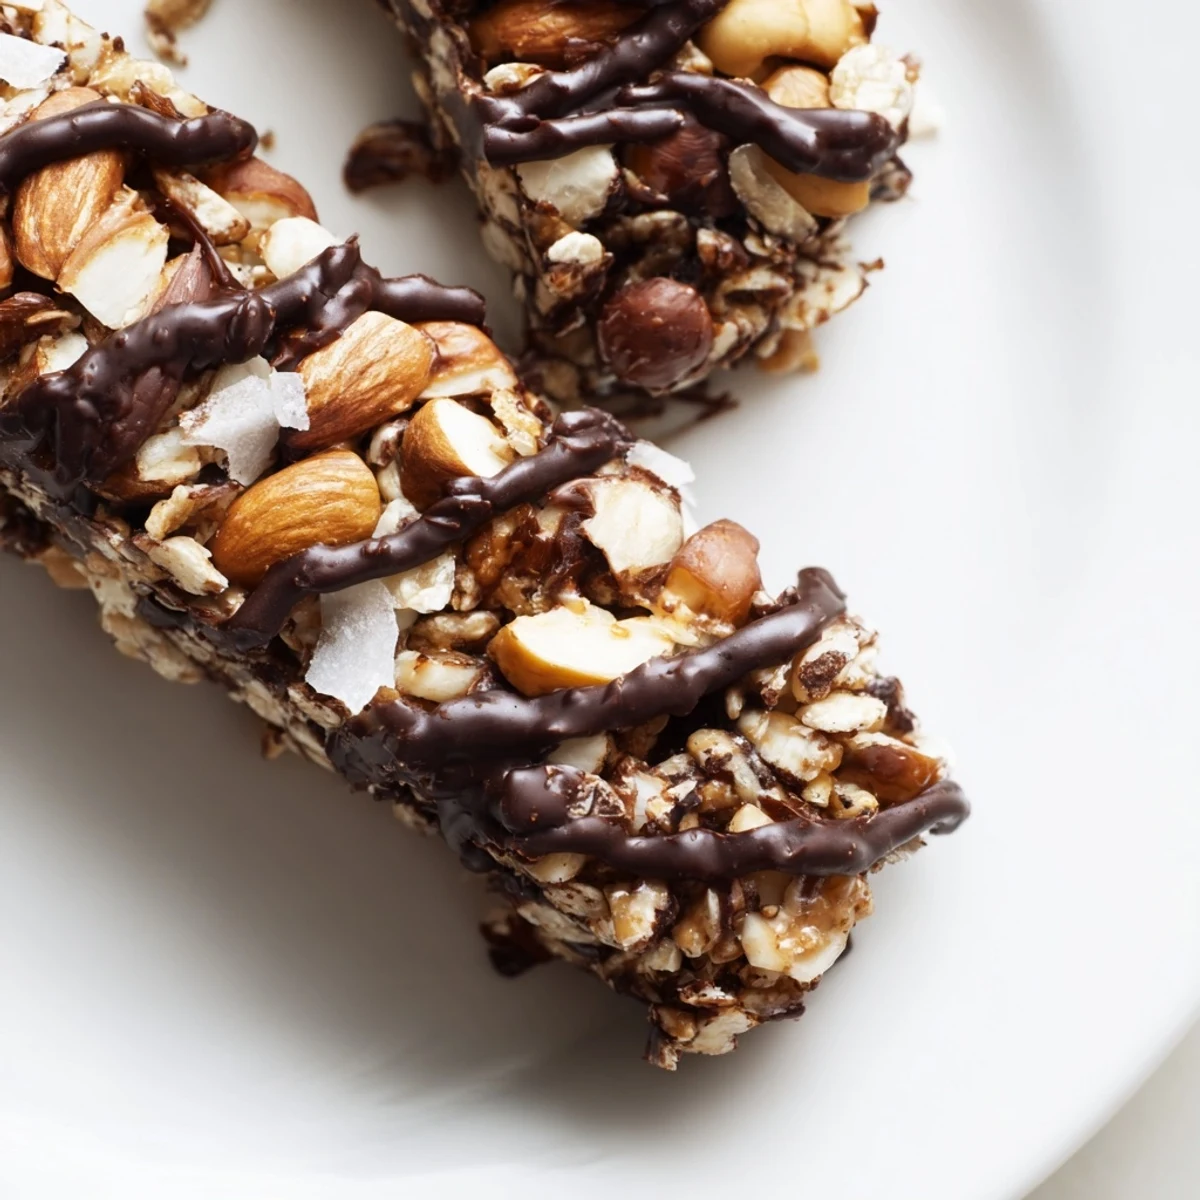 Save to Pinterest
 These bars transformed from a casual afternoon experiment into something I started bringing to potlucks and giving as small gifts, wrapped in kraft paper with a little tag. There's a quiet pride in handing someone a homemade snack they actually want to eat again.
Making Them Your Own
The beauty of these bars is how forgiving they are—swap almonds for pecans, use tahini instead of peanut butter, or add a pinch of cinnamon and sea salt on top of the chocolate. I've made a nut-free version with sunflower seeds that's just as good, and one time I added dried cranberries and nobody noticed I'd changed anything until they tasted it. The formula is solid enough that you can play within it without everything falling apart.
Storage and Keeping
These live in the refrigerator in an airtight container, and they'll stay fresh for about a week, though they rarely make it that long in my house. In warmer months, keep them cold or they'll start to soften—not ruined, just less tidy to eat. I've frozen them too, and they thaw back to perfect texture in about 10 minutes on the counter.
Why These Bars Actually Stick Around
The reason people ask for this recipe is because it tastes like you spent more time on it than you did, and it hits a specific craving that cookies and brownies don't quite reach. It's the snack equivalent of a moment where everything just works—the chew, the crunch, the chocolate, the sweetness that doesn't feel like overkill.
- Make a double batch and freeze half in parchment squares so you always have one ready.
- If your chocolate seizes when melting, add a tiny splash of coconut oil to smooth it back out.
- These are perfect for packed lunches, road trips, or that 3 p.m. slump when you need something real.
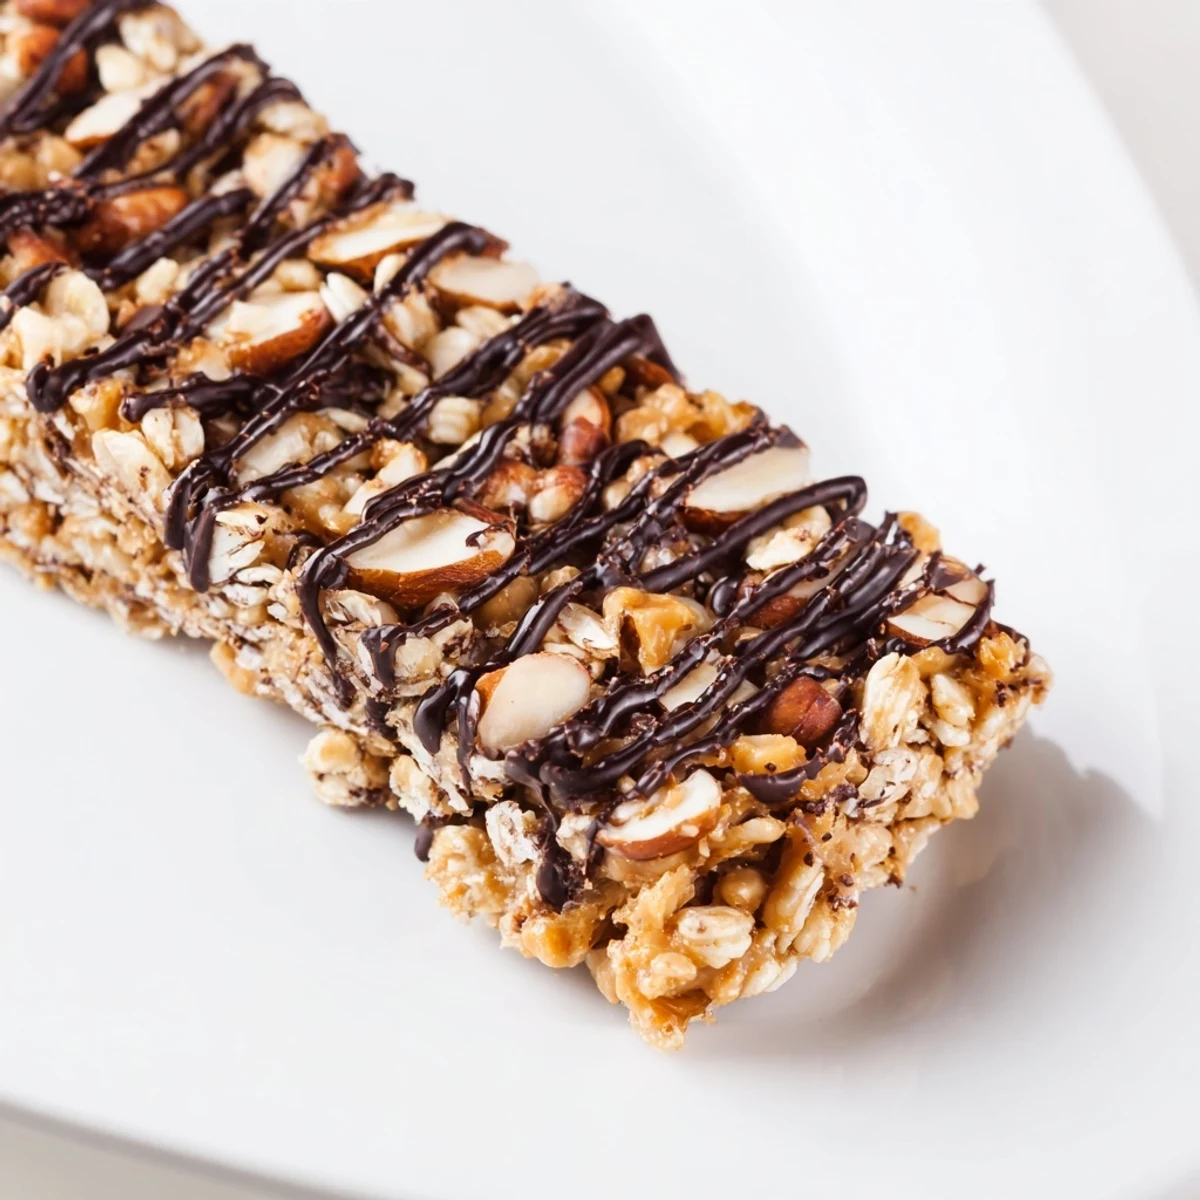 Save to Pinterest
 These bars have become my go-to when I want to feel like I've done something thoughtful without spending hours in the kitchen. Once you make them once, you'll understand why they keep coming back into rotation.
Recipe Questions & Answers
- → What nuts are used in these bars?
-
Almonds and walnuts provide a crunchy texture and nutty flavor, balanced by the other ingredients.
- → Can I make a nut-free version?
-
Yes, substitute nuts with sunflower or pumpkin seeds and replace peanut butter with sunflower seed butter.
- → How is the chocolate incorporated?
-
Half the dark chocolate is folded into the mixture before pressing into the pan; the rest is melted and drizzled on top after.
- → How long should the bars chill?
-
They need to chill in the refrigerator for at least 1 hour to firm up properly.
- → Can dried fruit be added?
-
Dried cranberries or raisins can be included to enhance flavor and texture.
