 Save to Pinterest
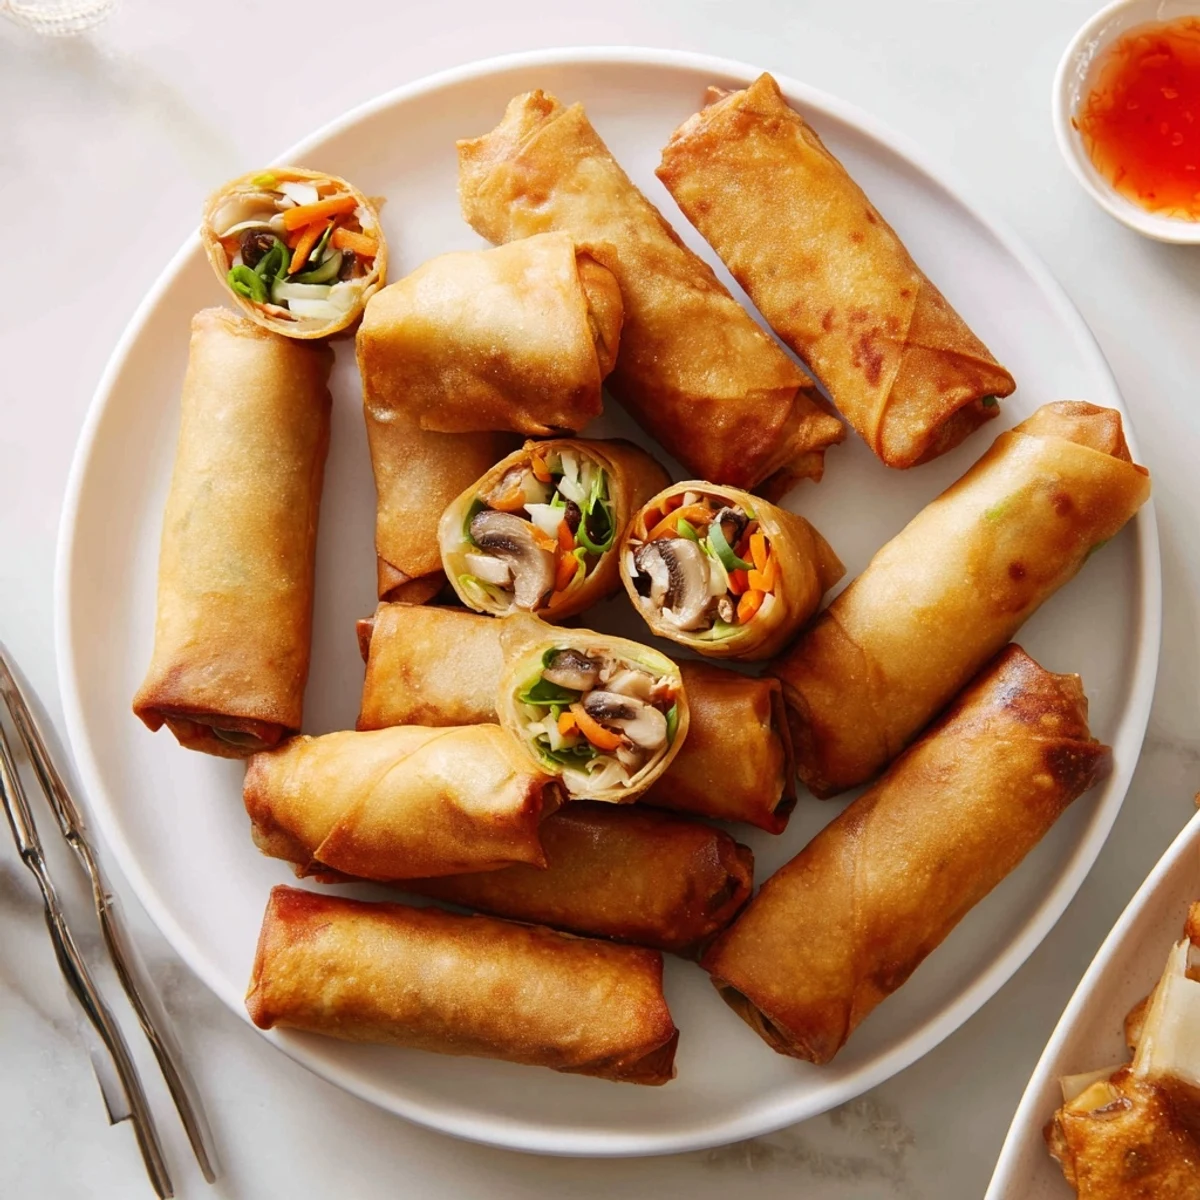
 Create authentic spring rolls with perfectly crispy wrappers and a flavorful vegetable filling. This method teaches you proper rolling techniques and temperature control for golden, crunch results every time. The filling combines shredded cabbage, julienned carrots, bean sprouts, and aromatics like garlic and ginger. Customize with your choice of protein or keep it vegetarian. These handheld appetizers fry up beautifully in just minutes, delivering that satisfying crunch that makes them irresistible for gatherings or family meals.
My roommate in college taught me how to fold spring rolls during our tiny apartment kitchen experiments, her grandmother's method involving surprisingly few words but lots of demonstrations. The first few came out lopsided and bursting, but we ate them anyway while laughing at our attempts. Now I can fold them without even looking, my fingers having memorized the crease and tuck motion that took weeks to master.
I made these for my sister's birthday last year, setting up a little assembly line on her kitchen counter. We ended up with flour on our noses and more filling on the floor than in the wrappers, but the ones that survived frying disappeared in minutes. There's something about hot, crunchy spring rolls that turns any gathering into a celebration.
Ingredients
- Shredded green cabbage: The backbone that provides structure and sweetness, I learned to squeeze out excess moisture after cooking so the wrappers dont get soggy
- Julienned carrots: These add a subtle crunch and beautiful orange flecks throughout the filling, resist the urge to skip them even when youre tired
- Bean sprouts: They bring a fresh snap and water content that balances the cooked vegetables, trim the tails for a neater presentation
- Shiitake mushrooms: Earthy and meaty even in vegetarian versions, slice them thin so they cook down quickly and distribute evenly
- Scallions: Both white and green parts add layers of mild onion flavor, cut them on a diagonal for longer pieces that look elegant
- Garlic and ginger: The aromatic foundation that makes these taste authentic, mince them finely so they melt into the filling rather than staying in distinct chunks
- Soy sauce: Use a good quality brand, it provides the essential umami base and salt that everything else builds upon
- Sesame oil: Just a teaspoon adds that distinctive nutty aroma, I learned the hard way that more doesnt mean better with this potent oil
- Oyster sauce: This secret ingredient adds depth and slight sweetness, vegetarian versions work surprisingly well if you need to avoid shellfish
- White pepper: Gentler than black pepper and almost undetectable in the final dish, it provides background warmth without visible specks
- Spring roll wrappers: Keep them covered with a barely damp cloth while working, they dry out and crack faster than youd believe
- Cornstarch slurry: This makes all the difference between rolls that stay sealed and ones that unfurl in the hot oil, trust me on this one
- Vegetable oil: Choose something neutral with a high smoke point, save your fancy olive oil for the dinner salad
Instructions
- Prep your mise en place:
- Have everything chopped and measured before you turn on the stove, stir-frying moves too fast for last-minute chopping
- Build the flavor base:
- Heat that teaspoon of oil until it shimmers, then bloom your garlic and ginger just until you can smell them
- Cook the hearty vegetables first:
- Add cabbage and carrots, giving them a head start since they take longest to soften into the texture you want
- Add the delicate ingredients:
- Toss in mushrooms and scallions, watching them wilt just enough to become manageable but still retain some bite
- Season everything properly:
- Pour in your sauces and sprinkle the pepper, tasting and adjusting before the mixture cools completely
- Cool the filling completely:
- Spread it on a baking sheet or tray, hot filling will make wrappers tear and steam inside while frying
- Master the folding technique:
- Place the wrapper like a diamond, fold bottom corner over filling, tuck in sides tightly, and roll until just the point remains
- Seal them properly:
- Brush that final triangle with cornstarch slurry and press firmly to close, I count to ten while holding each seal
- Heat the frying oil:
- Get it to 350°F, too cool and theyll be greasy, too hot and theyll burn before the filling heats through
- Fry in batches:
- Crowding the pan drops the oil temperature dramatically, three or four at a time is usually the sweet spot
- Drain and serve immediately:
- Let them rest briefly on paper towels but eat while theyre still shatteringly crisp, thats when theyre at their best
 Save to Pinterest
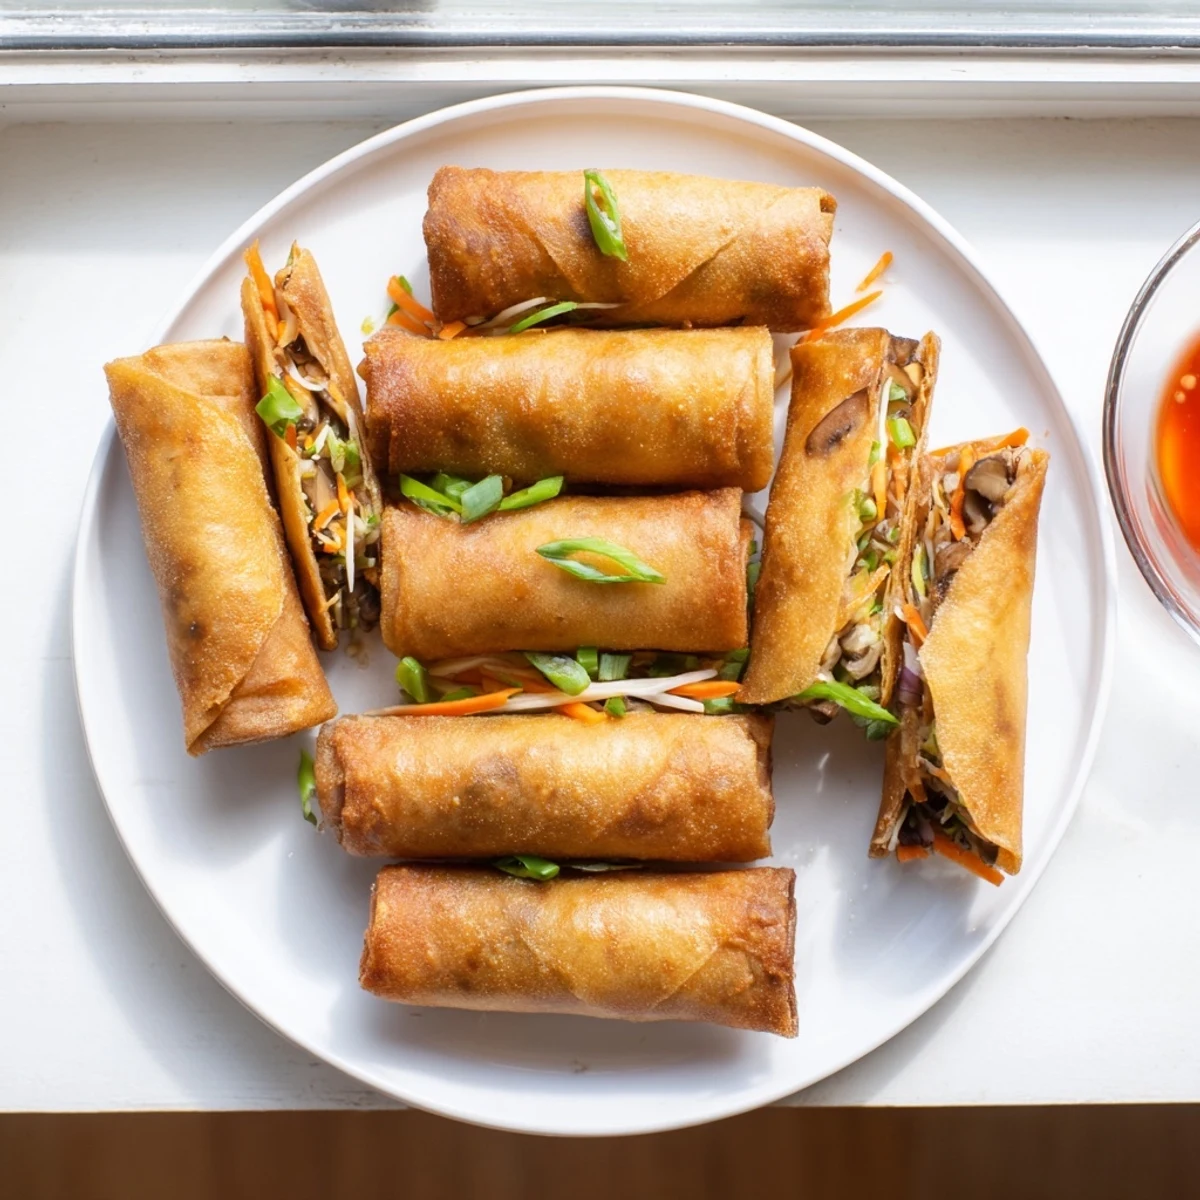
 These became my go-to contribution to potlucks after a friend asked me to bring appetizers to her wedding shower. I arrived with three dozen freshly fried rolls, and within five minutes, people were asking for the recipe instead of eating the other dishes. Now whenever I smell that distinctive frying spring roll aroma, Im back in that crowded kitchen, watching guests light up at first bite.
Make-Ahead Magic
You can assemble the entire day before and refrigerate them uncovered briefly to dry the wrappers slightly, which actually helps them crisp up better when fried. Or freeze them uncooked on baking sheets before transferring to bags, they go straight from freezer to fryer without thawing.
Dipping Sauce Dreams
Ive discovered that the right dipping sauce elevates these from great to unforgettable. Sweet chili sauce is classic, but mixing equal parts soy sauce, rice vinegar, and a drop of sesame oil creates something that cuts through the richness beautifully.
Frying Like a Pro
Maintain that oil temperature religiously, I use a clip-on thermometer and adjust the heat between batches. A small piece of wrapper dropped in should immediately sizzle and rise to the surface, thats your cue that the oils ready.
- Never walk away from hot oil, spring rolls can go from golden to burnt in seconds
- Let the oil come back to temperature between batches for consistent results
- Use a spider skimmer or slotted spoon for easy removal and draining
 Save to Pinterest
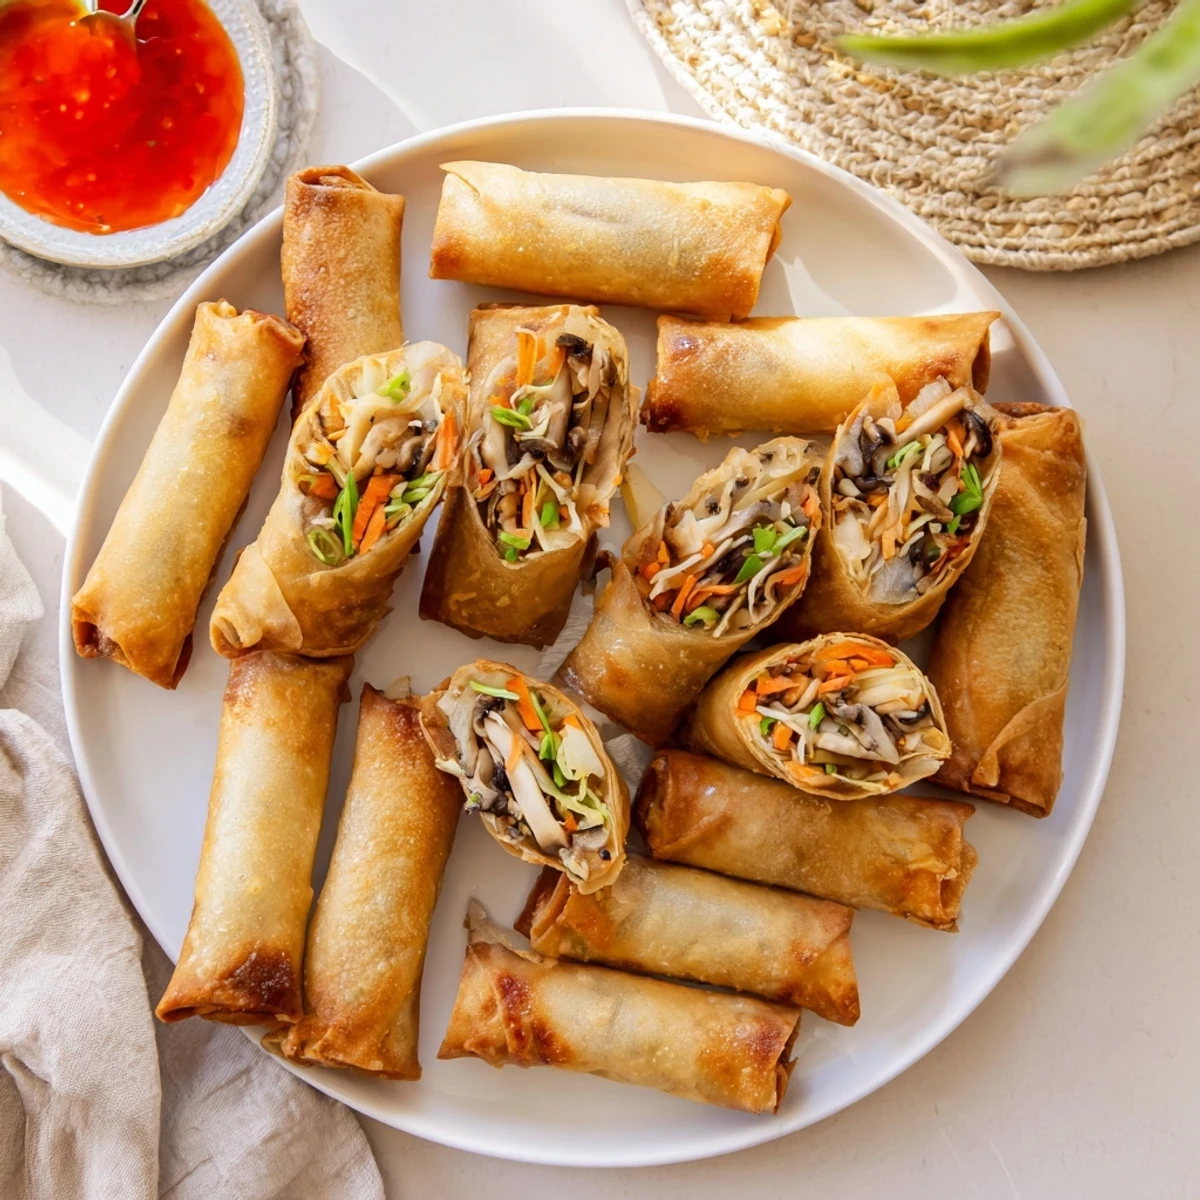
 Whether youre making these for a party or just a Tuesday night craving, the satisfaction of biting through that golden shell into steaming, savory filling never gets old. Some recipes are worth the effort, and this one has earned its permanent place in my kitchen.
Recipe Questions & Answers
- → How do I prevent spring rolls from getting soggy?
-
Ensure your vegetable filling cools completely before wrapping. Hot filling creates steam that makes wrappers soggy. Also, fry at the correct temperature—350°F (175°C)—so oil doesn't seep into the pastry.
- → Can I bake these instead of deep frying?
-
Yes. Brush each rolled spring roll lightly with vegetable oil and bake at 400°F (200°C) for 20–25 minutes, turning once halfway through. They won't be quite as crispy as fried, but still delicious.
- → How do I store uncooked spring rolls?
-
Place uncooked rolls in a single layer on a baking sheet, freeze until firm, then transfer to an airtight container or freezer bag. They'll keep for up to 1 month. Fry from frozen, adding a few extra minutes.
- → What's the best way to seal spring rolls?
-
A cornstarch slurry (1 tablespoon cornstarch mixed with 2 tablespoons water) works perfectly. Brush it on the final flap and press firmly to seal. The slurry acts like glue when it hits the hot oil.
- → Can I make these gluten-free?
-
Yes. Use gluten-free spring roll wrappers (often made from rice paper) and substitute tamari or coconut aminos for soy sauce. Double-check that your oyster sauce is gluten-free or use a vegetarian alternative.
