 Save to Pinterest
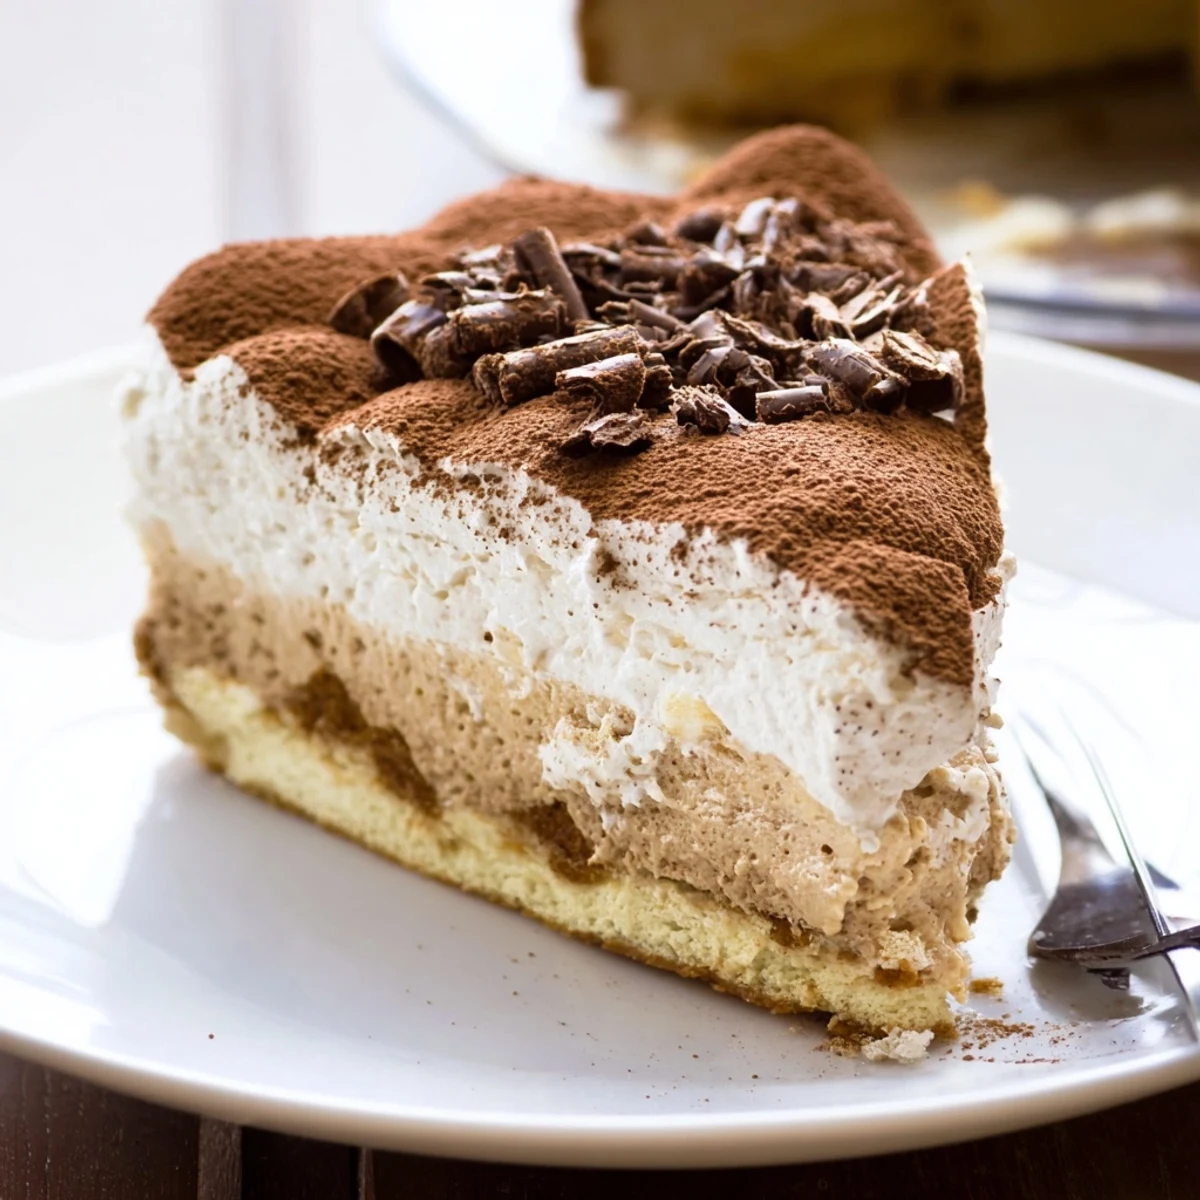
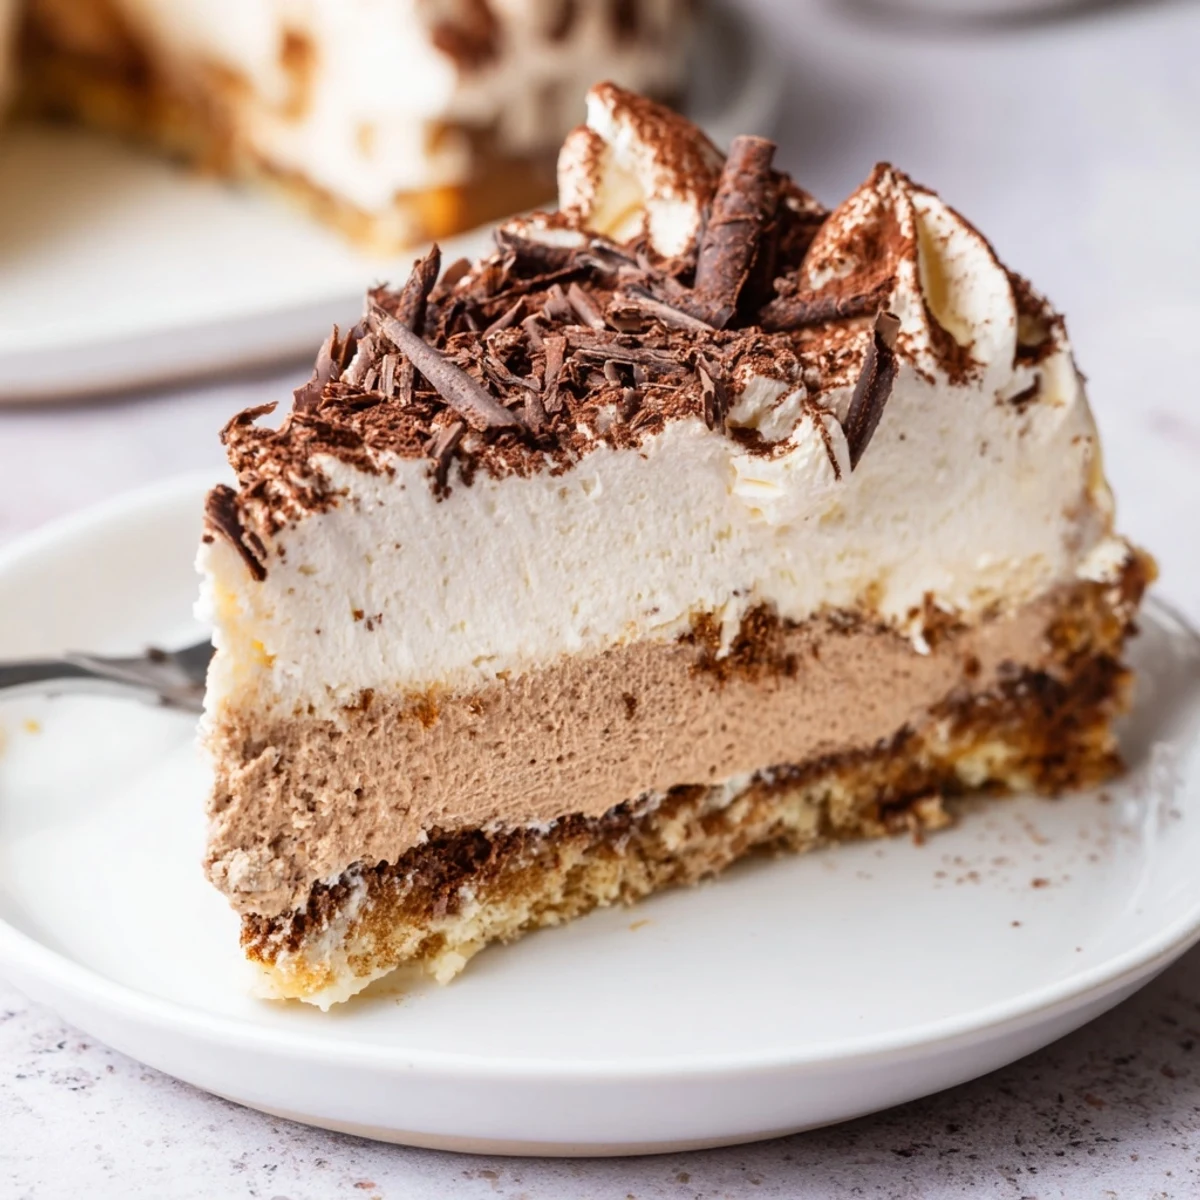
 This indulgent coffee-infused tiramisu cheesecake layers a coffee-spiked crushed-ladyfinger base with a silky cream cheese and mascarpone filling. After brushing the crust with an espresso soak, bake the cheesecake in a water bath until just set, cool slowly, then chill thoroughly. Top with whipped cream, cocoa dusting, and chocolate shavings before serving chilled.
The scent of strong espresso always makes me think of quiet Sunday afternoons, when something special is needed to sweeten the moment. This tiramisu cheesecake first came together on a day when I craved the boldness of coffee and the lush comfort of creamy cheesecake in one glorious bite. Mixing traditions felt daring, but the gentle swirl of mascarpone and the crispy wafer base proved irresistible. When the first slice disappeared faster than the coffee brewed, I knew this fusion was here to stay.
Last winter I baked this for a friend's birthday, laughing as vanilla and espresso fogged the kitchen air while we debated the merits of extra chocolate shavings. Someone claimed they didn't even like cheesecake—until dessert time silenced us all. I still remember the sound of forks scraping up the last traces, chocolate and coffee tang lacing each bite.
Ingredients
- Ladyfinger biscuits (savoiardi): These sponge-like cookies crumble into a crisp, light crust that drinks up espresso beautifully. Pulse them extra fine for the most even base.
- Unsalted butter: Melted butter pulls the crumbs together, and I always let it cool slightly so it doesn't make the crust greasy.
- Instant espresso powder: The secret to a brave, nuanced coffee kick that infuses the crust from the bottom up.
- Cream cheese: Softened cream cheese ensures a lusciously smooth filling—give it 30 minutes at room temp for best results.
- Mascarpone cheese: Adds that classic Italian silkiness, rounding out tangy cream cheese with gentle richness.
- Granulated sugar: Balances the coffee intensity and brings lightness to the filling.
- Eggs: Three large eggs set the cheesecake just firmly enough without making it dense.
- Strong brewed espresso: Let it cool so it blends smoothly into the batter and doesn’t scramble the eggs.
- Vanilla extract: Lifts all the deeper flavors; use a quality extract for aroma you’ll notice.
- All-purpose flour: The little bit of flour helps give a creamy yet sliceable structure.
- Salt: Just a pinch lets everything else really shine.
- Hot espresso (for coffee soak): Mix with sugar to bring an authentic tiramisu accent beneath and atop the cake.
- Coffee liqueur: Optional, but it gives a special adult depth if you’re sharing with friends.
- Heavy cream: For the dreamy whipped topping—chill your bowl and whisk for quicker peaks.
- Powdered sugar: Sweetens the topping without any grittiness.
- Unsweetened cocoa powder: Dusting the top ties the dessert together and hints at its tiramisu roots.
- Dark chocolate shavings: Totally optional, but the crunch and drama they bring to the finished cake are always worth the effort.
Instructions
- Gear up and preheat:
- Start by heating your oven to 160°C (325°F) and line a springform pan so nothing sticks.
- Make the crust:
- Bash or blitz ladyfingers into sand, then stir in melted butter and espresso powder until it feels like damp beach sand. Press into the pan and bake it so the crust firms up and smells deliciously toasty.
- Mix the coffee soak:
- Stir fresh hot espresso with sugar and (if you like) a splash of coffee liqueur, watching the sugar dissolve as you stir. Let it cool before brushing it on anything.
- Blend the filling:
- Whip cream cheese and mascarpone until fluffy, then blend in sugar and eggs, taking pause to scrape the bowl. Stir in the cooled espresso, vanilla, flour, and salt gently—aim for creamy, not overmixed.
- Soak the crust:
- Use a pastry brush or spoon to apply half the cooled coffee soak over the baked crust, letting it seep down for extra flavor.
- Fill and smooth:
- Pour the velvety batter over the crust and tap the pan on your counter to level it and release tiny bubbles.
- Bake with care:
- Set the pan in a larger water-filled tray and bake for about an hour, just until the center wobbles faintly. Let it rest in the off oven for an hour, door ajar, to prevent cracks.
- Chill out:
- Let the cheesecake cool to room temperature, then refrigerate until fully set—four hours is good, but overnight is magic.
- Whip the cream:
- In a cold bowl, whisk heavy cream with powdered sugar and vanilla until pillowy peaks form.
- Final assembly:
- Unclip the cake and transfer to a plate. Brush any remaining coffee soak on top for extra espresso oomph.
- Decorate:
- Smooth the whipped cream over the cheesecake, dust generously with cocoa, and, if you’re feeling extra, shower with chocolate curls. Slice and serve chilled, or simply admire for a moment before diving in.
 Save to Pinterest
 The first time I brought this to a holiday dinner, my uncle—famously opposed to cheesecake 'hybrids'—requested seconds with a satisfied grin. That night, the tiramisu cheesecake was all anyone wanted to talk about, and sharing the last piece became an act of generosity I almost regretted.
When To Make This Decadent Cheesecake
If you’re ever tasked with making dessert for a milestone, this is the one that brings a hush to the table before the smiles begin. It’s perfect for birthdays, dinner parties, or any weekend where you want to savor something rich, elegant, and just a little unexpected. The assembly invites a meditative mood as you layer, whip, and pour—all to a gentle coffee-scented soundtrack.
How To Get That Creamy Texture
The difference between good and show-stopping cheesecake is all in the mixing. Start with every dairy ingredient at room temperature and mix until just velvety smooth—not a second longer. Too much beating and you’ll get cracks, too little and there’ll be lumps hiding in your slices. Pause to scrape your bowl (even if you’re impatient) for truly even results.
Make It Your Own
Swap the coffee liqueur for a teaspoon of almond or orange extract if you want a twist, or try sandwiching a few chocolate chips into the crust layer for crunch. If you’re out of ladyfingers, lightly toasted digestive biscuits do the trick, just pulse them fine for a delicate texture. Sometimes I tuck a few extra spoonfuls of whipped cream on the side for guests who like a cloudier bite.
- Don’t skip lining the pan—it makes unmolding so much easier.
- For cleaner slices, dip your knife in hot water and wipe between cuts.
- Pops of bitterness from good cocoa powder balance all the creaminess—dust extra, if you dare.
 Save to Pinterest
 This cheesecake pairs so well with espresso or a glass of dessert wine—and the last forkful is always bittersweet. May your kitchen always be filled with laughter, bold flavors, and just enough crumbs on the counter to remind you of the fun.
Recipe Questions & Answers
- → How can I avoid cracks on the surface?
-
Bake gently in a water bath, avoid overbeating the batter, and cool slowly with the oven door ajar. These steps minimize sudden temperature changes and reduce cracking.
- → Is the coffee liqueur necessary?
-
No — omit the liqueur and use extra hot espresso or a coffee syrup for the soak to keep the coffee flavor bright without alcohol.
- → What can I use instead of ladyfingers for the crust?
-
Digestive biscuits or graham crackers work well. Pulse to fine crumbs, mix with melted butter and espresso powder, press firmly, and prebake for a crisp base.
- → How long should it chill before slicing?
-
Chill at least 4 hours, preferably overnight. Extended chilling firms the filling and allows flavors to meld for cleaner slices.
- → How do I get the silkiest filling?
-
Bring cream cheese and mascarpone to room temperature, beat until smooth, add eggs one at a time, and fold gently once the espresso is incorporated to avoid overmixing.
- → Can this be prepared ahead of time?
-
Yes — assemble and chill up to 48 hours ahead. Add whipped cream, cocoa dusting, and chocolate shavings just before serving for best texture and appearance.
