 Save to Pinterest
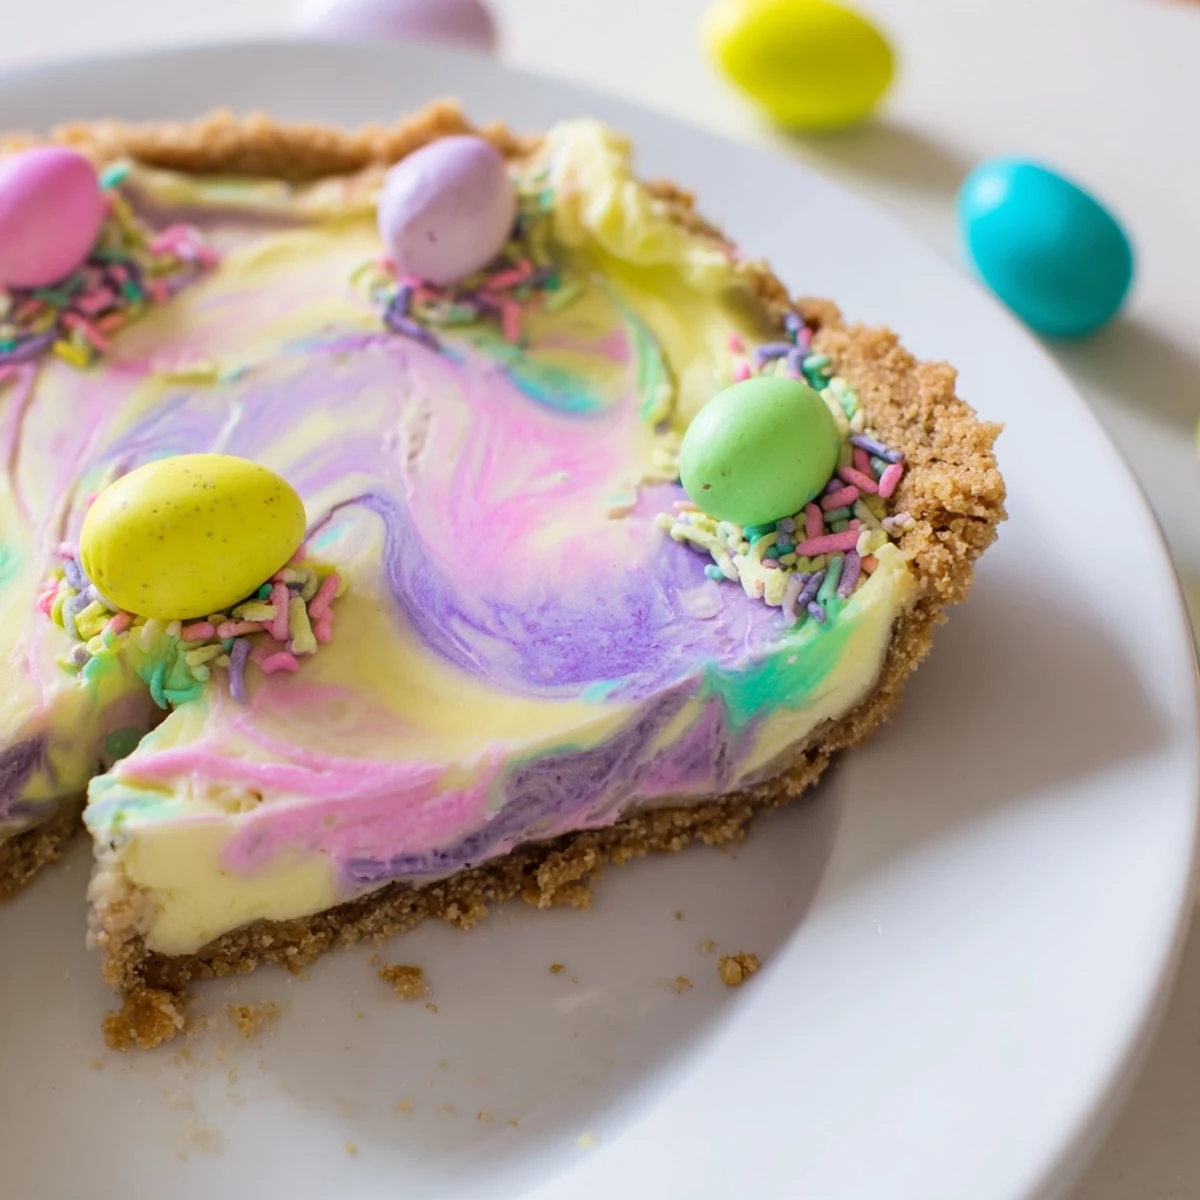
 This festive spring dessert combines a buttery graham cracker crust with a luscious blend of cream cheese and mascarpone. The vanilla-scented filling gets divided into portions tinted with soft pastel gel colors—think pink, yellow, lavender, and mint—then swirled together for a stunning marbled effect. After two hours of chilling, the result is a velvety, dreamy treat that captures the essence of Easter celebrations.
My youngest sister announced she'd host her first Easter dinner, and I immediately volunteered to bring dessert. Something about spring begs for color and whimsy, so I decided to transform my usual no-bake cheesecake into something that looked like a watercolor painting come to life. The moment I pulled that first swirl pie from the refrigerator, pastel ribbons dancing through cream like dyed Easter eggs found their way into a cloud, I knew we'd started a new tradition.
Last year, my neighbor's daughter helped me create the swirls, and she took her job so seriously that we ended up with these gorgeous, intentional waves instead of the chaotic marble I usually aim for. Her grandmother later told me it was the first time the child had ever wanted to help cook anything, and suddenly this wasn't just a dessert anymore—it was a memory in the making.
Ingredients
- 200 g graham crackers or digestive biscuits, crushed: I've learned that crushing them to fine crumbs creates a sturdier crust that holds up beautifully against the creamy filling
- 75 g unsalted butter, melted: Room temperature butter mixes more evenly with the crumbs, preventing those dreaded soggy bottom patches
- 2 tbsp granulated sugar: Just enough sweetness to make the crust feel like a treat, not just a vessel
- 250 g cream cheese, softened: Please, please let this come to room temperature completely or you'll end up with tiny lumps that no amount of beating can fix
- 250 g mascarpone cheese: This Italian cheese is the secret weapon that makes the filling taste like something from an Italian bakery
- 120 g powdered sugar: The cornstarch in powdered sugar helps stabilize the cream while keeping the sweetness delicate
- 1 tsp vanilla extract: Use the good stuff here, since vanilla is the primary flavor that shines through the pastel swirls
- 200 ml heavy cream: Cold from the fridge is essential here, and I mean seriously cold, for achieving those soft peaks that fold in without deflating
- Gel food coloring (pink, yellow, purple, green): Gel colors are concentrated and won't water down your filling like liquid drops can
- 2 tbsp pastel sprinkles or mini chocolate eggs: Totally optional but they make this pie look like it stepped out of a storybook
Instructions
- Bake the Foundation:
- Preheat your oven to 180°C (350°F) and combine those buttery crumbs with sugar, pressing firmly into your 23 cm pie dish. Bake for 10-12 minutes until golden and fragrant, then let it cool completely—no rushing this step or your filling will melt into the warm crust.
- Build the Creamy Base:
- Beat room temperature cream cheese, mascarpone, powdered sugar, and vanilla until completely smooth and satiny. In a separate bowl, whip that cold heavy cream to soft peaks that gently droop over when you lift the beater, then fold it into the cheese mixture with the lightest hand you can muster.
- Paint with Pastels:
- Divide your filling between 3-4 small bowls and add a tiny drop of gel coloring to each, mixing until you have those dreamy Easter-egg shades. Spoon dollops randomly over your cooled crust, then drag a skewer or knife through the colors in gentle curves, watching as cream turns into edible art.
- Let Magic Happen:
- Cover your creation and refrigerate for at least 2 hours, though overnight is even better. The waiting might be torture, but that chill time is what transforms fluffy filling into firm, sliceable perfection.
 Save to Pinterest
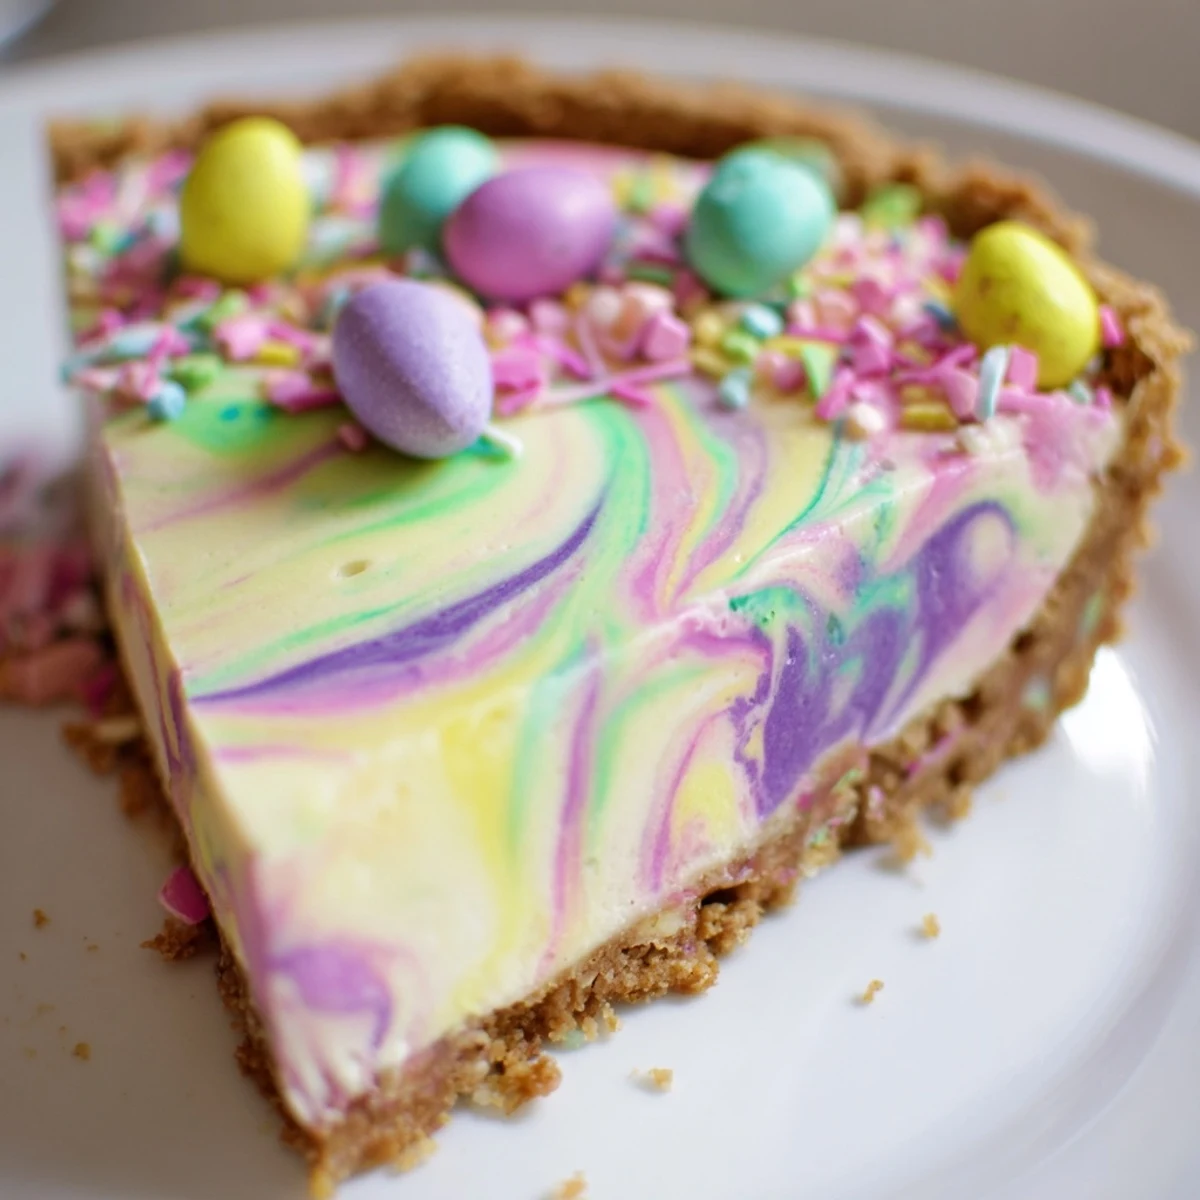
 My mother-in-law, who claims to not like cheesecake, went back for seconds and actually asked to take a slice home. Watching someone experience that first bite—creamy, vanilla-rich, with those ribbons of color making it feel almost too pretty to eat—is exactly why I bother with the extra step of swirling.
Getting the Perfect Swirl
After years of making this, I've discovered that less is absolutely more when it comes to the swirling motion. One gentle pass with your skewer is often enough to create that marble effect, while going back for a second pass usually muddies the colors into something resembling grayish confusion. Trust your first instinct and walk away.
Make It Your Own
While the pastel Easter palette is traditional, I've made this with sunset colors for summer birthdays and deep jewel tones for winter holidays. The technique stays the same regardless of the season, and suddenly you have a year-round showstopper in your back pocket.
Serving Suggestions
A cold pie cuts cleaner than one that's been sitting out, so I recommend keeping it refrigerated until the moment you're ready to serve. The contrast between the crisp crust and cold, creamy filling is part of what makes this so irresistible.
- Dip your knife in hot water and wipe it dry between slices for restaurant-worthy presentation
- If transporting this pie, place it in the coldest part of your car and drive carefully—this beauty deserves gentle handling
- Leftovers, if you somehow have any, keep remarkably well for 3-4 days though the colors may continue to soften and blend
 Save to Pinterest
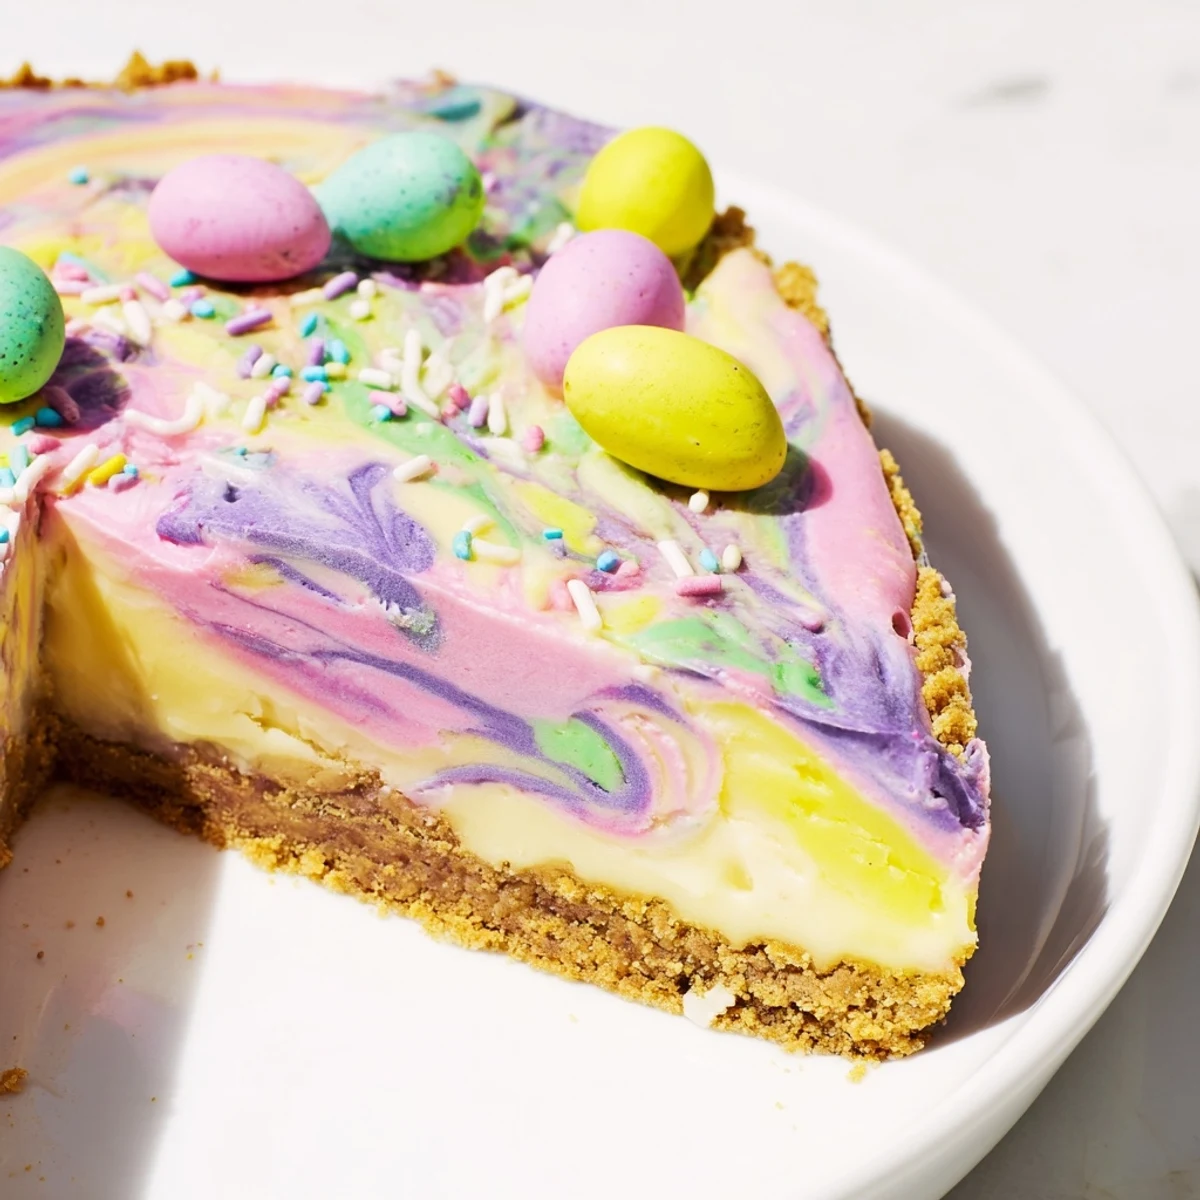
 There's something deeply satisfying about serving a dessert that makes people gasp before they even take a bite. This pie has become my go-to for moments when I want to create a little magic in the kitchen.
Recipe Questions & Answers
- → How far in advance can I make this?
-
You can prepare this up to 24 hours ahead. The flavors actually develop better after chilling overnight, making it perfect for Easter meal planning.
- → Can I use liquid food coloring instead of gel?
-
Gel coloring works best as it won't thin out the creamy filling. Liquid coloring may alter the texture, but if you must use it, add just one drop at a time.
- → What's the best technique for swirling?
-
Spoon dollops of each color randomly over the crust, then run a knife or skewer through once or twice in a circular pattern. Avoid overmixing to maintain distinct marble patterns.
- → Can I freeze this dessert?
-
Yes, it freezes well for up to 1 month. Wrap tightly in plastic and foil. Thaw overnight in the refrigerator before serving for best texture.
- → What other crust options work?
-
Vanilla wafers, shortbread cookies, or even chocolate sandwich cookies make excellent alternatives. Just keep the ratio of 200g cookies to 75g melted butter.
