 Save to Pinterest
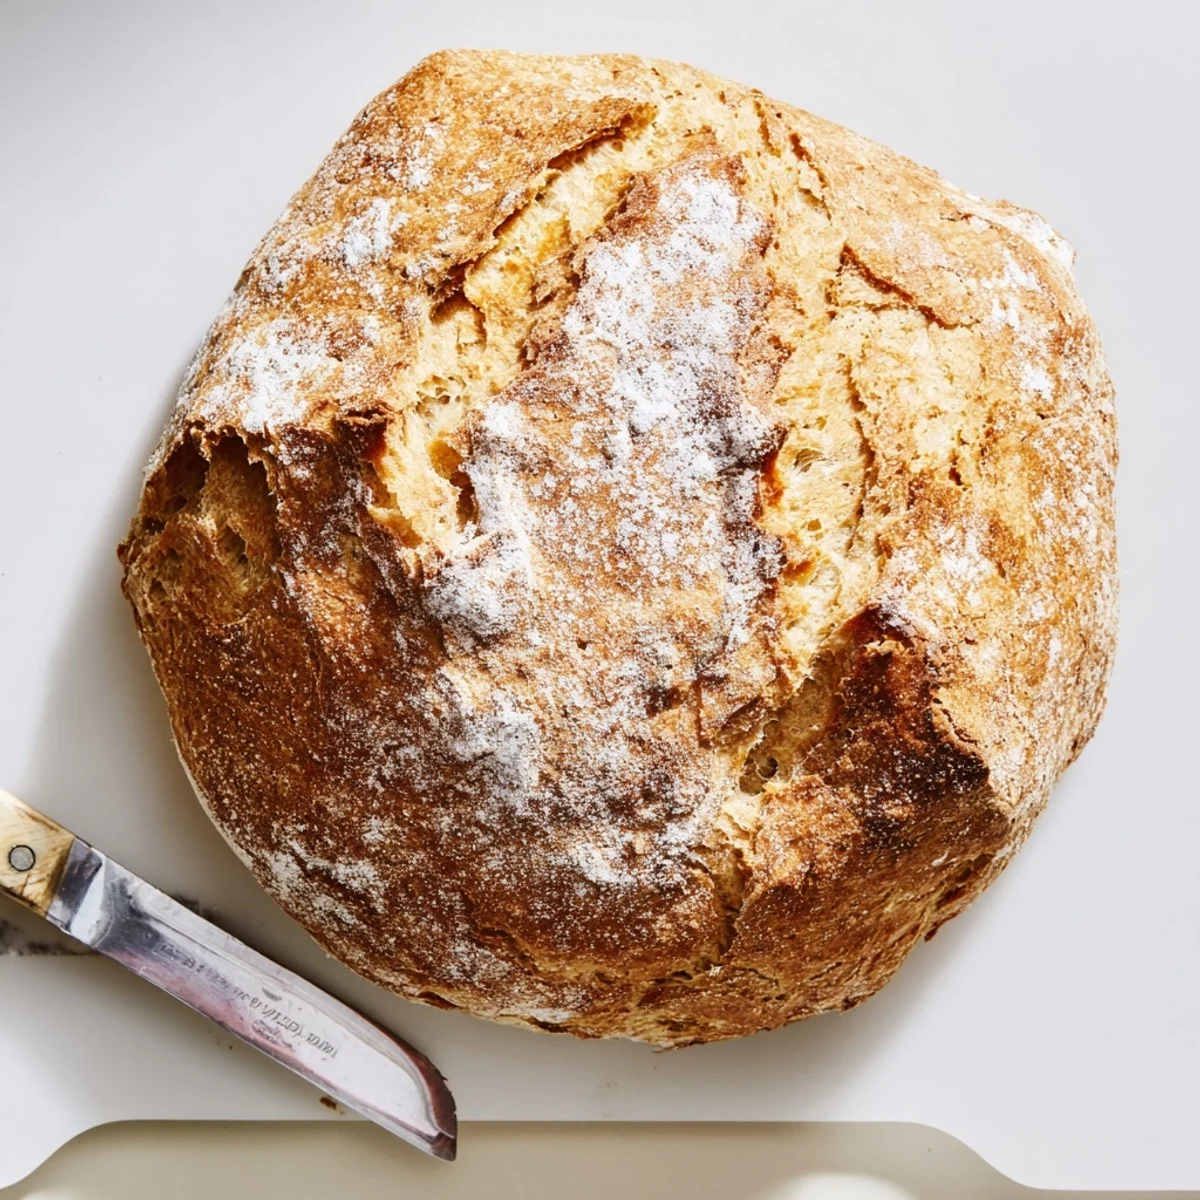
 Crafting professional-quality artisan bread doesn't require kneading or special skills. This foolproof method combines bread flour, salt, yeast, and water, then lets time work its magic through 12–18 hours of fermentation. The high-temperature Dutch oven bake creates that signature crackling crust and tender interior characteristic of European-style loaves.
Mix ingredients in one bowl, let the dough develop overnight, shape gently, and bake in a preheated Dutch oven. The result: a golden-brown masterpiece with bakery-level texture and flavor. Perfect for sandwiches, toast, or serving alongside soups and stews.
The smell of this bread baking transforms a quiet Tuesday into something special. I started making it during a chaotic week when I needed comfort but had zero energy for kneading. Now, the ritual of mixing ingredients before bed and waking to risen dough feels like a tiny kitchen miracle.
My sister visited last winter and demanded to know what bakery Id been sneaking bread from. When I showed her the shaggy, unpretentious dough, she laughed in disbelief. We ate the entire loaf with butter, standing at the counter, while she planned her own bread-making adventure.
Ingredients
- Bread flour: Higher protein creates better structure and chew, though all purpose works fine too
- Salt: Dont skip this it enhances flavor and strengthens the gluten network
- Instant yeast: No proofing needed, this reliable yeast works directly in the dough
- Lukewarm water: Think bath temperature, too hot kills yeast, too cold slows everything down
- Extra flour: For dusting, cornmeal adds a nice crunch and prevents sticking
Instructions
- Mix the dough base:
- Whisk flour, salt, and yeast in a large bowl until well combined. Add the water and stir until you have a shaggy, sticky dough.
- Let time work its magic:
- Cover the bowl and let it rest at room temperature for 12 to 18 hours. The dough should bubble and double in size.
- Shape the loaf gently:
- Turn the dough onto a floured surface and fold it over itself a few times. Shape it into a rough ball, handling it lightly to preserve those air bubbles.
- Rest and prep:
- Place the dough seam side down on floured parchment paper. Cover and let it rest while you heat your Dutch oven at 450°F.
- Bake with steam:
- Transfer the dough into the hot Dutch oven using the parchment. Cover and bake for 30 minutes, then uncover for another 12 to 15 minutes until deep golden brown.
 Save to Pinterest
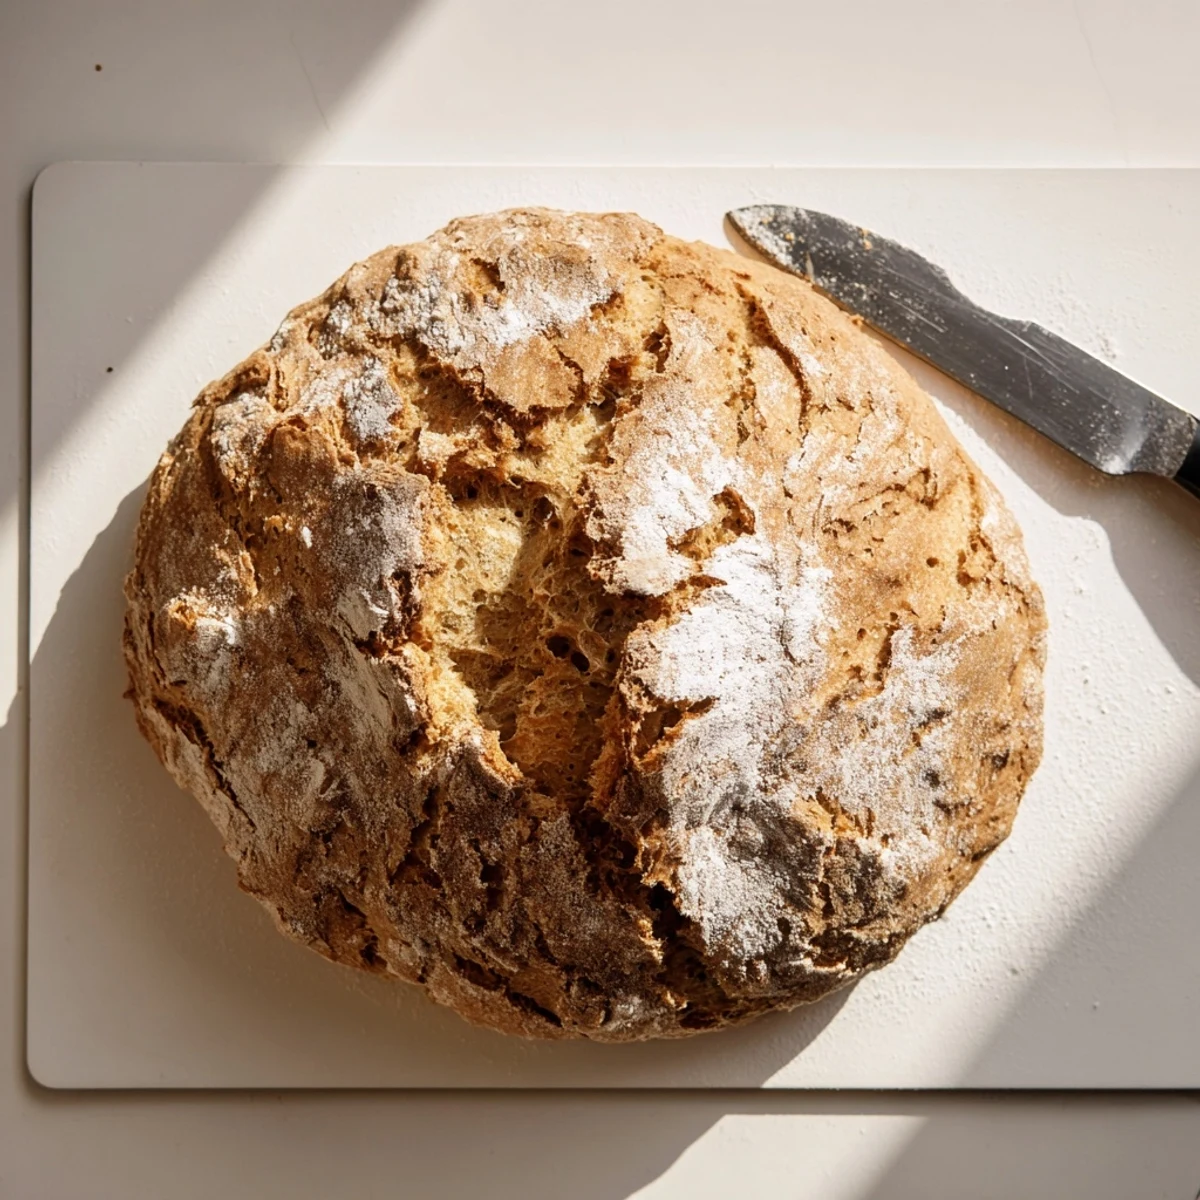
 There is something deeply satisfying about serving bread you made yourself. My neighbor started leaving little jars of jam on my porch, hoping for more loaves. Now we exchange bread for preserves regularly.
Flavor Variations
Once you master the basic loaf, the possibilities become exciting. I have added everything from roasted garlic to rosemary and olive oil. The dough handles mix-ins beautifully without losing its signature texture.
Storage Tips
Homemade bread lacks preservatives, so it stales faster than store-bought. I keep mine on the counter wrapped in a cloth for the first day, then slice and freeze the rest. It toasts up beautifully from frozen.
Serving Suggestions
This bread shines alongside soups and stews, soaking up broths perfectly. It also makes exceptional toast and sandwiches, adding a rustic touch to anything you pair it with.
- Try it with salted butter and flaky sea salt
- Dip it in high quality olive oil with herbs
- Use day old slices for panzanella salad
 Save to Pinterest
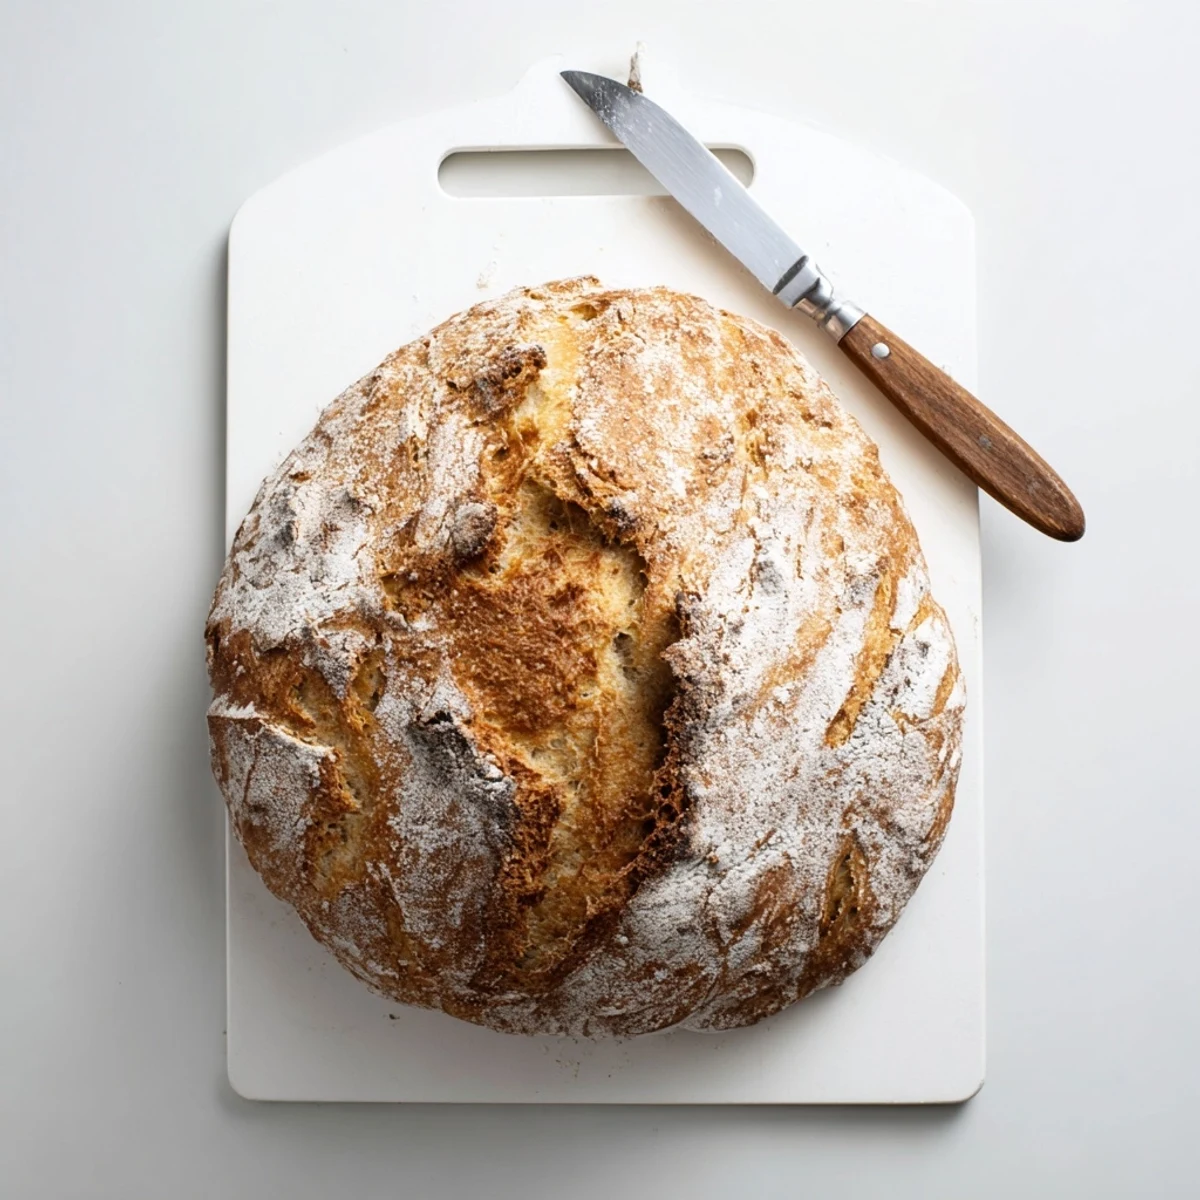
 Simple ingredients, hands-off time, and incredible results. This bread might just become your new weekend obsession.
Recipe Questions & Answers
- → Why does this dough require no kneading?
-
The extended 12–18 hour fermentation allows gluten to develop naturally without mechanical kneading. Time and hydration create the strong protein network needed for structure, making this method virtually foolproof while producing superior flavor.
- → Can I use all-purpose flour instead of bread flour?
-
Absolutely. All-purpose flour works well, though bread flour provides slightly more structure and chewiness. The high hydration compensates for different protein levels, resulting in excellent loaves with either flour choice.
- → Why bake in a Dutch oven?
-
The preheated Dutch oven creates a steam-filled environment that mimics professional deck ovens. Steam keeps the crust soft initially, allowing maximum oven spring, then evaporates to form that signature thick, crackling crust.
- → How do I know when the dough has risen enough?
-
Look for visible bubbles dotting the surface and a dough that has at least doubled in volume. It should look loose and slightly wobbly when you gently shake the bowl. The texture transforms from dense to airy during fermentation.
- → Can I add mix-ins like herbs or cheese?
-
Certainly. Incorporate up to ½ cup of additions during the initial mixing step. Chopped olives, rosemary, roasted garlic, sun-dried tomatoes, or shredded cheese work beautifully without disrupting the dough's structure.
- → Why must the bread cool completely before slicing?
-
The interior continues cooking through residual heat after removal from the oven. Cutting while warm releases steam, resulting in a gummy texture. Cooling for at least 1–2 hours ensures proper crumb structure and optimal eating quality.
