 Save to Pinterest
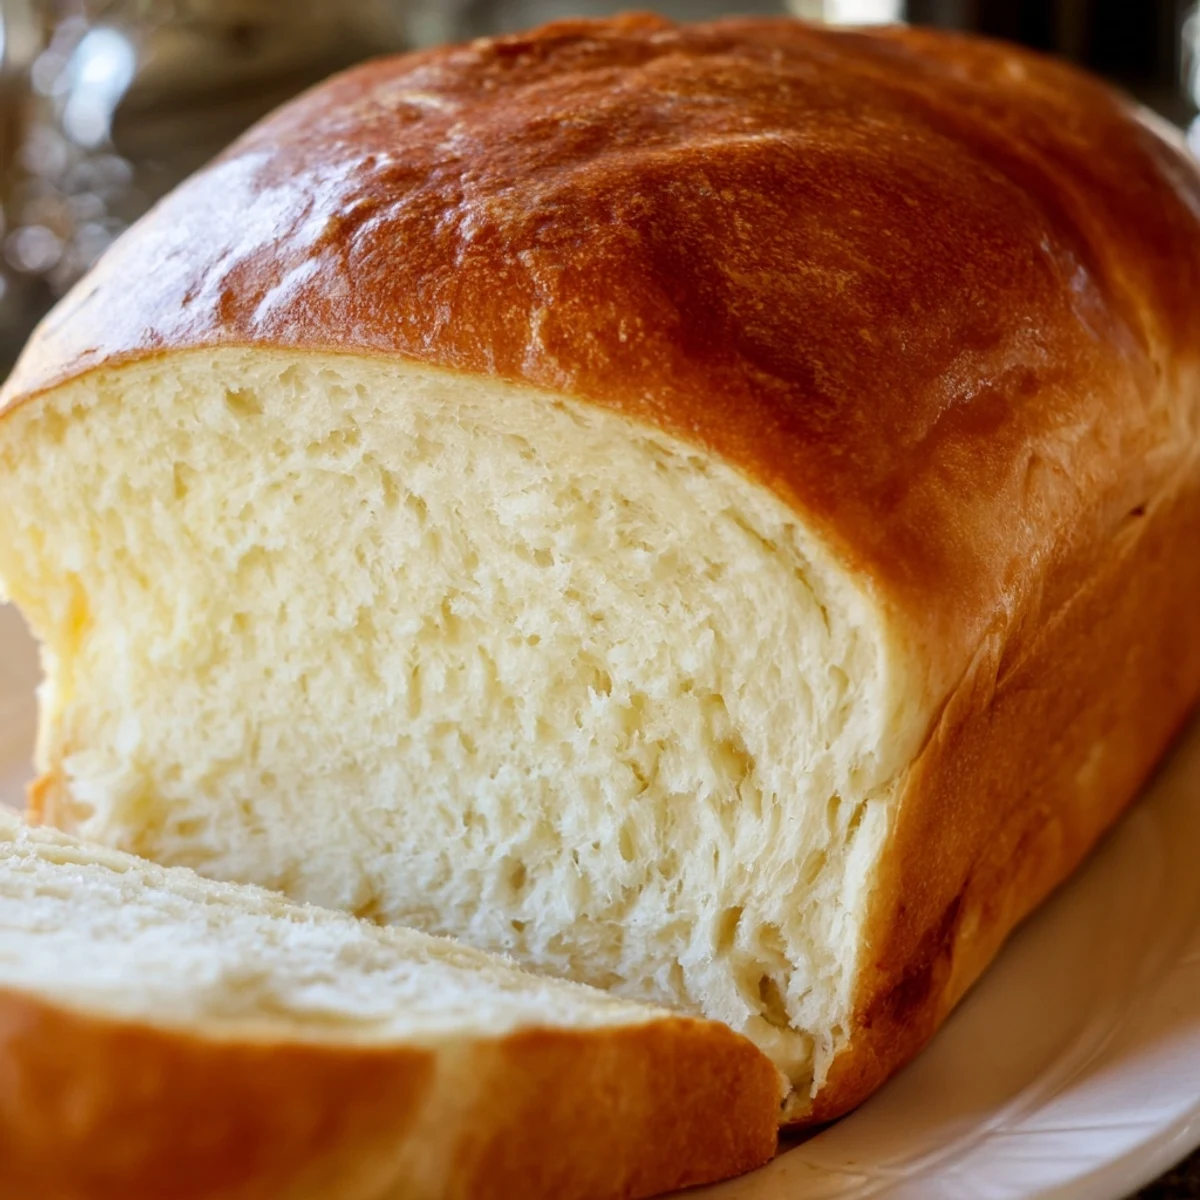
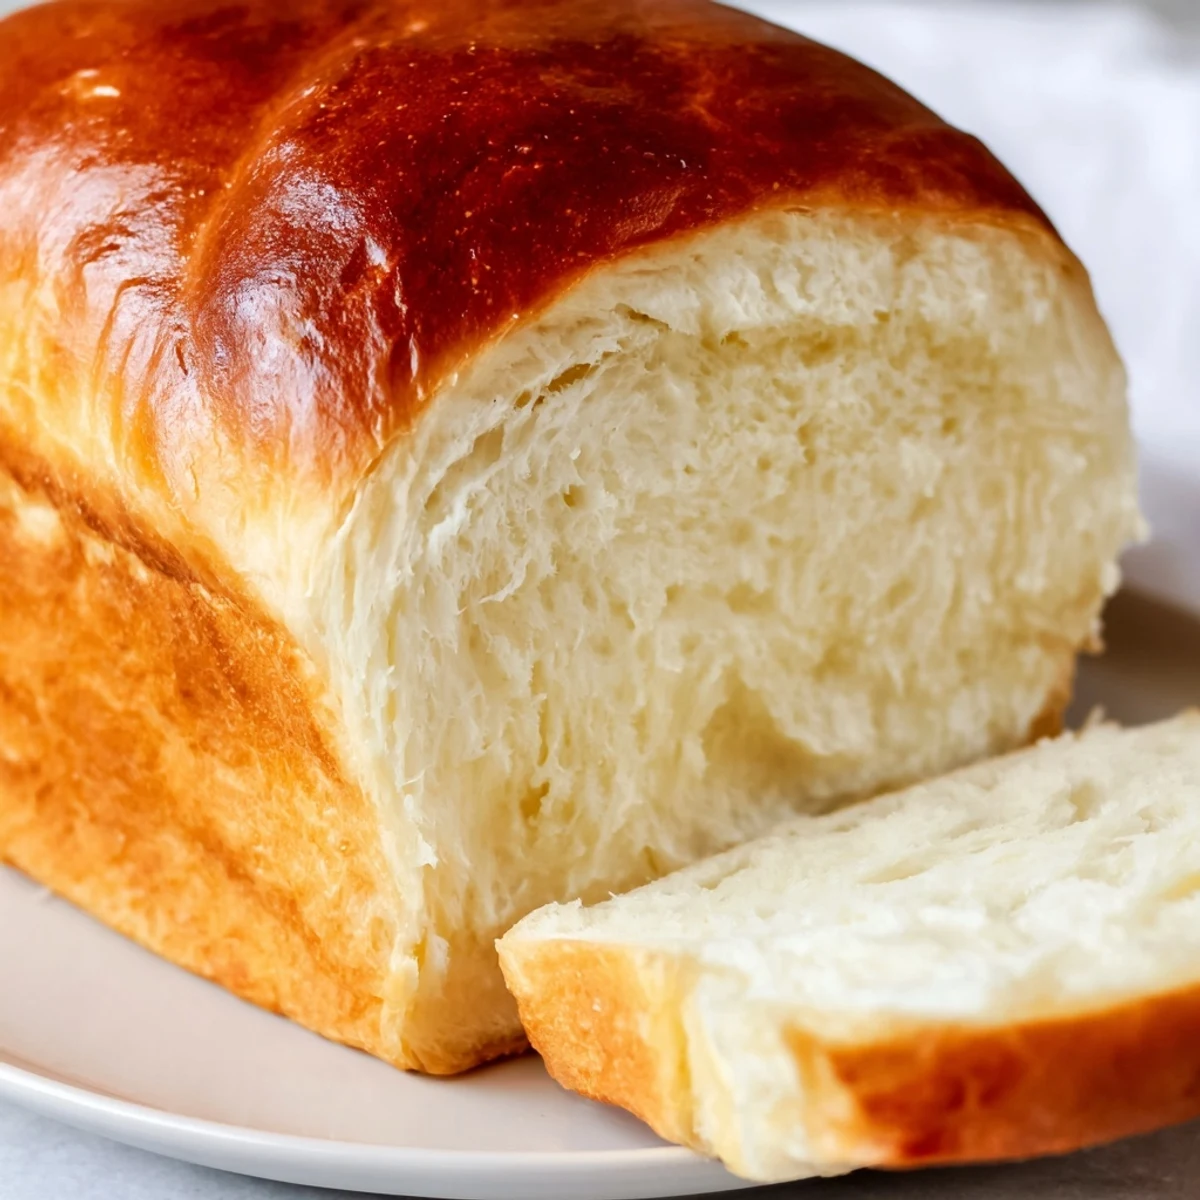
 Create bakery-style white bread with this classic Amish method. The dough yields two perfectly risen loaves with a tender crumb and golden crust. Ideal for beginners, the process involves basic pantry ingredients and straightforward kneading techniques.
The slightly sweet profile makes this versatile for everything from morning toast to French toast. Let the dough rise properly for the fluffiest results, and brush with melted butter while warm for a softer crust.
My neighbor Mrs. Miller pressed a warm loaf into my hands one Tuesday morning, still wrapped in a clean tea towel. She'd been baking this bread for forty years, she told me, and her grandmother before her. That first slice, slathered with melting butter, tasted like something I'd been searching for my whole life—pillowy soft with just a hint of sweetness.
Last winter my daughter stood on a stool beside me, her small hands covered in flour, learning to knead dough for the first time. She squealed when the yeast started bubbling, like a tiny science experiment happening right in our mixing bowl. Now she asks to make bread every Sunday, and I can't think of a better tradition to pass down.
Ingredients
- Warm water: The temperature should feel comfortably warm on your wrist, like a baby's bath—too hot and you'll kill the yeast, too cool and it won't wake up properly
- Granulated sugar: This feeds the yeast and gives the bread its characteristic slight sweetness that sets it apart from rustic European loaves
- Active dry yeast: If your yeast doesn't get foamy during the proofing step, start over—dead yeast won't give you the rise you need
- Salt: Essential for flavor and also helps control the yeast's growth so your bread doesn't overproof
- Vegetable oil: Keeps the bread tender and gives it that soft sandwich-bread texture, though melted butter works beautifully too
- All-purpose flour: Start with five and a half cups and add more only if needed—the dough should feel tacky but not stick to your fingers
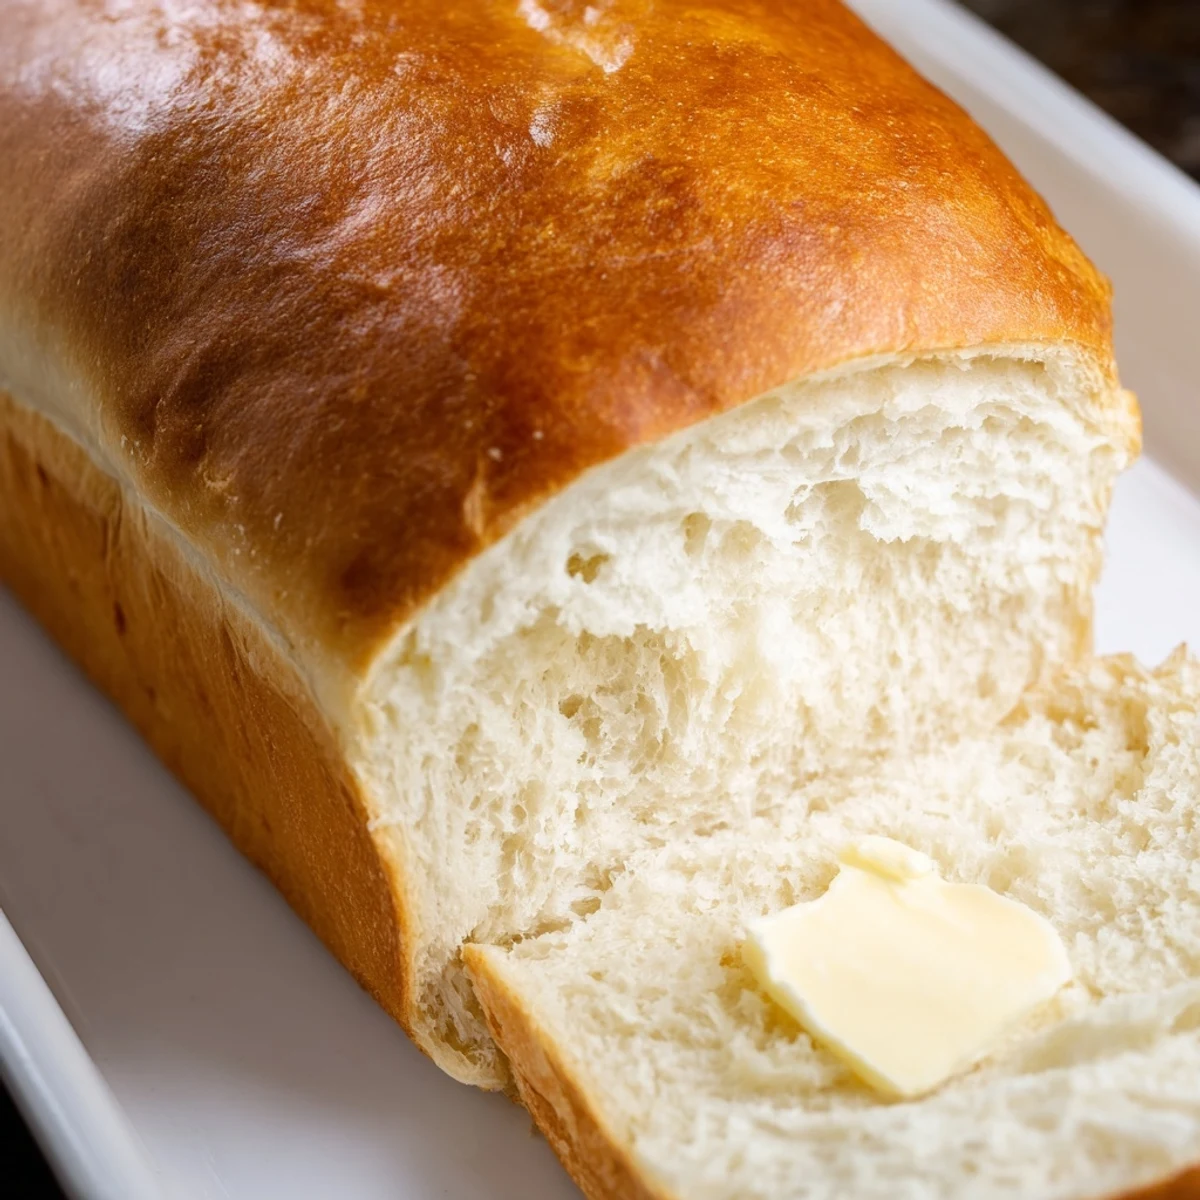
- Melted butter for topping: Completely optional but creates that bakery-style soft crust and makes the finished loaf look irresistible
Instructions
- Wake up the yeast:
- Dissolve the sugar in the warm water first, then sprinkle the yeast across the surface and wait for it to bloom into a fragrant, foamy layer
- Build the dough:
- Stir in the salt and oil, then add flour one cup at a time until the dough pulls away from the bowl's sides and feels like a soft, living thing in your hands
- Knead with intention:
- Work the dough on a floured surface for six to eight minutes, pushing it away with the heel of your hand and folding it back over itself until it becomes smooth and elastic
- Let it rise:
- Place the dough in a greased bowl, cover it with a warm, damp towel, and find the draft-free corner of your kitchen where it can double in size over the next hour
- Shape the loaves:
- Punch down the risen dough gently, divide it in half, and tuck the edges under each piece to form two smooth loaves that fit snugly into your prepared pans
- Second rise:
- Cover the pans and let the dough climb about an inch above the rim—this usually takes thirty to forty-five minutes, depending on how warm your kitchen is
- Bake to golden perfection:
- Slide the pans into a 350°F oven and bake for twenty-five to thirty minutes until the tops are golden brown and the loaves sound hollow when you tap them
- Finish with butter:
- Brush the hot loaves with melted butter immediately after baking, then let them cool completely on a wire rack before slicing into them
 Save to Pinterest
 This bread has become my go-to for housewarming gifts and sick-day comfort alike. Something about handing someone a homemade loaf feels like giving them a little piece of home, no matter where they're from.
Making It Your Own
I've started swapping half the water for warmed milk when I want extra richness, and sometimes I add a tablespoon of honey alongside the sugar for a floral sweetness that pairs perfectly with morning coffee. The base recipe is so forgiving that these experiments almost always turn out beautifully.
Getting The Rise Right
Temperature matters more than I used to think. In winter, I preheat my oven for just one minute, turn it off, and let the dough rise inside—that gentle warmth works better than any other spot in my house. Summer bakers might need to find a cooler corner, since too much heat makes yeast work too fast.
Storage Secrets
This bread keeps remarkably well in an airtight bag for four days, though it rarely lasts that long in my house. For longer storage, wrap cooled loaves tightly in plastic wrap and foil before freezing—they'll thaw beautifully on the counter overnight.
- Slice the bread before freezing so you can grab just what you need
- Never refrigerate homemade bread—it goes stale faster in the fridge than on the counter
- Revive slightly stale slices with a quick toast in the buttered skillet
 Save to Pinterest
 There's something profoundly satisfying about making your own bread, about turning the simplest ingredients into something that nourishes both body and soul. I hope this recipe becomes as loved in your kitchen as it is in mine.
Recipe Questions & Answers
- → What makes Amish white bread different from regular white bread?
-
Amish white bread typically has a slightly sweeter profile and softer texture than standard commercial loaves. The combination of sugar, oil, and proper rising creates a tender crumb perfect for everyday enjoyment.
- → How do I know when the dough has doubled in size?
-
Press two fingers gently into the dough—if the indentation remains and doesn't spring back, it's ready. This usually takes about 1 hour in a warm, draft-free spot.
- → Can I use whole wheat flour instead of all-purpose?
-
You can substitute up to half the all-purpose flour with whole wheat, though the texture will be denser. Consider adding slightly more water since whole wheat absorbs more liquid.
- → Why is my bread dense instead of fluffy?
-
Dense bread usually results from not letting the dough rise long enough or using too much flour. Ensure the dough doubles in size during both rises, and measure flour by weight for accuracy.
- → How should I store homemade Amish bread?
-
Keep cooled loaves in an airtight bag at room temperature for up to 4 days. For longer storage, wrap tightly and freeze for up to 3 months. Slice before freezing for easy toasting.
- → Can I make this without a stand mixer?
-
Absolutely! Mix by hand with a wooden spoon, then knead on a floured surface for 8-10 minutes. The tactile method often helps you better understand proper dough consistency.
