 Save to Pinterest
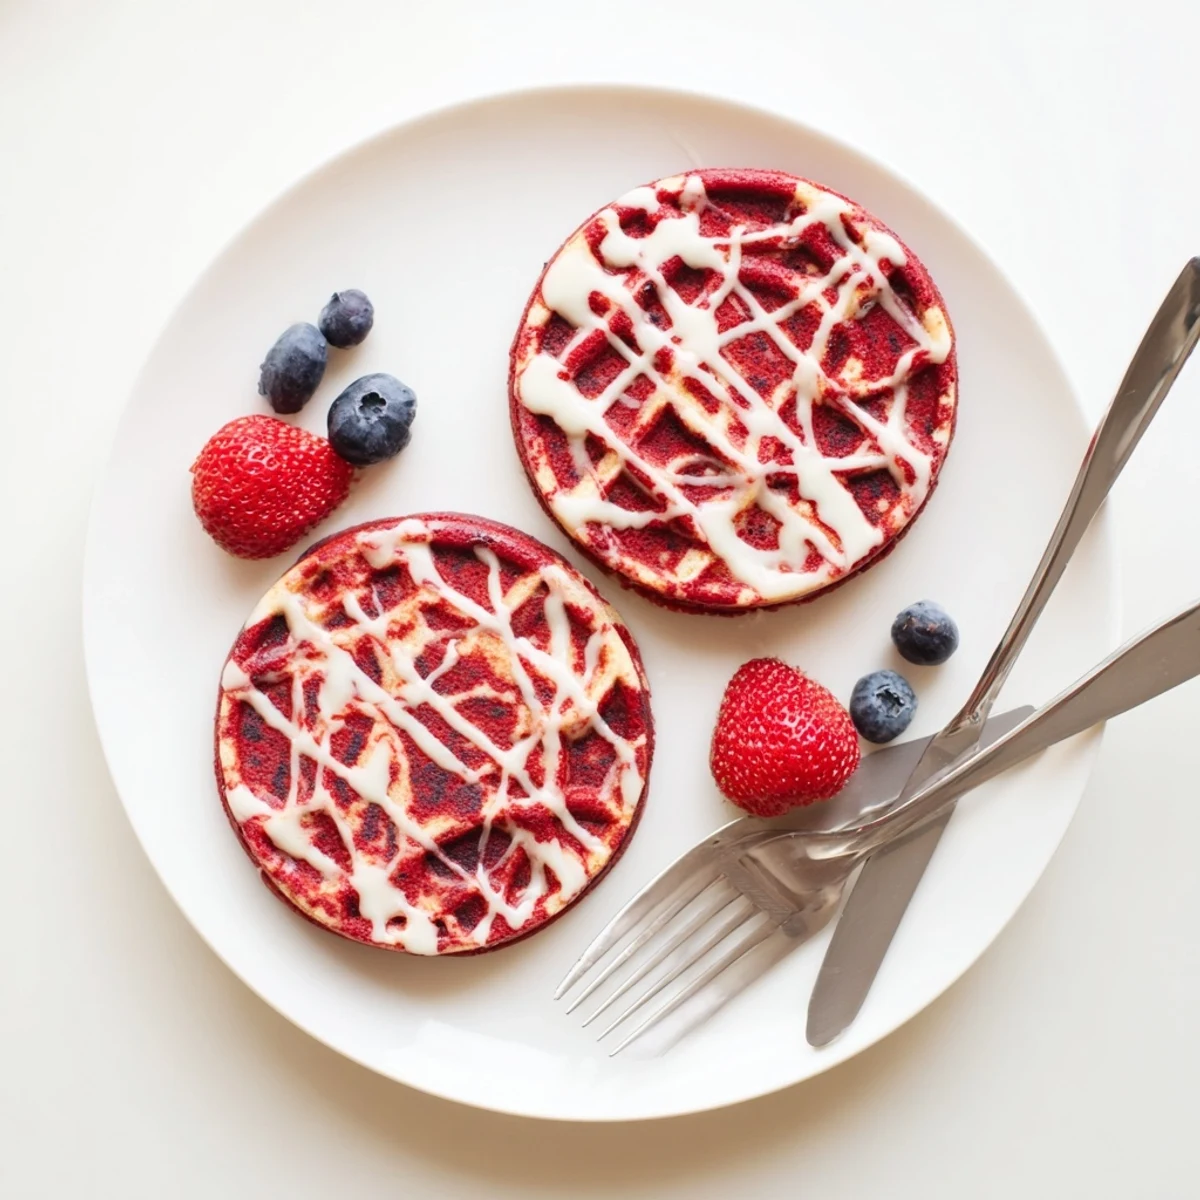
 These stunning red velvet marble waffles combine the rich, chocolate undertones of classic red velvet with classic vanilla batter in a gorgeous swirled pattern. The buttermilk-based batter creates tender, crisp waffles that are perfect for weekend brunch or special occasions.
Creating the marble effect is simple—just alternate spoonfuls of red velvet and vanilla batters onto your waffle iron and gently swirl with a chopstick. The result is visually striking with that distinctive red velvet flavor everyone loves.
Ready in just 30 minutes from start to finish, these waffles are easier to make than they look. Serve them warm with cream cheese glaze, maple syrup, or fresh berries for the ultimate indulgent breakfast experience.
Last winter my youngest asked if we could have dessert for breakfast and somehow that turned into a kitchen experiment with red velvet cake mix and our trusty waffle iron. The way those crimson streaks came together against golden vanilla felt like edible art, and now Sunday mornings demand these striped beauties on repeat.
My neighbor texted me at 8am one Saturday asking what smelled like carnival treats through our open windows. I ended up sending her home with a stack wrapped in parchment, and she told me later her kids fought over the last one.
Ingredients
- All-purpose flour: The protein structure here helps waffles rise tall while staying tender inside
- Buttermilk: Room temperature liquids blend more smoothly and react perfectly with the leavening
- Unsweetened cocoa powder: Just enough to give that classic red velvet depth without overpowering the sweetness
- Red food coloring: Gel coloring produces deeper reds with less liquid than traditional drops
- Vanilla extract: Pure extract makes the vanilla portion sing against the chocolate notes
Instructions
- Whisk the dry foundation:
- Sift flour, sugar, baking powder, baking soda, and salt into a large bowl to aerate and prevent lumps.
- Blend the wet mixture:
- Whisk buttermilk, eggs, melted butter, and vanilla until completely smooth and slightly frothy.
- Combine with care:
- Fold wet ingredients into dry ones using a spatula, stopping when just a few streaks remain.
- Create the swirl:
- Split batter between two bowls, stirring cocoa and red coloring into one half until vibrant.
- Heat and prepare:
- Let your waffle iron reach proper temperature and lightly grease the plates.
- Layer the magic:
- Drop alternating spoonfuls of each batter onto the center, then drag a chopstick through once or twice.
- Cook to perfection:
- Close lid and cook until steam slows and waffles turn golden crisp.
 Save to Pinterest
 My daughter now requests these for her birthday breakfast every year, insisting on making the swirl pattern herself while I pour the coffee. She says the marble design tastes better than plain waffles, and honestly I cannot argue with that logic.
Making The Perfect Cream Cheese Glaze
Beat softened cream cheese until smooth then whisk in powdered sugar and just enough milk to reach drizzling consistency. This glaze transforms waffles into something that feels completely inappropriate for breakfast but absolutely essential.
Getting That Restaurant Style Crisp
Let cooked waffles rest directly on oven rack at 200°F while you finish the batch. This step keeps them exterior shattering crisp while maintaining a fluffy interior that soaks up syrup beautifully.
Serving Ideas That Elevate
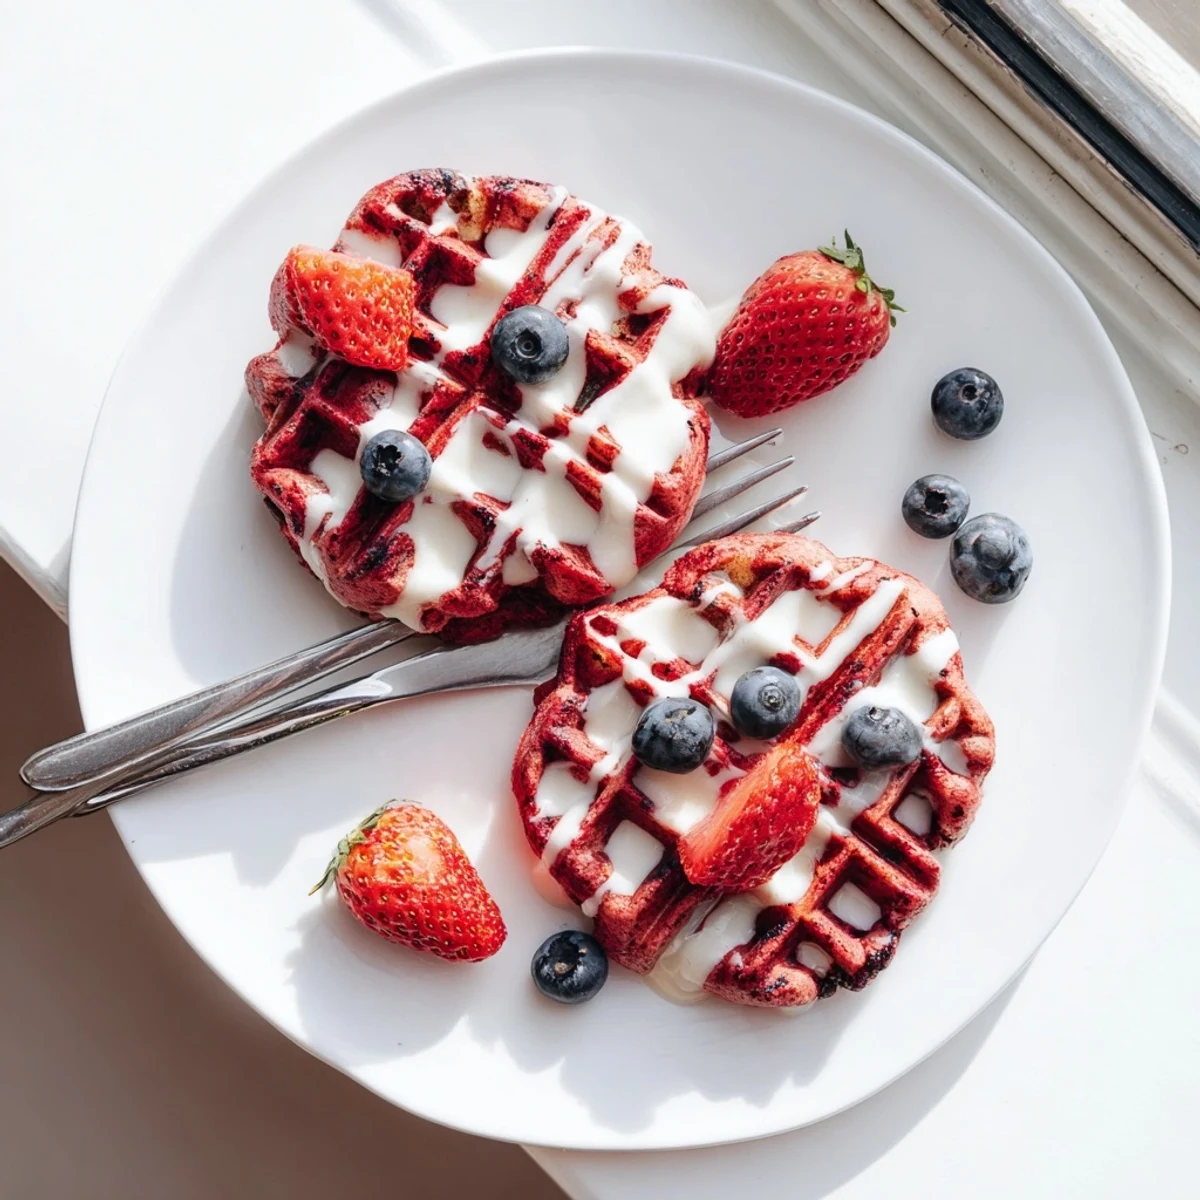
Fresh berries add tart brightness while whipped cream brings that dessert for breakfast vibe kids absolutely love. Sometimes I crumble cooked bacon into the vanilla batter portions for a sweet salty moment that stops conversation.
- Warm maple syrup pooled into each waffle square makes every bite perfect
- A dusting of powdered sugar right before serving looks bakery worthy
- Extra cream cheese glaze on the side never goes to waste
 Save to Pinterest
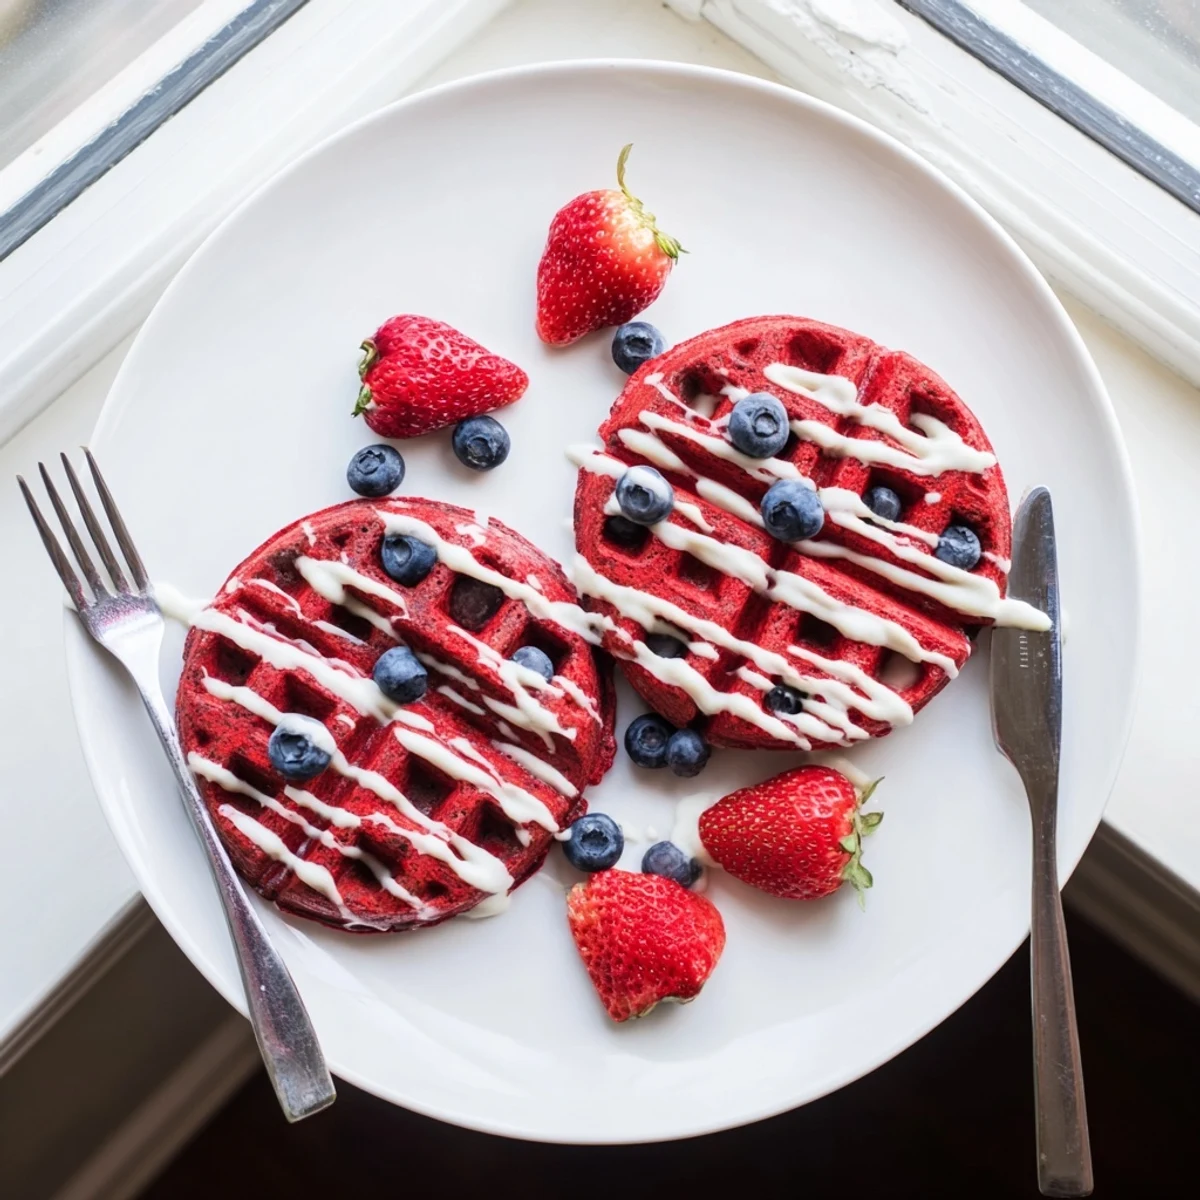
 There is something joyful about cutting into a waffle that looks like a edible masterpiece, and watching friends discover that pattern never gets old.
Recipe Questions & Answers
- → What makes red velvet waffles different from regular waffles?
-
Red velvet waffles incorporate cocoa powder and red food coloring into the batter, giving them that distinctive red color and subtle chocolate flavor. When swirled with vanilla batter, you get both flavors in every bite along with the beautiful marbled appearance.
- → Can I make the batter ahead of time?
-
Yes, you can prepare the batter the night before and store it in the refrigerator. However, the baking powder may lose some potency, so you might want to add a fresh pinch right before cooking. Let the batter come to room temperature for 10-15 minutes before making the waffles.
- → What's the best way to achieve the marble effect?
-
Alternate dollops of red velvet and vanilla batters onto the center of your waffle iron, then use a chopstick or butter knife to gently swirl them together—just 2-3 light strokes. Don't over-swirl or you'll lose the distinct marbled pattern and end up with a uniformly colored batter.
- → Can I use natural food coloring instead of red dye?
-
You can use beet juice or pomegranate juice as natural alternatives, though they'll produce a more muted reddish-pink hue rather than the vibrant red of traditional food coloring. Keep in mind that natural options may add a slight earthy flavor to the batter.
- → What toppings work best with these waffles?
-
Cream cheese glaze complements red velvet perfectly—you can make a simple version by whisking together softened cream cheese, milk, and powdered sugar. Other great options include whipped cream, fresh berries, maple syrup, or even a dusting of cocoa powder for extra chocolate intensity.
- → Can I freeze leftover waffles?
-
Absolutely. Let the waffles cool completely, then freeze them in a single layer on a baking sheet before transferring to a freezer bag. They'll keep for up to 3 months. Reheat in a toaster or oven at 350°F for 5-10 minutes until crisp and heated through.
