 Save to Pinterest
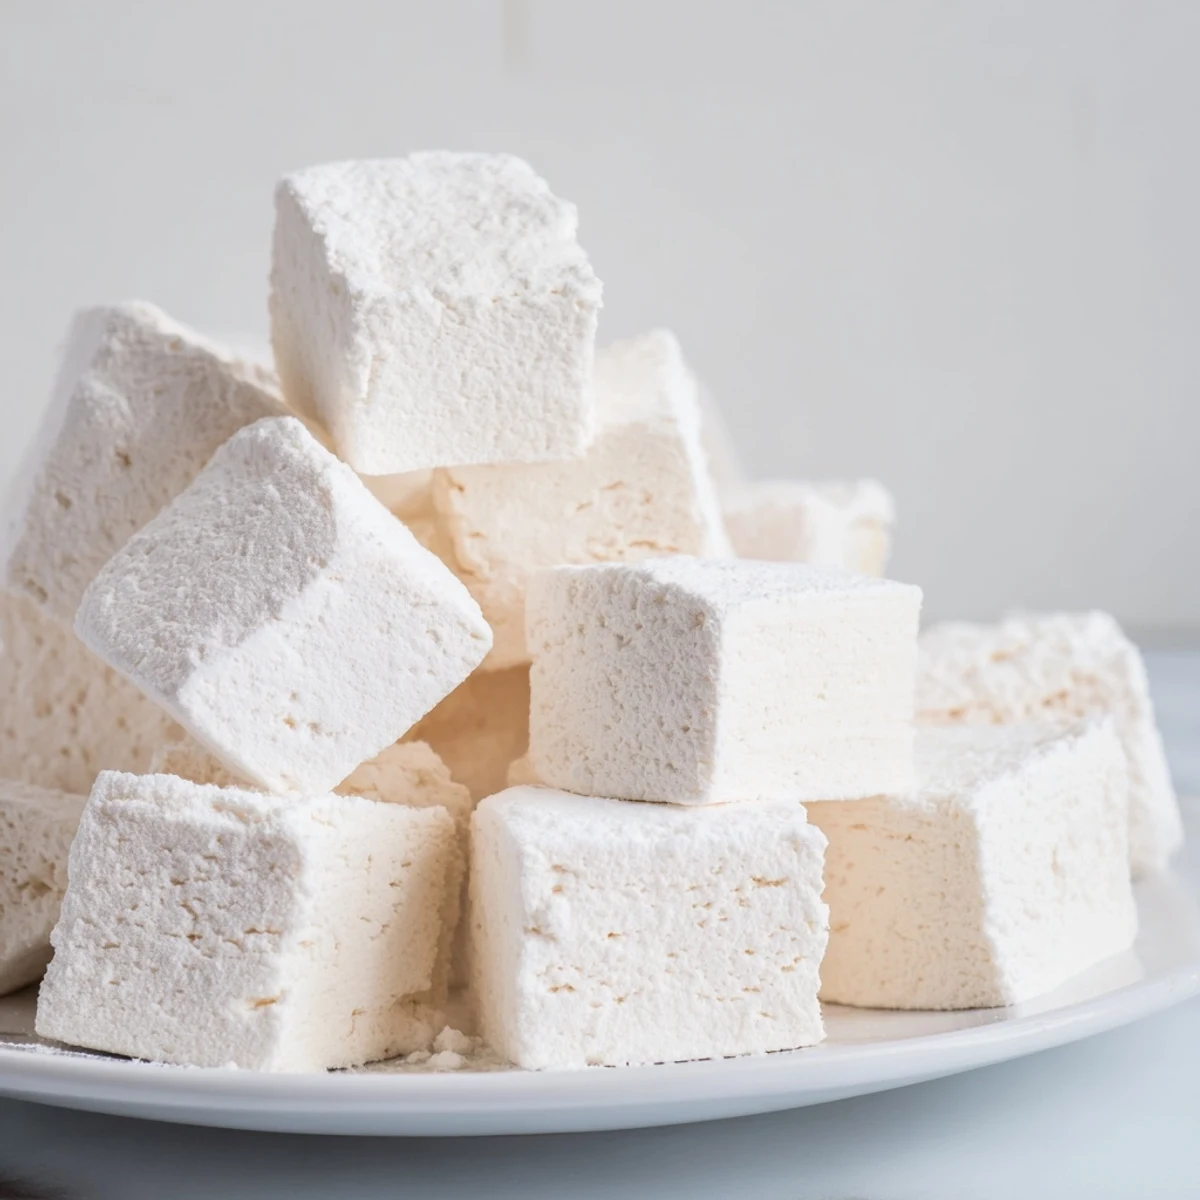
 Craft pillowy-soft marshmallows at home using sugar syrup, gelatin, and vanilla. The process involves blooming gelatin, cooking sugar to the soft-ball stage, and whipping until tripled in volume for that signature cloud-like texture. Perfect for adding to hot cocoa, roasting over campfires, or enjoying straight from the container.
The first time I made homemade marshmallows, I stood there watching the mixer whip what looked like pure science into these pillowy white clouds. My kitchen smelled like vanilla and caramelized sugar, and I kept poking the mixture like I couldnt believe something so ethereal came from basic pantry ingredients. Now they are my go-to winter project, especially when I want to impress people who assume marshmallows only come in plastic bags from the grocery store.
Last December I made three batches for holiday gifts, peppermint for my sister, vanilla for my neighbor, and a plain batch that never actually made it into gift bags because my family kept stealing them from the cooling pan. I learned to make double batches and hide them until they are fully set.
Ingredients
- Granulated sugar: The foundation of your syrup, get it dissolved completely before turning up the heat to prevent crystallization
- Light corn syrup: This keeps your sugar syrup smooth and prevents those annoying crunchy sugar crystals from forming
- Water: Split between the syrup and blooming the gelatin, precise measurements matter here
- Fine sea salt: Just a pinch balances all that sweetness and makes the vanilla flavor pop
- Unflavored gelatin: The magic transformer that turns liquid syrup into fluffy clouds, make sure to bloom it properly
- Pure vanilla extract: Add this at the very end so the heat doesnt cook off those delicate aromatic compounds
- Confectioners sugar and cornstarch: Your dusting mixture keeps everything from sticking to itself, your knife, your fingers, your countertop
Instructions
- Prep your pan like you mean it:
- Grease a 9x9-inch pan thoroughly and dust it with a mixture of equal parts confectioners sugar and cornstarch, tapping out any excess, this creates the nonstick surface that saves you later
- Bloom the gelatin:
- In your stand mixer bowl, sprinkle the gelatin over half a cup of cold water and let it sit while you make the syrup, it will absorb the water and become firm
- Cook the sugar syrup:
- Combine sugar, corn syrup, remaining water, and salt in a medium saucepan, stir until dissolved, then bring to a boil without stirring and heat until it reaches exactly 240°F on your candy thermometer
- The whip:
- With the mixer on low, carefully stream that hot syrup into the gelatin, then crank it to high and let it go for 10 to 12 minutes until the mixture triples in volume and turns glossy white
- Add flavor and spread:
- Splash in the vanilla during the last minute of mixing, then quickly scrape everything into your prepared pan using a greased spatula before it starts to set
- The patience part:
- Dust the top with more sugar mixture, leave it uncovered at room temperature for at least 4 hours or overnight, letting it set completely
- Cut and coat:
- Turn the slab out onto a board, cut into squares with a knife or pizza cutter dusted in sugar mixture, and toss each piece in more coating until they are no longer sticky
 Save to Pinterest
 These became a Christmas tradition after my niece asked if we could make the ones that float in hot cocoa, now she requests them every year and helps with the dusting part because her hands are small enough to toss the pieces without crushing them.
Getting Creative With Flavors
Swap the vanilla for peppermint extract during winter months, or try almond extract for something nutty and sophisticated. You can whisk in food coloring during that final minute of mixing for pastel marshmallows that look incredible in gift bags or on hot cocoa bars.
Storage Solutions
Keep them in an airtight container with a piece of wax paper between layers, they will stay fresh for about a week though they rarely last that long in my house. If they start to get sticky, just toss them in a little more of the sugar cornstarch mixture.
Serving Ideas
Toast them over a burner until golden and sandwich them between graham crackers with chocolate, or float them in hot chocolate and watch them melt into sweet little clouds.
- Cut them into larger squares for s'mores or tiny bites for hot chocolate garnish
- Package them in clear bags with ribbon for effortless homemade gifts
- Try dipping them in melted chocolate for an extra special treat
 Save to Pinterest
 There is something deeply satisfying about making something from scratch that most people only buy from stores, and the first time you drop a homemade marshmallow into hot cocoa and watch it melt into creamy perfection, you will understand why they are worth the effort.
Recipe Questions & Answers
- → How long do homemade marshmallows take to set?
-
Allow marshmallows to set at room temperature for at least 4 hours, preferably overnight. This ensures the structure fully develops and they maintain their shape when cut.
- → Can I make these without a stand mixer?
-
A stand mixer is highly recommended for achieving proper volume. Hand mixers may work but will require significant effort and longer beating time—expect 15-18 minutes of continuous mixing.
- → What's the best way to cut marshmallows cleanly?
-
Dust a sharp knife or pizza cutter with the sugar-cornstarch mixture before cutting. Use long, smooth strokes and wipe the blade clean between cuts to prevent sticking.
- → How should I store homemade marshmallows?
-
Keep in an airtight container at room temperature for up to 1 week. Add a small piece of parchment paper between layers to prevent sticking. Avoid refrigeration as they become too firm.
- → Can I make different flavors?
-
Absolutely. Replace vanilla with extracts like peppermint, almond, or coconut. Add food coloring during the final minute of mixing. For fruit varieties, reduce water and add fruit purée or freeze-dried fruit powder.
