 Save to Pinterest
 Craft exceptional artisan sourdough using wild yeast starter and patient fermentation. This traditional method produces a tangy, complex loaf with professional bakery qualities—shatteringly crisp crust and open, chewy crumb. The process combines ancient techniques with accessible home kitchen methods, requiring just four ingredients and time.
The extended fermentation develops deep flavor while improving digestibility. Your starter transforms simple flour and water into something extraordinary. This method accommodates busy schedules through flexible timing and refrigerated proofing.
The kitchen was quiet at 11pm, just me and this bubbling jar of starter on the counter. Something about wild yeast feels like having a tiny pet that demands feeding at odd hours. That first loaf came out of the oven looking like a cratered moon, but the flavor stopped me in my tracks. Now I keep starter going just for those days when nothing else will do.
My sister visited last winter and we ate half a loaf standing up by the counter, slathering salted butter on slice after slice. She asked for the recipe, but when I started explaining hydration percentages and folding schedules, she laughed and said just tell me when to feed the starter. Some things need doing, not explaining.
Ingredients
- Bread flour: Higher protein content gives you that chewy, open crumb structure and helps the loaf hold its shape through the long proof
- Water: Room temperature is crucial here because cold water slows fermentation while warm water speeds it up unpredictably
- Active sourdough starter: Your starter should be bubbly and doubled in size within 4-6 hours of feeding for reliable rise
- Fine sea salt: Fine salt dissolves evenly through the dough, unlike coarse which leaves salty pockets if you are not thorough
Instructions
- Mix and rest:
- Combine the flour and water in a large bowl until no dry flour remains. The dough will look shaggy and rough. Cover it and walk away for a full hour so the flour can fully hydrate.
- Work in the starter:
- Add your starter and salt to the rested dough. Pinch and squeeze the mixture with your hand until everything comes together into a cohesive mass.
- Build strength through folding:
- Every 30 minutes for 2 hours, grab one side of the dough and stretch it up over the center. Rotate the bowl and repeat four times per set. The dough transforms from slack to silky.
- Let it rise:
- Cover the bowl and leave it at room temperature for 4-6 hours. The dough should grow noticeably larger and show small bubbles on the surface.
- Shape with intention:
- Turn the dough onto a lightly floured surface and fold the edges toward the center to create tension. Flip it over and use your hands to form a tight round or oval.
- Cold fermentation magic:
- Place your shaped dough seam side up in a floured proofing basket. Cover and refrigerate for 8-12 hours while the sour flavors develop.
- Get everything hot:
- Put your Dutch oven in the oven and crank the heat to 230°C (450°F). Let it preheat for at least 30 minutes so the interior surface gets properly hot.
- The moment of truth:
- Gently flip your dough onto parchment paper. Use a sharp blade to score the top in a pattern that guides how the bread expands in the oven.
- Bake covered:
- Transfer the loaf with parchment into the hot Dutch oven. Cover with the lid and bake for 20 minutes to trap steam.
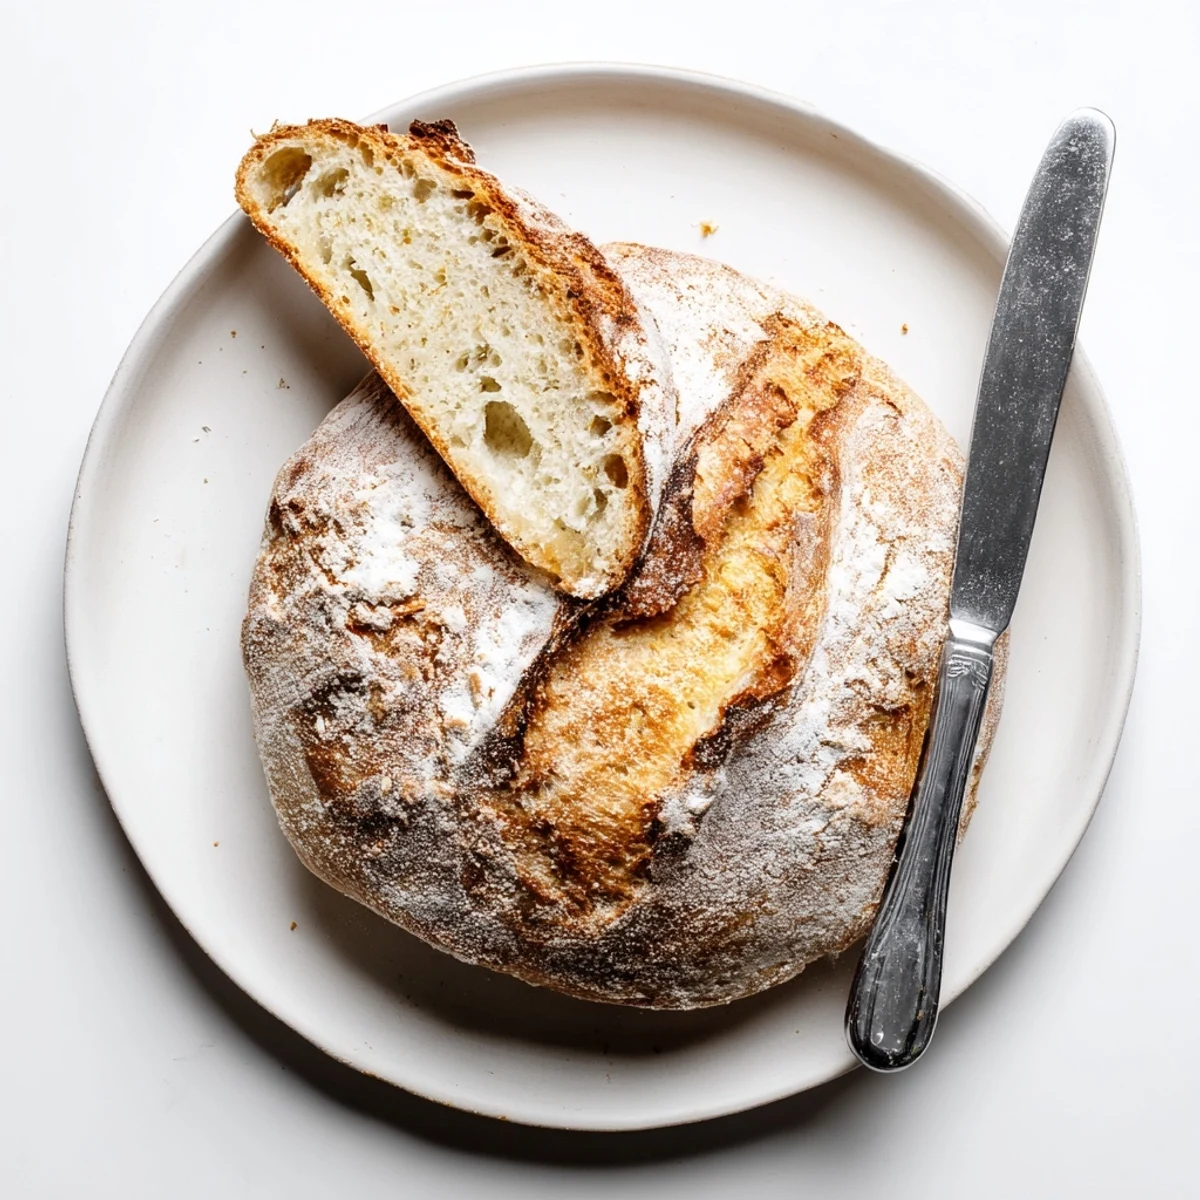
- Reveal the crust:
- Remove the lid and bake another 20 minutes until the crust turns deep golden brown. The color tells you the sugars have caramelized properly.
- Patience pays off:
- Cool on a wire rack for at least 1 hour. Cutting into warm bread ruins the crumb structure you have spent all day building.
 Save to Pinterest
 There was a Sunday morning when I pulled this bread out of the oven and my housemate walked in from a run. The smell had filled the whole apartment. We ate it with scrambled eggs and tomato jam, and nobody said much because the bread said enough.
Understanding Your Starter
Your starter is alive, which means it responds to temperature, feeding schedules, and even barometric pressure. I have learned that starters kept on the counter develop more tang than ones living in the fridge. Feed yours at the same time each day and it will become predictable in the best way. When it smells like overripe fruit and bubbles vigorously within hours of feeding, you know it is ready to bake with.
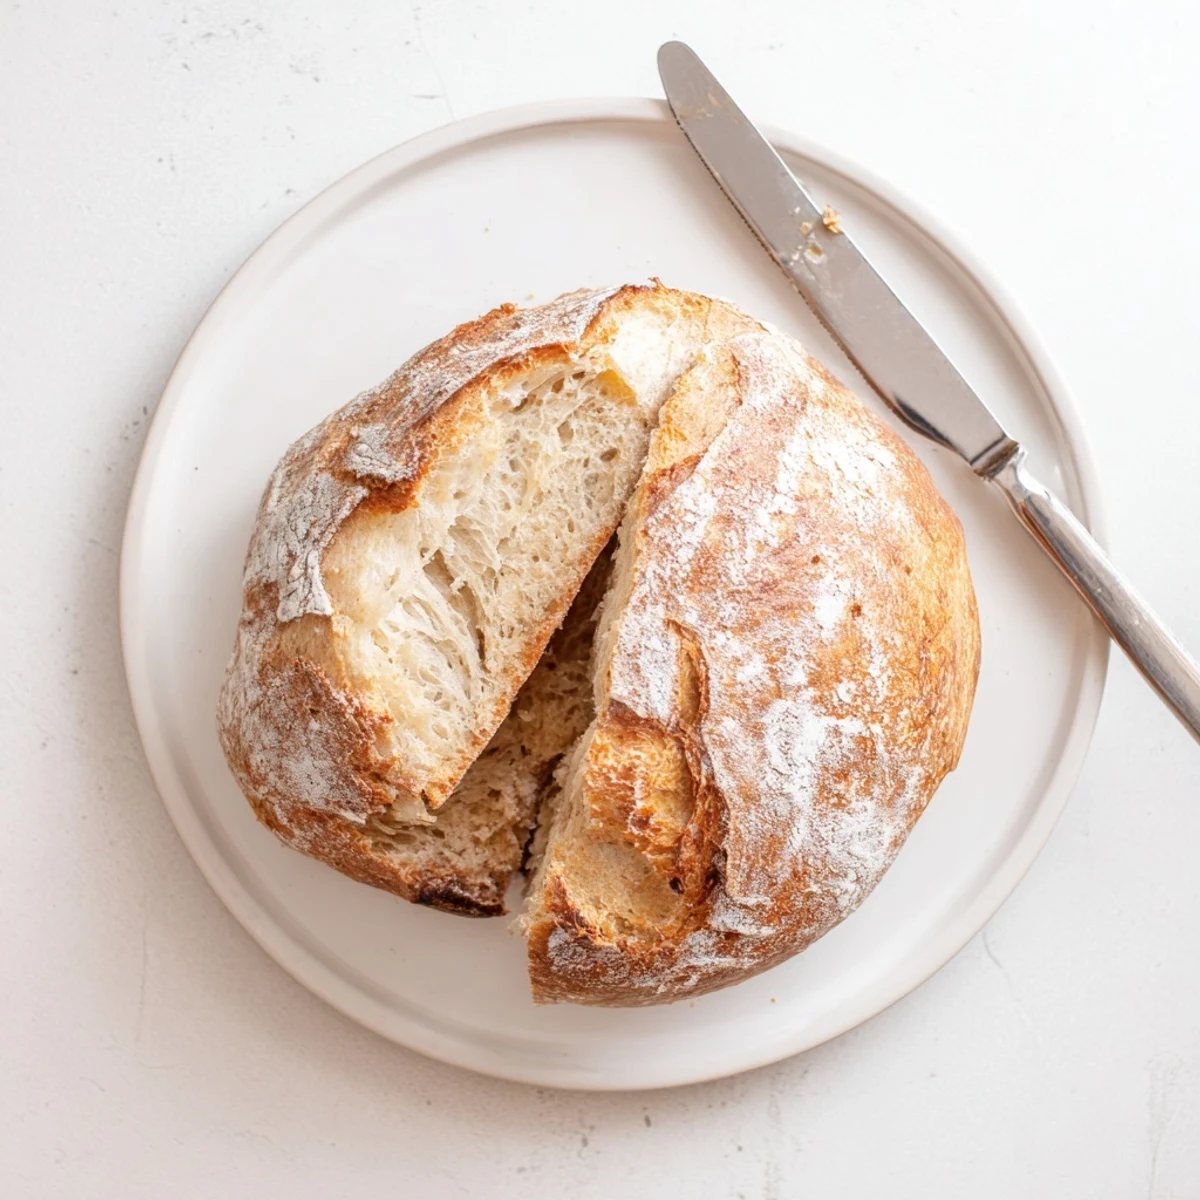
Shaping Confidence
The first dozen times I shaped sourdough, the dough would spread into a sad puddle during baking. Then someone told me surface tension is everything. Use plenty of flour on your work surface and keep your hands light but firm. The dough needs to feel like it is holding itself together before it goes into the proofing basket. A properly shaped loaf should sit tall and proud in its basket, not slump against the sides.
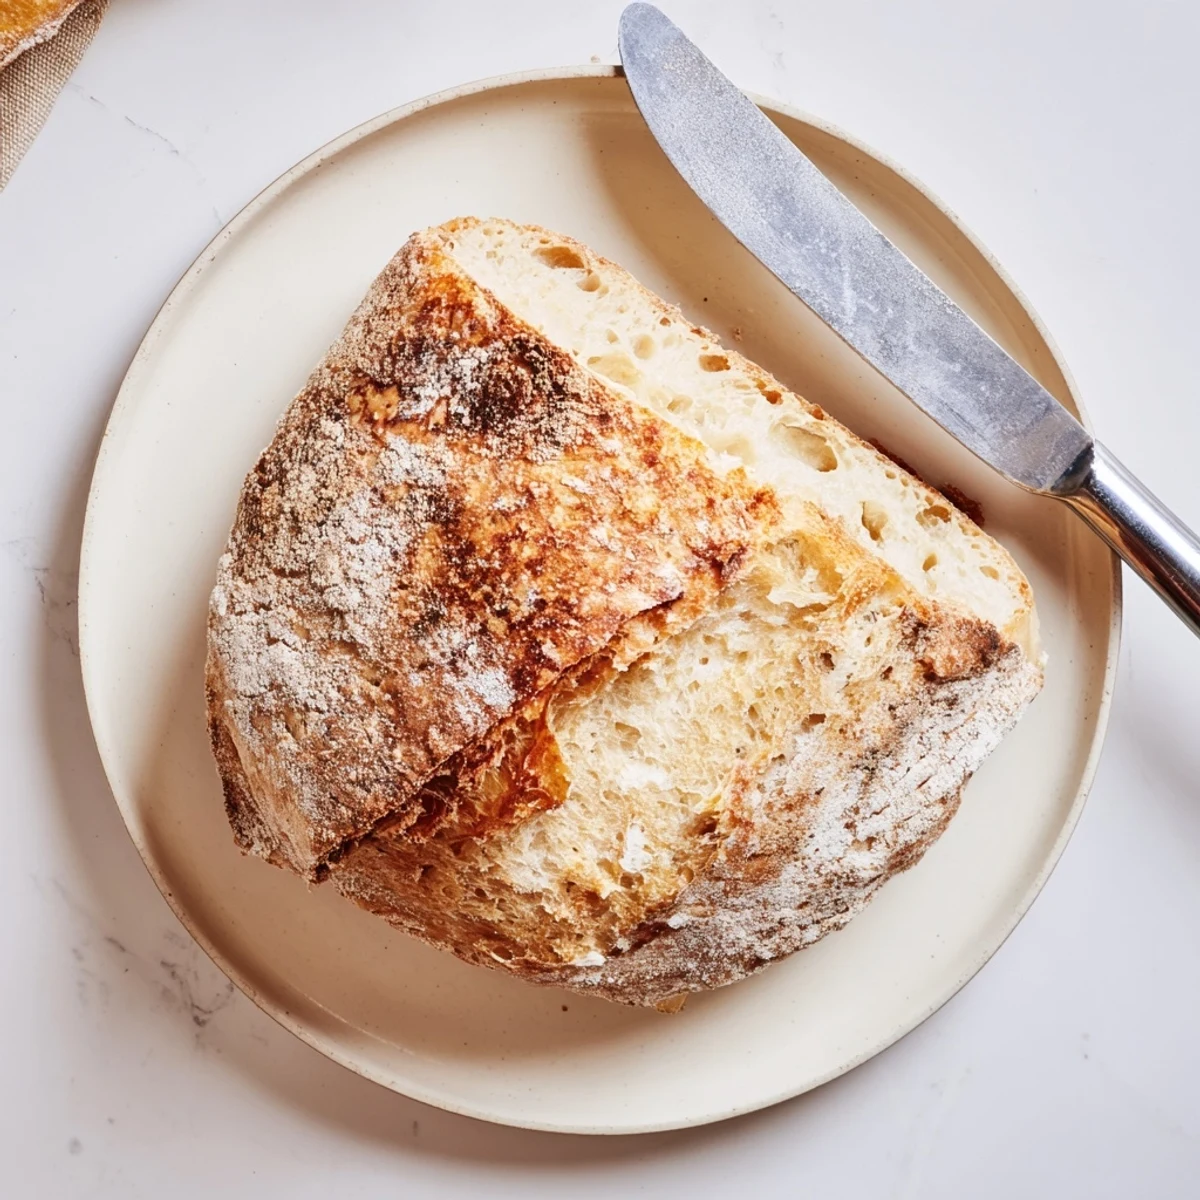
Scoring Patterns
Scoring is not decoration. It tells your bread where to expand during that first burst of oven heat. A simple single slash down the center gives you a classic ear that bakers chase after. A cross pattern opens in four directions, while more elaborate designs create their own landscape. The key is holding your blade at a shallow angle and cutting with confidence. Hesitation shows up in ugly ragged edges.
- A razor blade or fresh lame cuts cleaner than a knife
- Practice scoring on playdough before you risk a real loaf
- Spraying the scored surface with water before baking helps the design bloom
 Save to Pinterest
 Every loaf teaches you something if you pay attention. The best bread comes from showing up, feeding your starter, and letting time do most of the work.
Recipe Questions & Answers
- → What makes sourdough different from regular bread?
-
Sourdough uses wild yeast and beneficial bacteria naturally present in flour rather than commercial yeast. This creates lactic acid, giving distinctive tangy flavor and improving shelf life. The longer fermentation breaks down gluten, making nutrients more accessible and easier to digest.
- → How do I know my starter is active enough?
-
An active starter should double in size within 4-8 hours after feeding. Look for abundant bubbles throughout, a slightly sweet or tangy aroma, and a fluffy, aerated texture. The surface should appear domed. Test by dropping a small spoonful into water—if it floats, it's ready to use.
- → Can I shorten the fermentation time?
-
Rushing fermentation compromises flavor and texture. The wild yeast needs time to develop characteristic tanginess. However, you can adjust timing based on kitchen temperature—warmer environments (75-80°F) accelerate fermentation, while cooler spaces slow it. The refrigerated proof can be extended up to 24 hours for schedule flexibility.
- → Why is my crust not crispy?
-
Crispy crust requires proper steam during initial baking, which the Dutch oven provides. Ensure your oven reaches full temperature before loading. Avoid opening the Dutch oven during the first 20 minutes. If crust softens after cooling, reheat briefly at 350°F for 5-10 minutes to restore crispness.
- → What flour works best for sourdough?
-
Bread flour's higher protein content (11-13%) creates strong gluten networks essential for gas retention. All-purpose flour works but may produce slightly denser loaves. Whole grain flours add flavor but can make denser bread. Keep whole grains under 20% total flour for best results.
