 Save to Pinterest
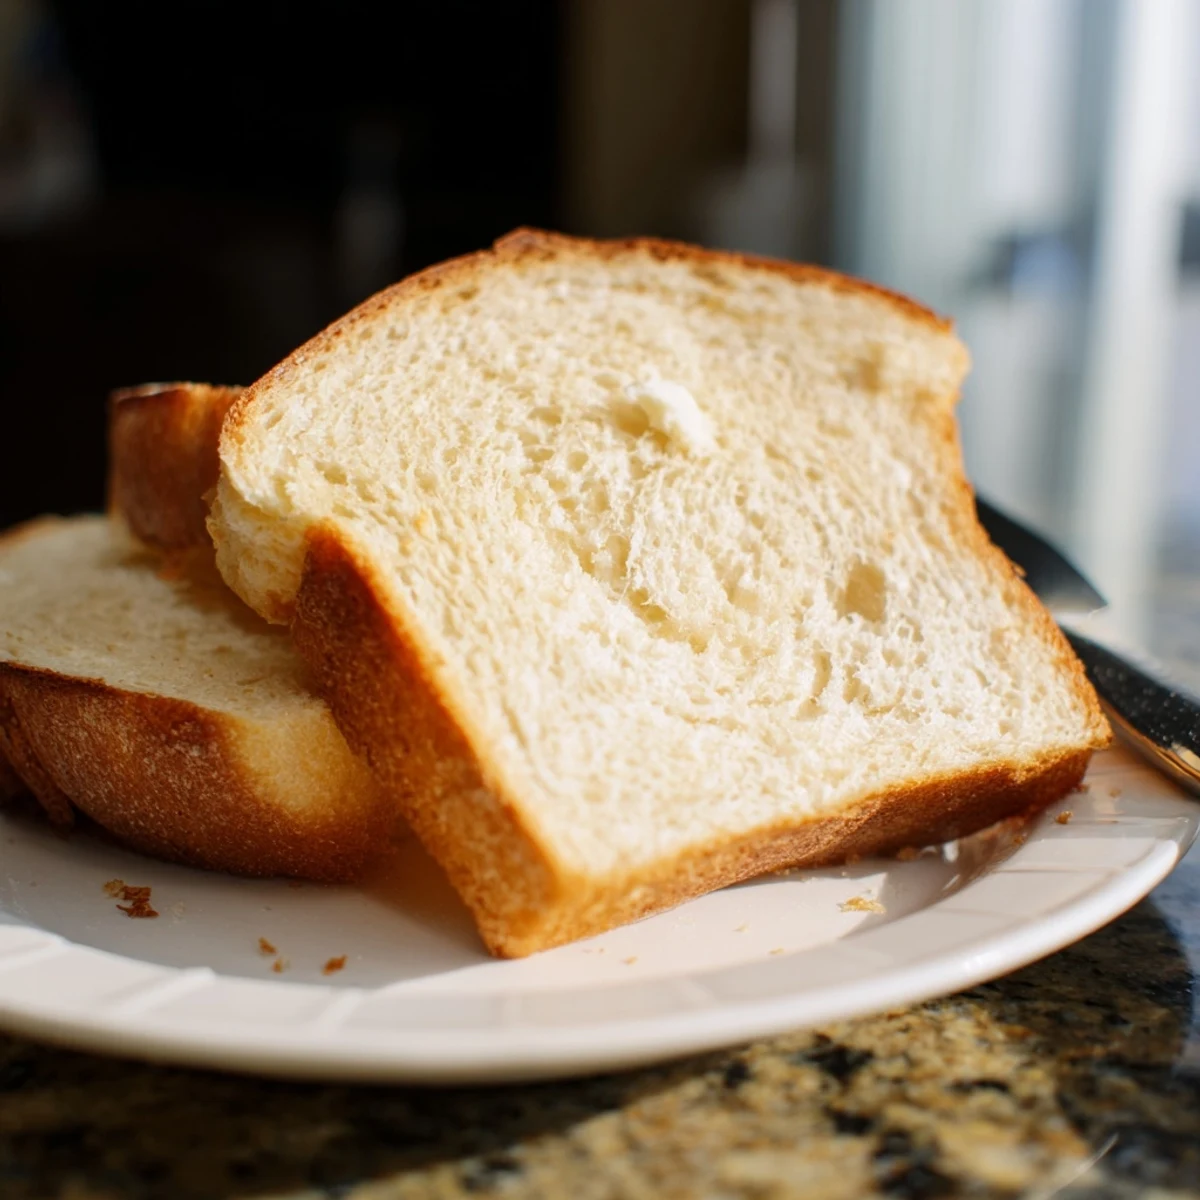
 Craft bakery-quality bread using just a stovetop skillet. This simple technique yields soft, golden loaves with a tender crumb and lightly crisped exterior—all without turning on your oven. The low-and-slow cooking method mimics professional baking, creating steam inside the covered pan that helps the dough rise beautifully.
Perfect for small kitchens, camping, or summer days when you want fresh bread without heating up your home. The entire process from mixing to slicing takes less than two hours, with most of that being hands-off rising time.
The first time I made stovetop bread, I was skeptical. My apartment oven had died mid-bake, leaving me with raw dough and dinner guests arriving in an hour. That emergency attempt turned into one of those happy kitchen accidents that changes how you cook forever. Now I make this intentionally, not just out of necessity.
Last winter, during a power outage that lasted six hours, this recipe saved our family dinner. We cooked by candlelight, taking turns flipping the bread and watching it transform through the glass lid. My kids still talk about that cozy evening as one of their favorite meals, proving that sometimes limitations create the best memories.
Ingredients
- All-purpose flour: Forms the structure of your bread, though Ive successfully used half whole wheat for a nuttier version
- Instant dry yeast: Works faster than active dry yeast, though you can substitute if needed with proofing time
- Sugar: Feeds the yeast and helps with browning, plus it adds the subtlest sweetness that balances the savory notes
- Salt: Non-negotiable for flavor and strengthening the gluten structure
- Olive oil: Keeps the bread tender and helps achieve that beautiful golden crust
- Warm water: Should feel comfortably warm on your wrist, like a baby bottle, water that is too hot kills yeast
Instructions
- Mix the dry ingredients:
- Combine flour, yeast, sugar, and salt in your largest bowl, giving it a thorough whisk to distribute everything evenly
- Bring it together:
- Pour in warm water and olive oil, stirring with a wooden spoon until you have a shaggy, slightly sticky dough that holds its shape
- Knead with purpose:
- Turn onto a floured surface and knead for 8 to 10 minutes, pushing forward with the heel of your hand and folding back until the dough becomes smooth and elastic, bouncing back when you poke it
- Let it rise:
- Place dough in an oiled bowl, cover with a warm damp cloth, and let it rest in a cozy spot for about an hour until it has doubled impressively in size
- Shape your loaf:
- Gently deflate the dough and shape it into a round, tucking the edges underneath to create tension on top
- Prepare the pan:
- Coat your heavy-bottomed skillet generously with olive oil, but do not preheat it
- The first cook:
- Place dough in the cold pan, cover tightly, and cook over your lowest possible heat for 15 minutes, occasionally peeking to make sure the bottom is not burning
- The crucial flip:
- Carefully turn the bread using a spatula, cover again, and cook for 12 to 15 more minutes until both sides are golden brown and the loaf sounds hollow when tapped, which means it is done
- Rest before slicing:
- Cool on a wire rack for at least 15 minutes, because cutting too soon will steam the interior and ruin that perfect texture
 Save to Pinterest
 This bread became a tradition during our weekly family game nights. We would all gather around the stove watching it cook, arguing about whose turn it was to flip it, and then tearing it apart still warm. There is something about bread made on the stovetop that feels more elemental, more connected to how people have cooked for thousands of years.
Getting the Perfect Crust
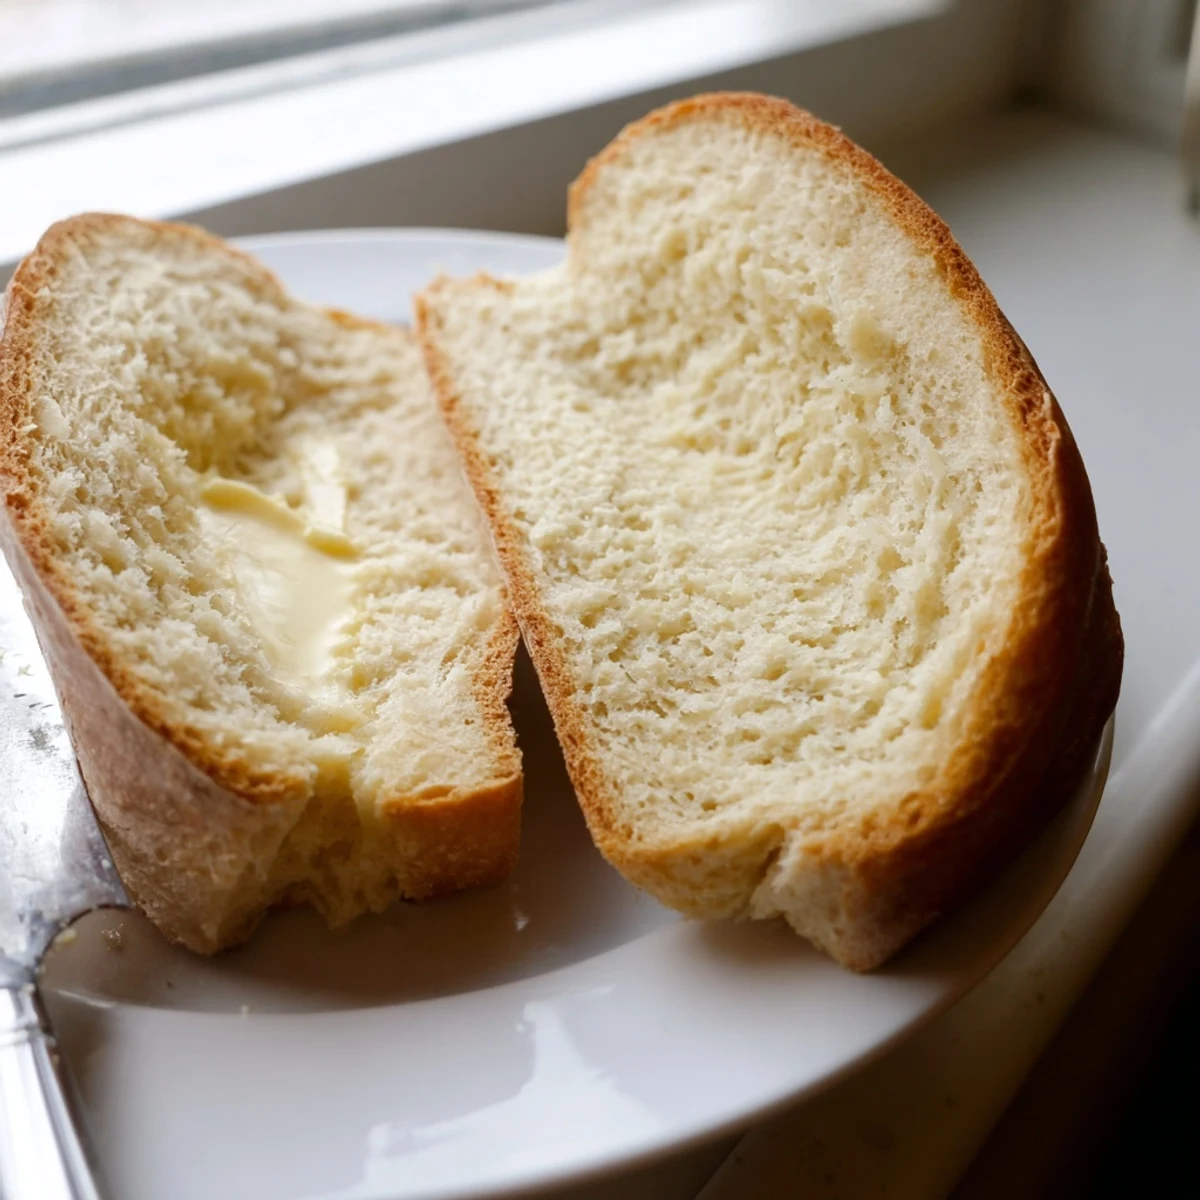
The olive oil in the pan is what creates that restaurant-worthy crust, and I learned the hard way that being too generous yields a greasy bottom while being too modest results in sticking. The right amount leaves a beautiful sheen and makes flipping easier.
Adding Flavor Variations
I have folded in roasted garlic, rosemary, grated cheese, even sun-dried tomatoes straight into the dough before rising. My favorite might be adding everything bagel seasoning to the outside before cooking, which creates this incredible savory crust that everyone asks about.
Serving and Storage Wisdom
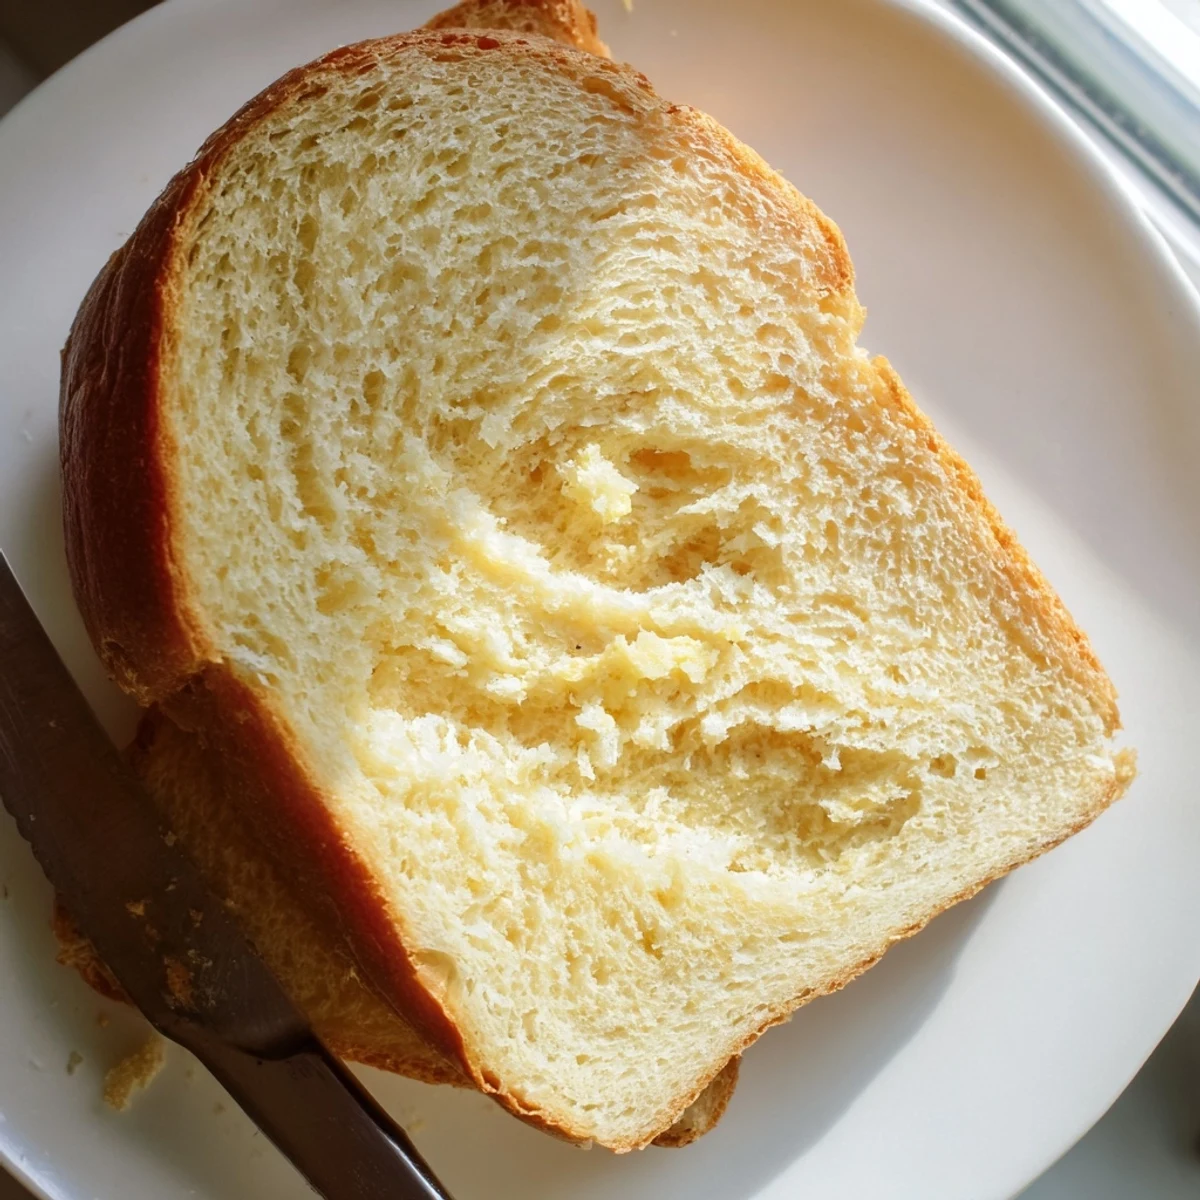
This bread is absolutely at its prime the same day it is made, while the crust still has that irresistible crunch. Leftovers can be revived in a dry skillet over medium heat, bringing back much of the original texture.
- Wrap leftovers in a cloth rather than plastic, which prevents the crust from getting soft and sad
- Any extra slices make phenomenal garlic bread or breakfast toast the next morning
- Do not refrigerate, as the cold air accelerates staling dramatically
 Save to Pinterest
 There is something deeply satisfying about making bread without turning on your oven, like discovering a secret shortcut that still delivers spectacular results. Grab your heaviest skillet and start kneading.
Recipe Questions & Answers
- → Can I use whole wheat flour instead of all-purpose?
-
Yes, substitute up to half the all-purpose flour with whole wheat. The loaf may be slightly denser, but still delicious. Add an extra tablespoon of water if the dough feels stiff.
- → What if I don't have a lid for my skillet?
-
A tight-fitting lid is essential for trapping steam. Use aluminum foil secured tightly over the pan, or place a baking sheet on top. The covered environment creates the steam needed for proper rising.
- → How do I know when the bread is fully cooked?
-
The loaf should sound hollow when tapped on the bottom, and both sides should be golden brown. An instant thermometer inserted into the center should read 190–200°F (88–93°C).
- → Can I make this bread gluten-free?
-
This method works with gluten-free flour blends, but the texture will differ. Look for a blend containing xanthan gum for better structure. Rising times may vary, so watch closely during cooking.
- → Why is my dough sticking to the pan?
-
Ensure your skillet is well-greased before adding the dough. If sticking occurs, use a nonstick pan or cast iron seasoned with oil. Let the bread cool slightly before attempting to flip it.
- → Can I freeze this stovetop bread?
-
Absolutely. Wrap cooled loaves tightly in plastic, then foil. Freeze for up to 3 months. Thaw at room temperature, then refresh in a warm skillet for 5 minutes to restore the crust.
