 Save to Pinterest
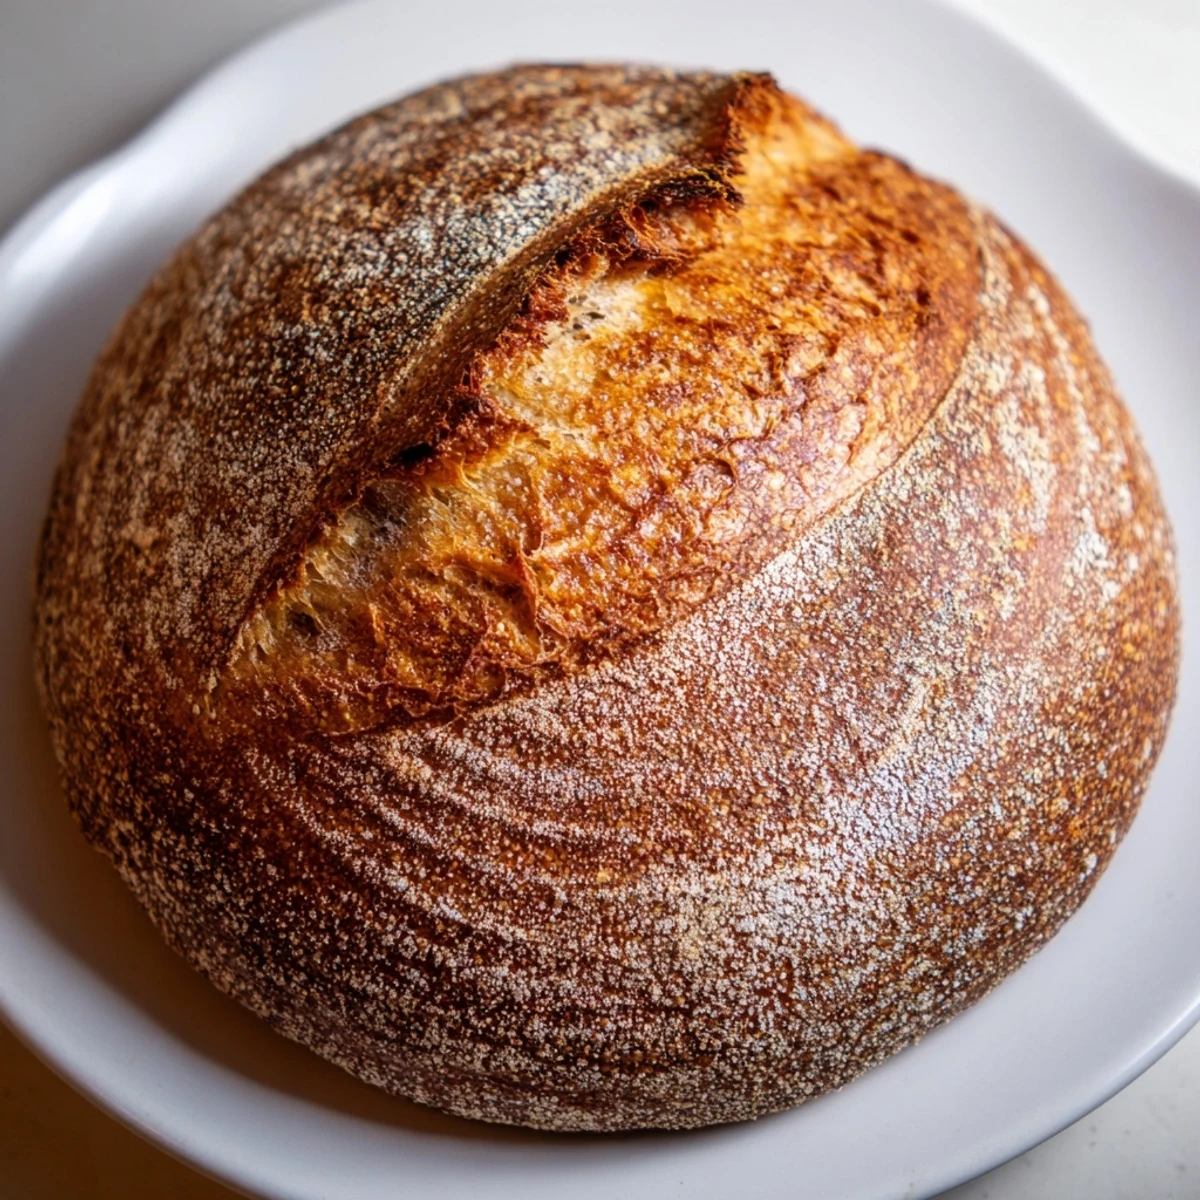
 Master the art of crusty bread with this straightforward technique that yields professional-quality results. The long fermentation develops deep flavor while the Dutch oven creates steam for that signature crackling crust. With just four ingredients and minimal hands-on time, you'll produce a bakery-style loaf with a beautifully caramelized exterior and tender, hole-filled interior.
The first time I made no-knead bread, I honestly thought I had messed something up. The dough looked so shaggy and uncooperative that I almost threw it out. But then that smell started wafting through the kitchen, and I understood why people have been making bread this way for centuries. Now my apartment always has a bowl of dough bubbling away on the counter.
I brought a loaf to my sister dinner last winter, and her husband spent the whole meal asking what bakery Id bought it from. When I told him Id mixed it up the night before in about five minutes flat, he looked at me like I was sharing state secrets. Now they request it every time we visit.
Ingredients
- 3 cups all-purpose flour: No need for fancy bread flour here, regular works beautifully
- 1 1/2 teaspoons salt: Dont skimp on this, it makes all the difference in flavor
- 1/2 teaspoon instant yeast: The tiny amount is intentional, it develops slow, deep flavor
- 1 1/2 cups lukewarm water: Think bath temperature, not hot, you want happy yeast
Instructions
- Mix the dough:
- Combine flour, salt, and yeast in a large bowl, then pour in the water and stir until everything comes together into a messy, shaggy dough. Do not overthink this, it will look rough and thats exactly right.
- Let it work its magic:
- Cover the bowl with plastic wrap or a clean towel and leave it alone at room temperature for 12 to 18 hours. You will come back to find it bubbling, doubled, and smelling wonderfully yeasty.
- Shape the loaf:
- Turn the dough onto a lightly floured surface and gently fold it over itself a few times to form a rough ball. Place it on a piece of parchment paper and let it rest while your oven heats up.
- Preheat with purpose:
- Put your Dutch oven or heavy lidded pot in the oven and crank it to 450°F. Let it heat for at least 30 minutes because that screaming hot pot is what creates the gorgeous crust.
- Bake covered:
- Carefully lift the parchment paper and lower the dough into the hot pot. Cover it immediately and bake for 30 minutes, trapping the steam that gives the bread its airy interior.
- Finish with color:
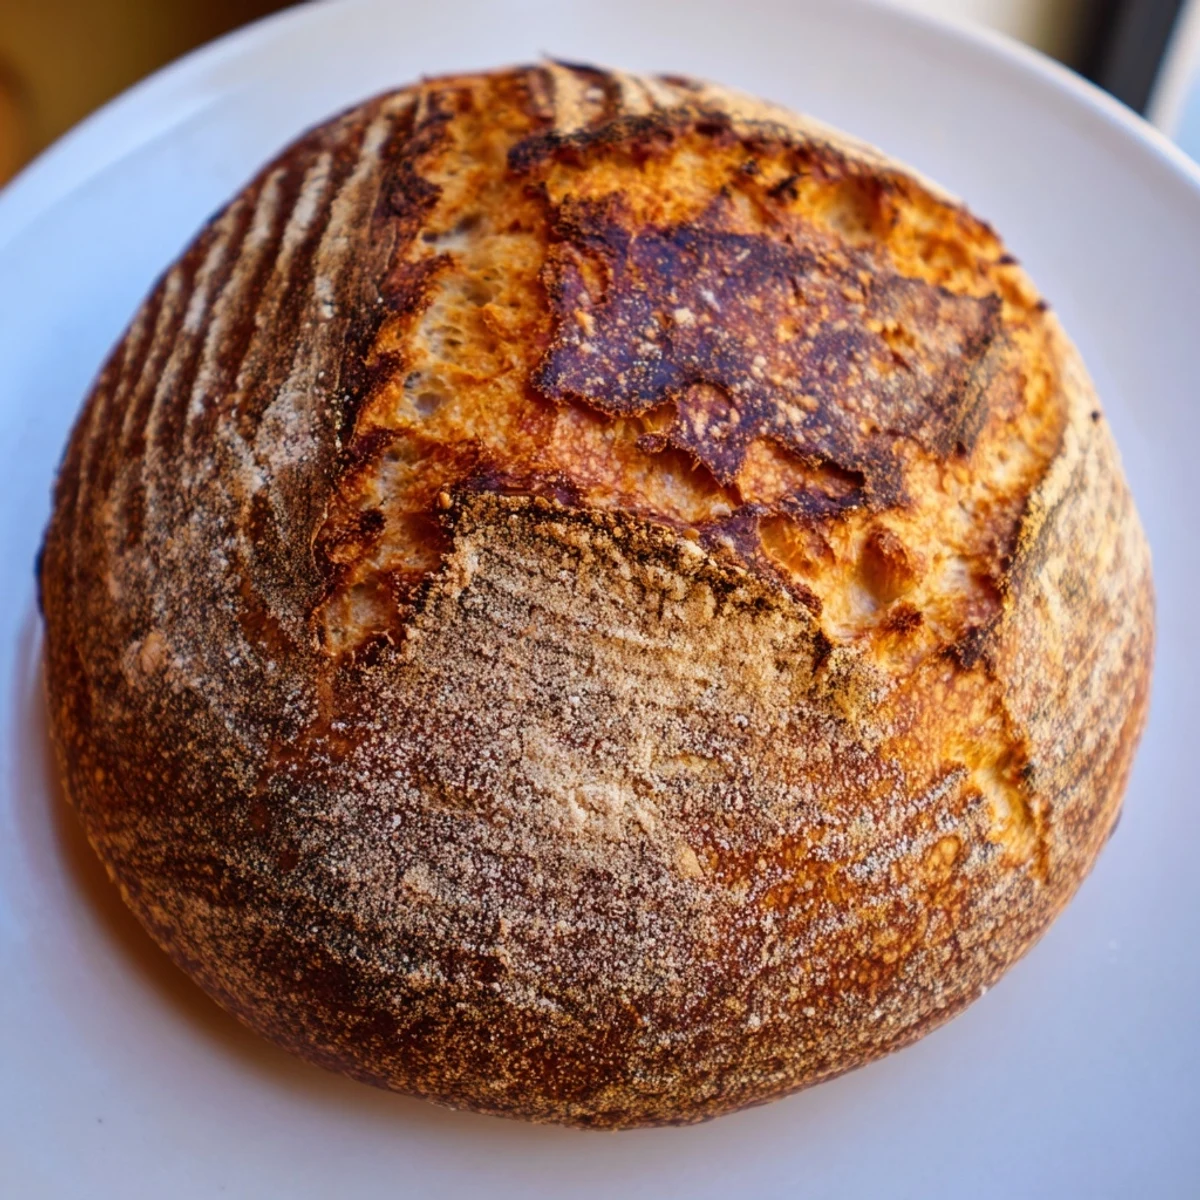
- Remove the lid and bake another 10 to 15 minutes until the crust is a deep golden brown. Let it cool on a wire rack for at least 30 minutes because slicing into hot bread is a tragedy.
 Save to Pinterest
 This recipe got me through a particularly lonely winter when I was working from home and barely seeing anyone. The rhythm of mixing dough before bed and baking fresh bread in the morning made my tiny apartment feel like home. Some days that simple ritual was the only thing that felt normal.
Customization Ideas
Once you have the basic method down, the variations are endless. I have added everything from chopped olives and rosemary to roasted garlic and sun-dried tomatoes. Just fold your additions in right before the second rise.
Storage Solutions
This bread stays remarkably fresh for about two days, stored in a paper bag or loosely wrapped. If it starts to feel a little stale, toast it or briefly refresh it in a 350°F oven. Honestly, it rarely lasts that long in my house.
Common Questions
The long rise might seem excessive, but that slow fermentation is what develops those complex, professional bakery flavors and the beautiful open crumb. Can you use active dry yeast instead of instant? Yes, just dissolve it in the water first.
- If your dough seems too wet, trust the process, it will bake up beautifully
- No Dutch oven? A heavy oven-safe pot with a tight lid works just as well
- The crackling sound as the bread cools is your cue that you nailed it
 Save to Pinterest
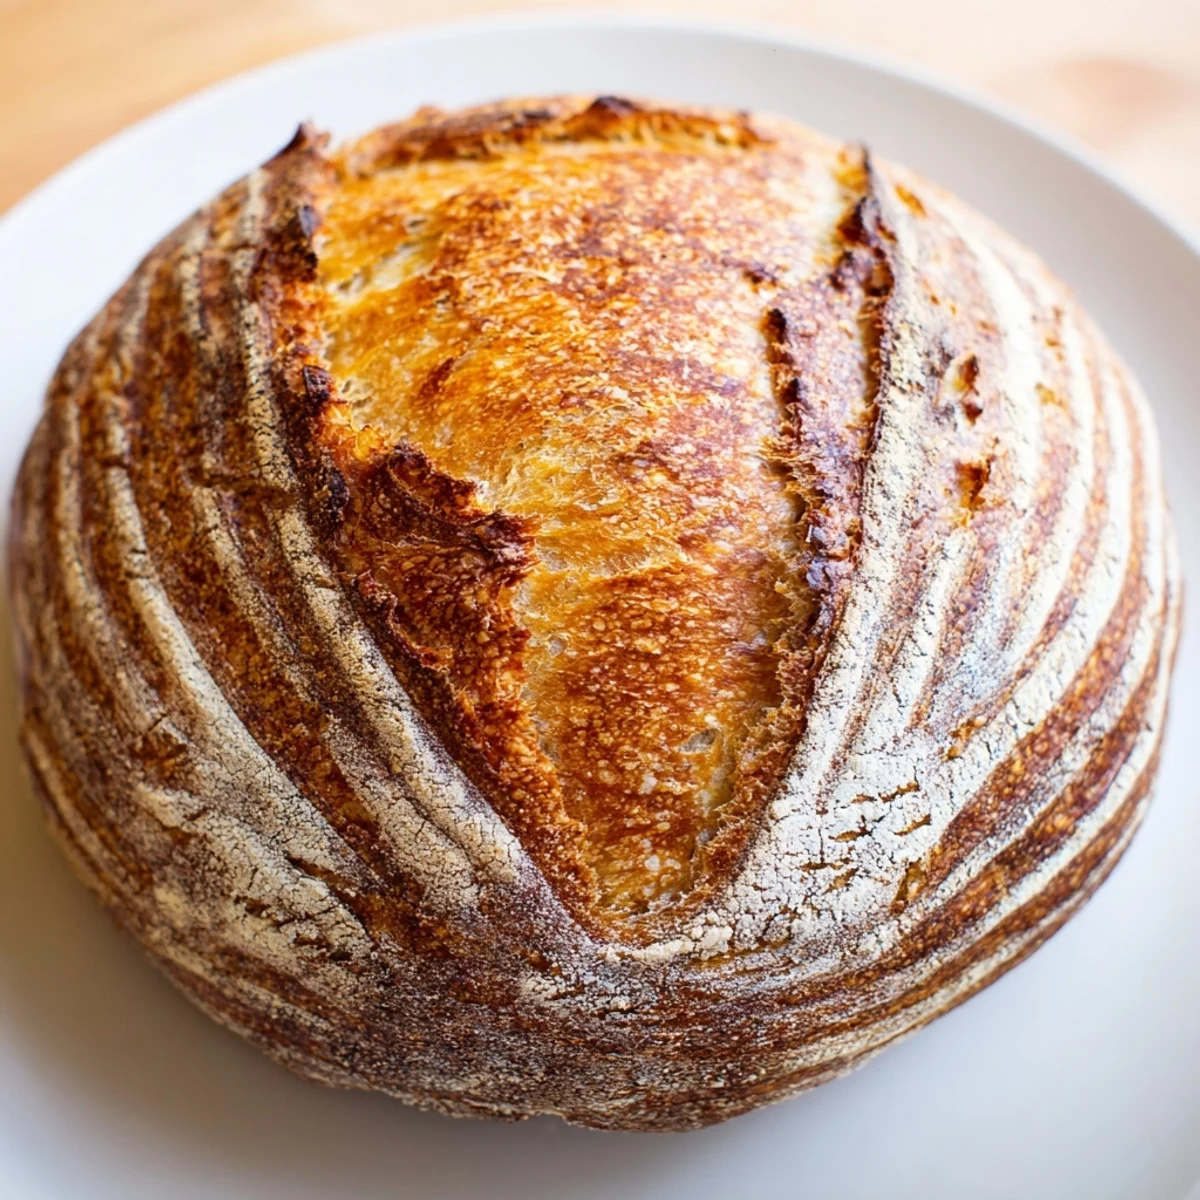
 There is something profoundly satisfying about turning four simple ingredients into something this extraordinary. I hope this bread brings as much warmth to your kitchen as it has to mine.
Recipe Questions & Answers
- → Why use a Dutch oven for bread?
-
A Dutch oven traps steam during baking, creating a humid environment that helps the crust develop beautifully and allows the bread to rise fully before the crust sets.
- → Can I shorten the rising time?
-
The long rise is essential for flavor development and texture. Skipping it will result in denser bread with less complex taste. Plan ahead for best results.
- → How do I know when the bread is done?
-
The crust should be deep golden brown, and the bread should sound hollow when tapped on the bottom. An instant thermometer inserted into the center should read 200-210°F.
- → Can I add mix-ins like herbs or cheese?
-
Absolutely. Fold in chopped olives, roasted garlic, fresh herbs, or grated cheese during the initial mixing step. Avoid adding more than ½ cup total to maintain proper dough structure.
- → How should I store this bread?
-
Keep at room temperature in a paper bag for up to 2 days. For longer storage, slice and freeze. Avoid plastic bags, which make the crust soft and chewy.
