 Save to Pinterest
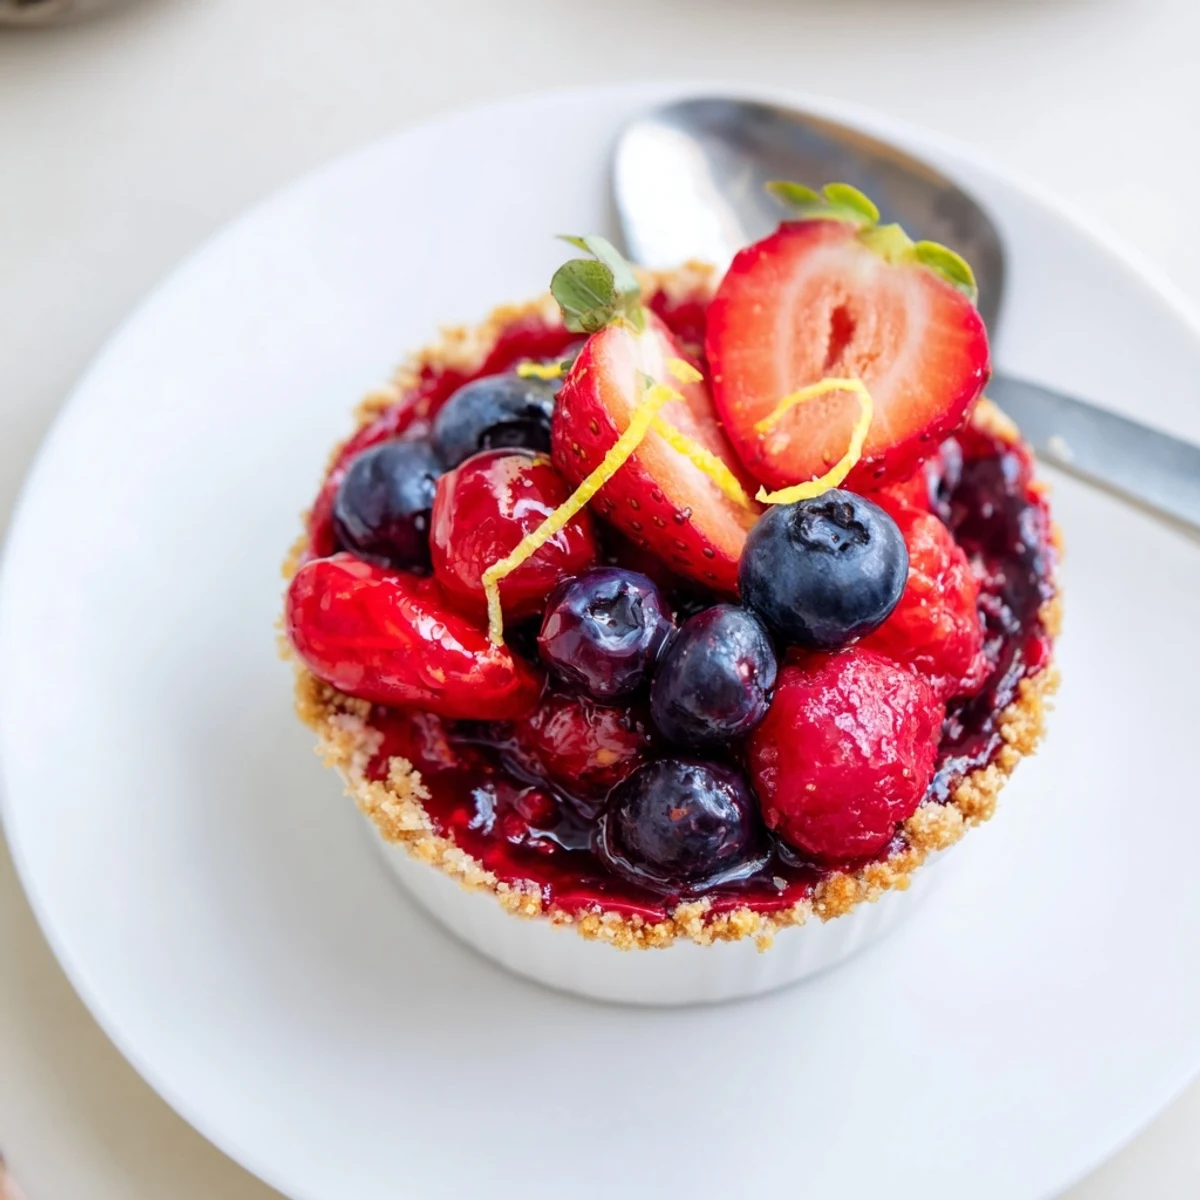
 These no-bake berry cheesecakes bring together a buttery crushed-biscuit base, a smooth whipped cream cheese filling, and a bright macerated berry topping. Press crumbs into serving glasses, fold stiffly whipped cream into sweetened cream cheese, spoon over the base, top with berries tossed with sugar and lemon, then chill at least 3 hours. Serve cold with extra berries or lemon zest.
Piling berries into a bowl was my original dessert move until one humid summer afternoon I discovered no bake cheesecakes. The promise of not firing up the oven when the kitchen already felt like a greenhouse was too good to pass up. I remember the sizzle of butter hitting the crushed biscuits and that familiar citrusy whiff as I zested a lemon. There&aposs something so satisfying about layering these little treats, almost like building a sweet escape in a glass.
One evening I hastily threw these together after a last-minute dinner invite, using whatever berries I could wrangle from the fridge: the laughter in the kitchen as we sneaked spoonfuls ahead of dessert time is still fresh in my mind. That spontaneous gathering turned into an impromptu cheesecake appreciation party—partly because someone kept 'checking' the chill progress every half hour. These no bake cheesecakes have since become the go-to treat whenever someone drops by unexpectedly.
Ingredients
- Graham crackers or digestive biscuits: The crumbly base sets the tone for every creamy bite; crushing them by hand gives a rustic texture that holds the butter perfectly.
- Unsalted butter: Melted and just slightly warm, it binds the biscuit crumbs into a golden layer that never gets soggy; I prefer a quick swirl over low heat so it doesn't brown.
- Cream cheese: Softening it to room temperature is the key to a silky, lump‐free filling—never underestimate the power of patience here.
- Heavy cream: Whipped until it barely holds peaks, this transforms the filling from dense to pillow‐soft; keep it cold right until you whip.
- Powdered sugar: Sifts in seamlessly to sweeten and stabilize; I once forgot to sift it and discovered teeny sugar pockets—worth avoiding.
- Vanilla extract: Instantly brings warmth and depth to the mixture; a splash is all it takes.
- Lemon zest (optional): A little grated zest wakes up the whole dessert with bright floral notes—especially if your berries are on the sweeter side.
- Mixed fresh berries: I use whatever is ripe and jewel‐toned at the market; fragile berries like raspberries break down deliciously in the compote.
- Sugar: Pulls just enough syrup from the fruit for that glossy, spoonable topping.
- Lemon juice: Lifts the flavor of the berries and creates a light syrup almost instantly; I always reach for fresh squeezed if I can.
Instructions
- Mix up the base:
- Tip the crushed biscuits into a bowl and pour over the warm melted butter. Stir it all together until the crumbs gleam, then divide the mixture among your glasses, pressing it gently into an even base—the aroma will make you wish you could fast‐forward to dessert.
- Make the filling cloud:
- Beat your cream cheese until completely smooth—feeling the beater catching makes me pause and scrape the sides once or twice. Add powdered sugar, vanilla, and lemon zest, and mix well; then in a separate bowl whip the heavy cream so it plumes up and holds soft peaks, folding it into the cream cheese softly so the mixture stays airy.
- Assemble the berry compote:
- Toss the fresh berries with sugar and lemon juice—within minutes, you&apost see the juice pooling at the bottom. Let this mixture rest while you finish layering, so every berry gets syrupy sweet.
- Layer it up:
- Pipe or spoon the cheesecake filling over the biscuit base, smoothing gently. Top generously with the juicy berry mixture, letting the syrup drip down the sides just a bit.
- Chill and anticipate:
- Pop the finished cheesecakes into the fridge for at least three hours or overnight‐the hardest part is waiting not to sneak a taste. Serve straight from the fridge and enjoy the chilled, dreamy layers that result.
 Save to Pinterest
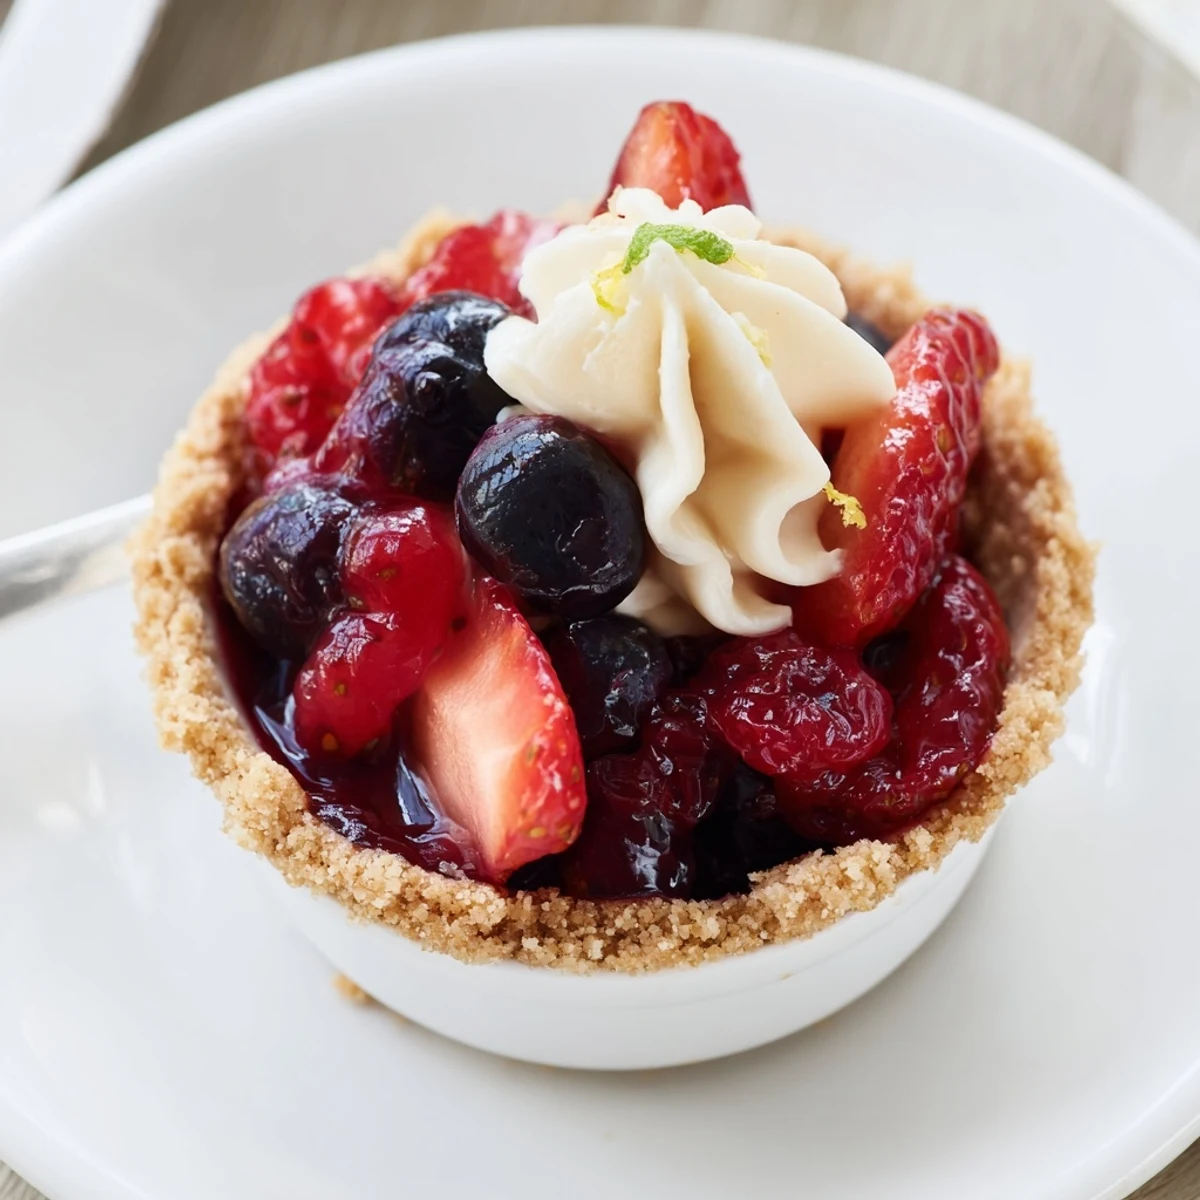
 It was when a young cousin asked for a second glass at a family picnic that I realized these little cheesecakes meant more than just dessert—they became a quiet crowd favorite, shared under dappled sunlight and sticky fingers. Now someone always volunteers to 'help' swirl the berries on top, just for the right ratio of fruit to cream.
Taking Cheesecakes On the Go
I've found these pack up beautifully in mason jars for spur of the moment road trips or outdoor lunches. Just remember to twist the lids tight and keep them cool—the layering still looks gorgeous hours later and always draws a fuss from nearby picnickers.
Adapting for Different Seasons
When autumn rolls in, swapping out berries for poached apples or pears tossed with cinnamon is unexpectedly good. In winter, I sometimes simmer frozen berries for a quick compote; it still gives that vibrant pop against the creamy cheesecake layer.
Extra Touches Make It Yours
There&aposs plenty of chance to make these cheesecakes your own: I once folded in orange zest instead of lemon, and a friend swears by crushed pistachios over the top. A ribbon of berry sauce between layers is surprisingly elegant if you're aiming to impress.
- Chill your serving glasses ahead of time for extra refreshment on summer days.
- Let guests build their own; the assembly can be half the fun.
- If you run out of berries, a streak of berry jam will do in a pinch.
 Save to Pinterest
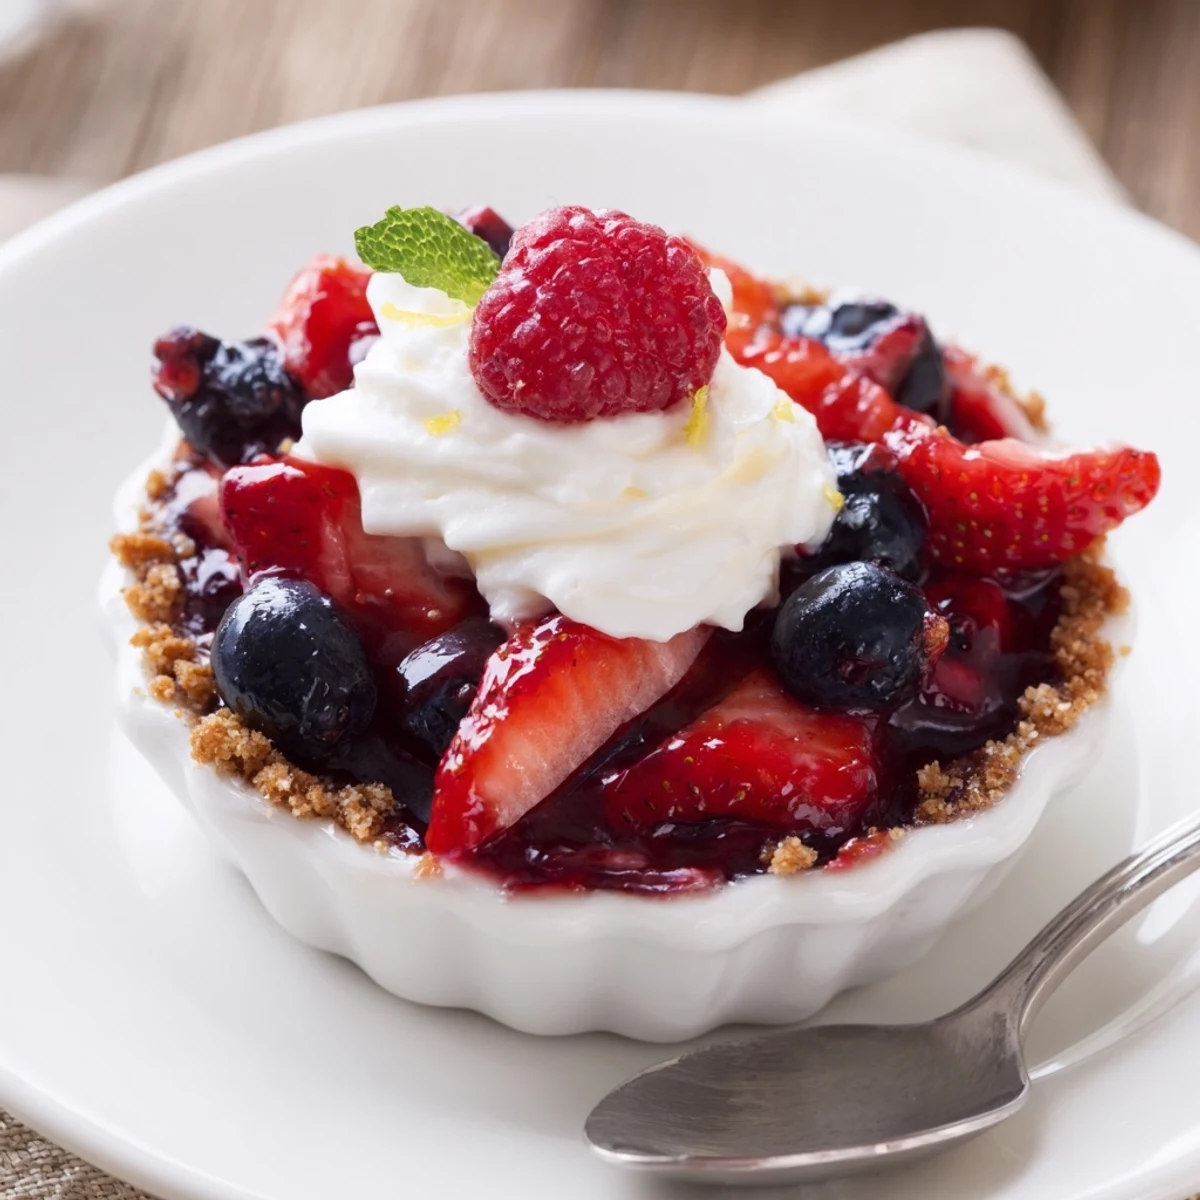
 Whether you dress them up for a party or sneak one late at night, these berry no bake cheesecakes promise bright, creamy bites every time. Here&aposs to easy shortcuts that feel like little celebrations.
Recipe Questions & Answers
- → How long should I chill the cheesecakes?
-
Chill for a minimum of 3 hours so the filling firms and the base sets; overnight chilling yields a firmer texture and cleaner slices in serving glasses.
- → Can I use gluten-free biscuits for the base?
-
Yes. Swap in a gluten-free digestive or graham-style biscuit in equal weight and follow the same method for a crisp, binded base.
- → How do I prevent the filling from collapsing?
-
Beat the cream to stiff peaks and fold it gently into the sweetened cream cheese to retain air. Avoid overmixing; chilling also helps the filling set firmly.
- → How can I make the berry topping more syrupy?
-
Toss berries with extra sugar and a splash of lemon juice, then let sit 10–20 minutes to release juices. For a thicker glaze, simmer the berries briefly with sugar to reduce and cool before topping.
- → Is freezing an option?
-
Freeze assembled portions for up to 1 month. Thaw in the fridge overnight before serving; note that berry texture may soften after freezing.
- → Any tips for a richer flavor?
-
Fold a tablespoon of mascarpone into the filling or add a splash of berry liqueur to the topping for depth. Toasting the crumbs lightly enhances the buttery aroma.
