 Save to Pinterest
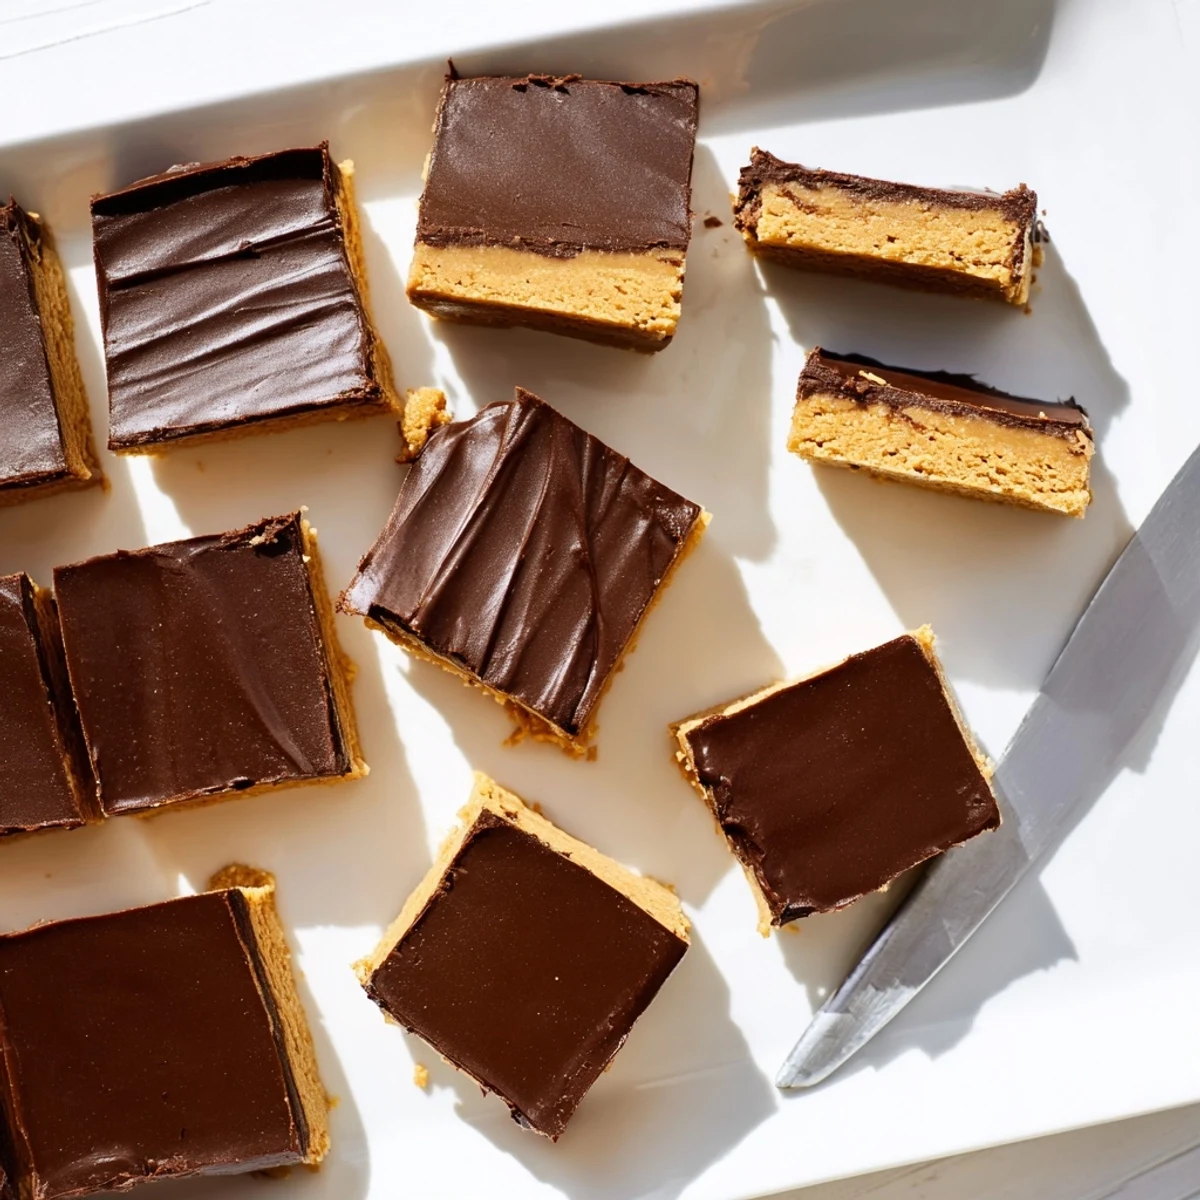
 These rich peanut butter bars feature a buttery, crumbly base layered with creamy peanut butter and crowned with glossy semisweet chocolate. The no-bake preparation makes them incredibly convenient—simply mix, press, pour, and chill.
The base combines melted butter and smooth peanut butter with powdered sugar and graham cracker crumbs, creating a dough that's firm yet melt-in-your-mouth tender. The chocolate topping gets extra creaminess from additional peanut butter, resulting in a fudge-like finish that perfectly complements the nutty base.
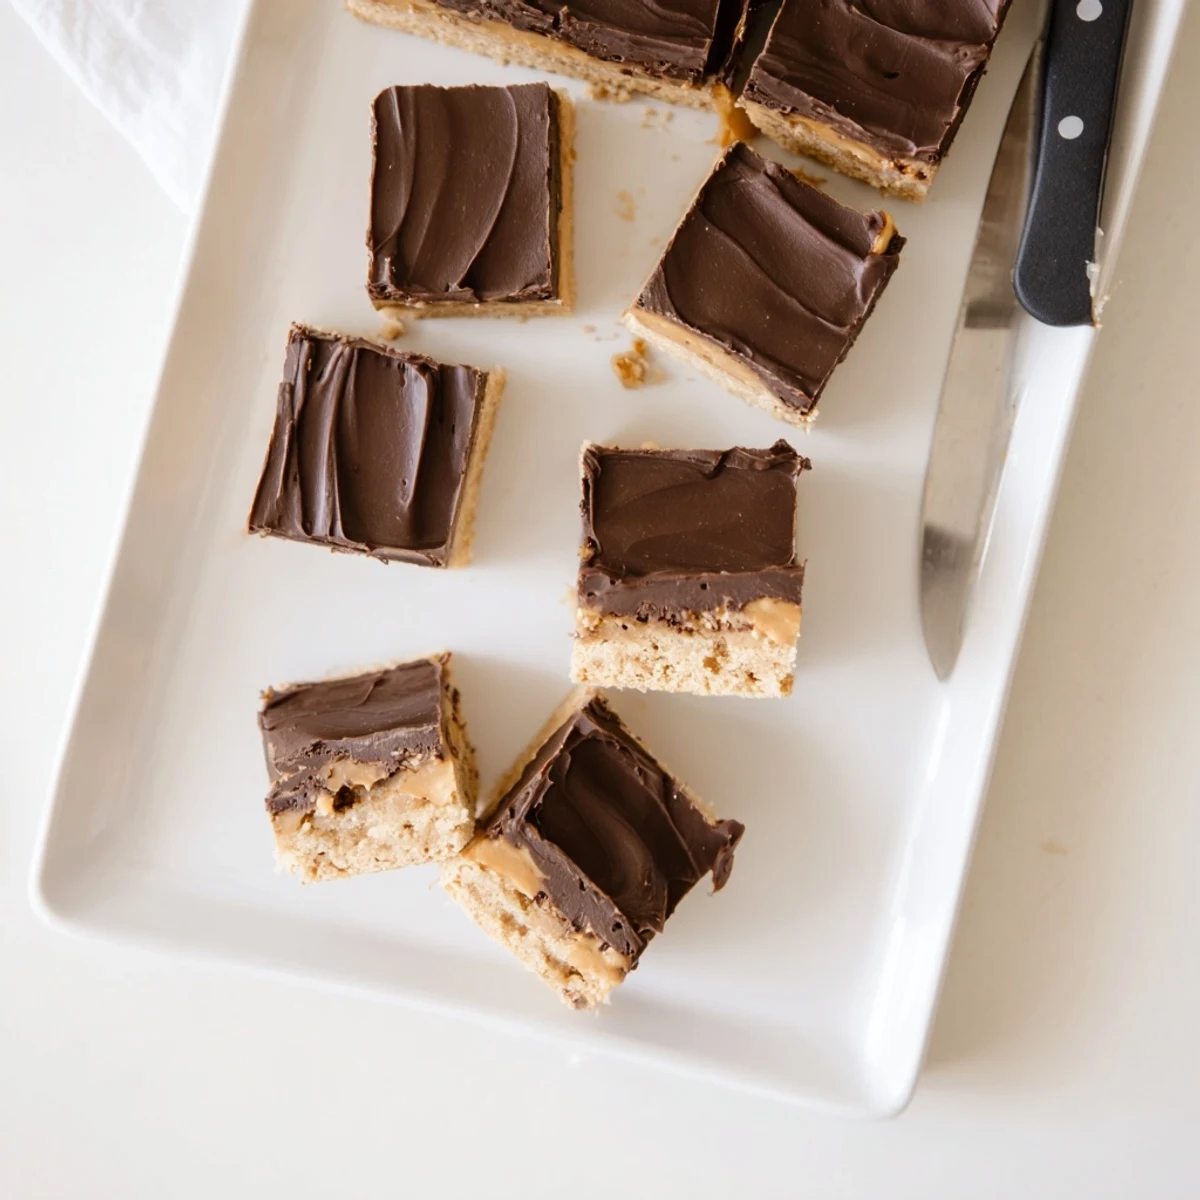
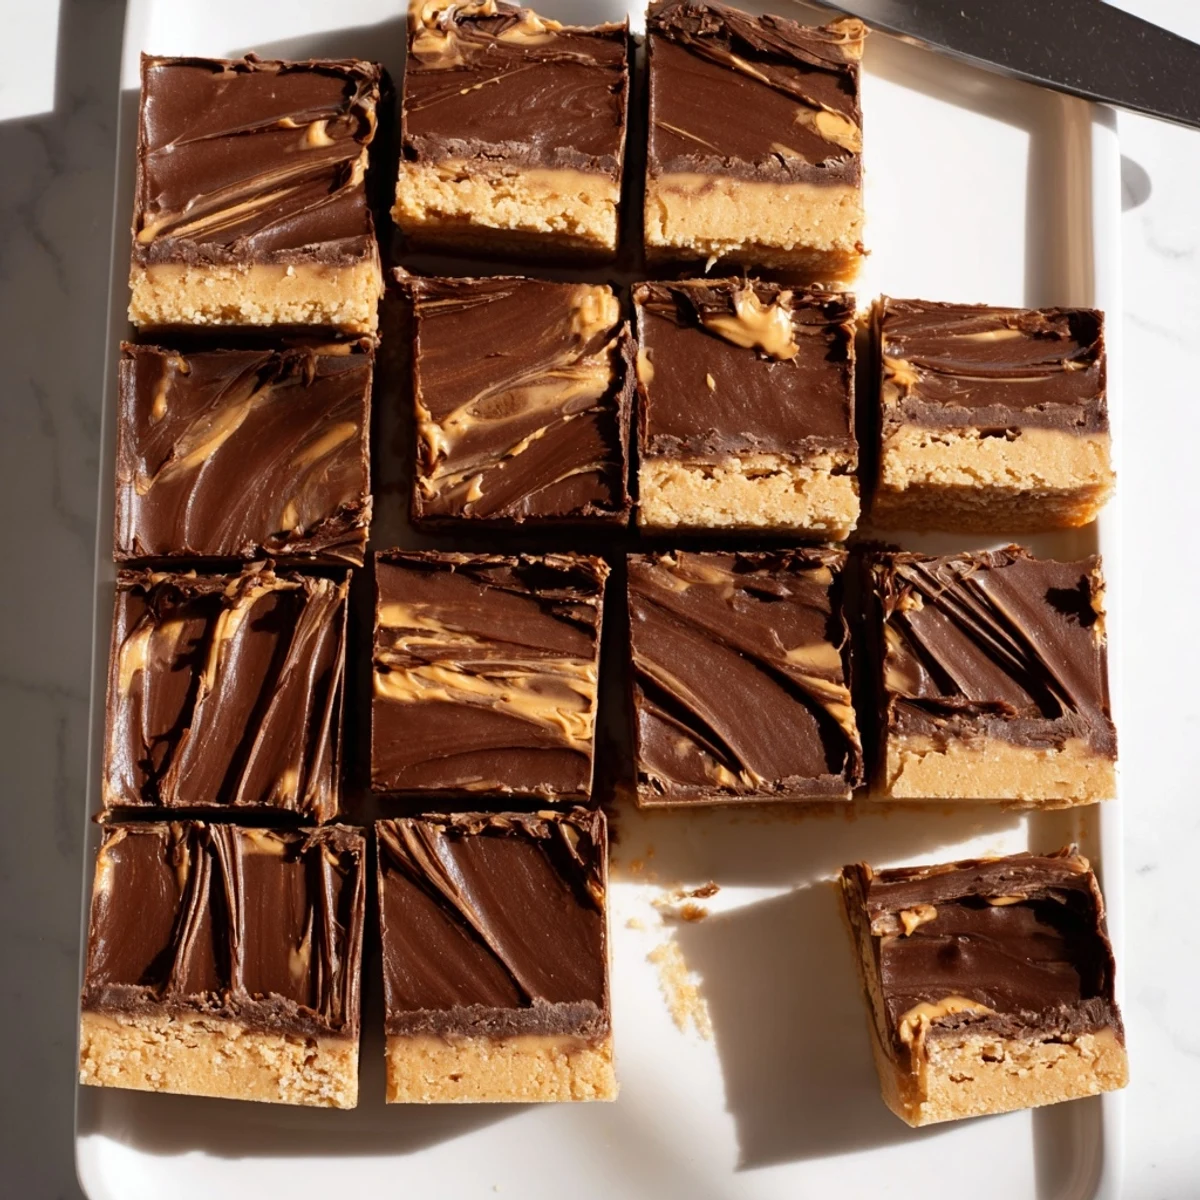
Ready in just 15 minutes of active prep time, these bars need at least two hours in the refrigerator to set completely. The parchment paper overhang makes removal effortless, and cutting into 16 squares yields perfectly portioned treats.
The humidity was brutal that July afternoon when my air conditioner gave up, and the last thing anyone wanted was to turn on the oven. I rummaged through my pantry looking for anything sweet and stumbled onto a jar of peanut butter and a forgotten bag of chocolate chips. Two hours later, my kitchen was still cool and I had a pan of the most ridiculous, fudgy peanut butter bars anyone at my Fourth of July cookout had ever tasted. Nobody believed me when I said they took fifteen minutes of actual work.
My friend Derek once watched me make an entire pan of these while telling him about my terrible day, and by the time I finished venting, the chocolate was already setting in the fridge. He said it was the most productive complaining session hed ever witnessed. We ate half the pan standing at the counter before the bars were even fully chilled, and honestly, the slightly soft ones were arguably the best.
Ingredients
- Creamy peanut butter (1 cup for base, 1/4 cup for topping): Use a standard commercial brand like Jif or Skippy rather than natural varieties, because the stabilizers help the bars hold their shape and the texture stays silky.
- Unsalted butter, melted (1/2 cup): Melting the butter first ensures the base comes together smoothly without any pockets of firm butter hiding in the dough.
- Powdered sugar, sifted (2 cups): Sifting is nonnegotiable here, unless you enjoy biting into tiny chalky sugar lumps in an otherwise perfect bar.
- Graham cracker crumbs (1 1/2 cups): These give the base a tender cookie like structure, and you can crush your own or buy preground crumbs, just measure after crushing.
- Semisweet chocolate chips (1 1/2 cups): Semisweet hits the sweet spot between too bitter and too sweet, balancing the richness of the peanut butter base perfectly.
Instructions
- Prep your pan:
- Line a 9x9 inch baking dish with parchment paper, leaving generous overhangs on two sides so you can lift the whole slab out later without a wrestling match.
- Build the peanut butter base:
- Stir the melted butter and one cup of peanut butter together in a medium bowl until completely smooth and glossy, then fold in the powdered sugar and graham cracker crumbs until a thick, moldable dough forms that pulls away from the sides of the bowl.
- Press it in:
- Transfer the dough to your lined pan and press it down firmly and evenly using your hands or the back of a spatula, making sure to push the mixture all the way into the corners.
- Melt the chocolate topping:
- Combine the chocolate chips and remaining quarter cup of peanut butter in a microwave safe bowl, then microwave in twenty second bursts, stirring patiently between each one, until the mixture is glossy and lump free.
- Spread and chill:
- Pour the chocolate mixture over the peanut butter layer and use your spatula to nudge it into an even sheet, then slide the whole pan into the refrigerator for at least two hours until the top is set and snaps slightly when touched.
- Cut and serve:
- Grab the parchment overhang to lift the entire block out of the pan, set it on a cutting board, and slice it into sixteen squares with a sharp knife, wiping the blade clean between cuts for the neatest edges.
 Save to Pinterest
 I brought a tray of these to a potluck at my coworker Margarets house, and her seventy year old father quietly ate four of them while pretending to watch the football game. Later he cornered me in the kitchen to ask, very seriously, if I would consider making them for his birthday in March. That pan of no bake bars somehow became the most requested item in my entire recipe rotation.
Swaps and Substitutions
If you need these to be gluten free, swap the graham cracker crumbs for an equal amount of crushed gluten free cookies or even crushed rice cereal for a lighter crunch. Chunky peanut butter works beautifully if you want little bursts of peanut texture throughout the base. A friend of mine adds a handful of mini marshmallows to the base mixture and swears it makes them taste like a peanut butter cup met a s more.
Serving Suggestions
These bars are rich enough that a small square goes a long way, which makes them ideal for dessert trays where people want to sample a bit of everything. A light sprinkle of flaky sea salt on the chocolate layer right before it sets transforms the flavor from straightforward sweet to something complex and slightly addictive. They also freeze beautifully for up to three months, so you can stash a batch and pull them out when unexpected guests arrive.
Storage and Make Ahead Advice
Keep the bars in an airtight container in the refrigerator and they will stay fresh for about a week, though in my experience they rarely last more than three days. Let them sit at room temperature for ten minutes before serving so the peanut butter base softens just enough to feel tender rather than stiff.
- Freeze individual squares between layers of wax paper so they do not stick together.
- Do not leave them out on a warm counter for more than an hour or the chocolate topping will soften and fingerprint easily.
- Always store them chilled if your kitchen runs warm, since the base can become too soft at room temperature.
 Save to Pinterest
 Keep a batch in your freezer and you will always be fifteen minutes and two hours of chilling away from making someones entire day a little sweeter.
Recipe Questions & Answers
- → How long do peanut butter bars need to chill?
-
Refrigerate the bars for at least 2 hours until firm. For best results, chill overnight—the texture improves as the flavors meld together. The chocolate topping becomes perfectly fudge-like when given adequate time to set.
- → Can I use natural peanut butter?
-
Natural peanut butter can be used, but the texture may be slightly softer due to the oil separation. Stir the peanut butter thoroughly before measuring, and consider adding an extra tablespoon of graham cracker crumbs to maintain the proper consistency.
- → How should I store these bars?
-
Keep the bars refrigerated in an airtight container for up to one week. The cold temperature keeps the chocolate topping firm and prevents the peanut butter layer from becoming too soft. For longer storage, wrap individual squares in plastic and freeze for up to three months.
- → Can I make these gluten-free?
-
Yes, substitute graham cracker crumbs with certified gluten-free vanilla cookie crumbs or crushed gluten-free graham-style crackers. Ensure your chocolate chips are also labeled gluten-free, as some brands may contain trace amounts from manufacturing.
- → Why add peanut butter to the chocolate topping?
-
The peanut butter in the chocolate topping creates a creamier, more fudge-like consistency while enhancing the nutty flavor throughout. It also helps the chocolate set more firmly and prevents it from cracking when cut, giving each bar a smooth, professional finish.
- → Can I use milk chocolate instead of semisweet?
-
Absolutely. Milk chocolate will produce a sweeter, milder topping that pairs beautifully with the peanut butter base. Dark chocolate works well too for those who prefer a bittersweet contrast to the rich, nutty bottom layer.
