 Save to Pinterest
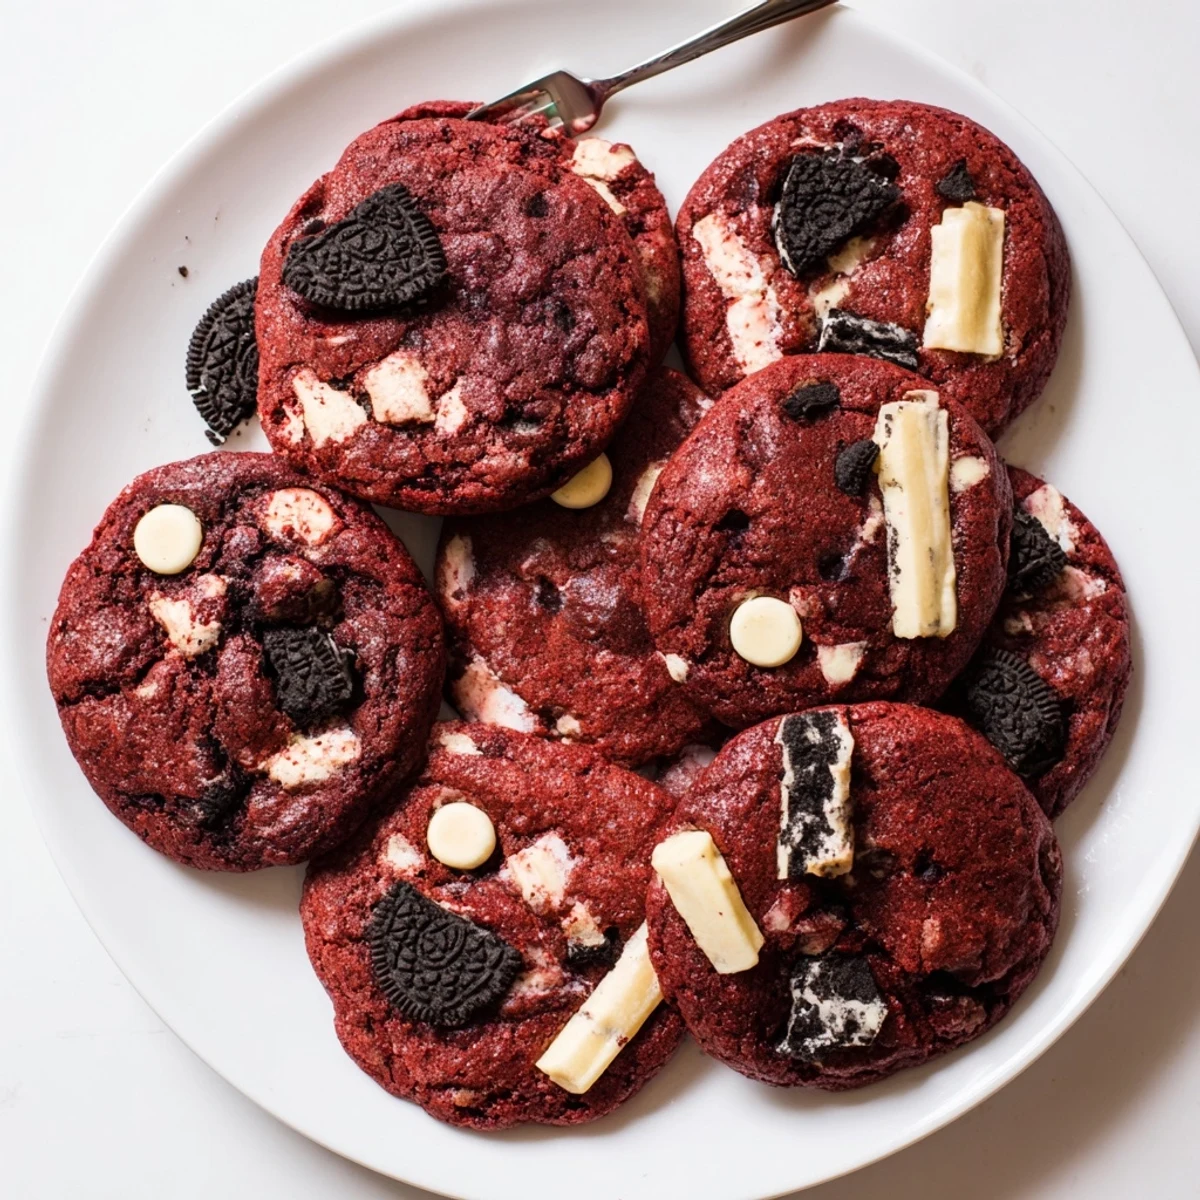
 These soft red velvet cookies combine rich cocoa flavor with the classic taste of cookies and cream. The dough features vibrant red coloring and gets loaded with white chocolate chips and roughly chopped Oreo pieces before baking. Each cookie bakes up with slightly crisp edges and a tender, chewy center that delivers the perfect balance of chocolate and cream filling crunch.
The first time I made these cookies, my roommate walked into the kitchen and asked if I was celebrating something special. The vibrant red dough stopped her in her tracks, and honestly, watching it come together felt like a tiny celebration in itself. I had this epiphany that red velvet deserved better than just cake form. These cookies became my go-to for everything from bake sales to comforting friends who needed a little brightness in their day.
Last Christmas, I made triple batches because my nephew kept swiping them off the cooling rack. He still talks about the red cookies with the surprise crunch inside. Now every time he visits, those expectant eyes appear before I even reach for the flour canister.
Ingredients
- All-purpose flour: The backbone that gives these cookies their perfect chewy structure
- Unsweetened cocoa powder: Just enough to give that classic red velvet depth without overwhelming the delicate flavor
- Baking soda: Creates those beautiful cracks on top while keeping centers soft
- Salt: Enhances both the chocolate and vanilla flavors
- Unsalted butter: Room temperature butter is non negotiable here for that creamy base
- Light brown sugar: The secret to keeping cookies soft days after baking
- Granulated sugar: Gives the edges that perfect slight crisp while centers stay tender
- Extra egg yolk: Game changer for richness and chewiness
- Vanilla extract: Use the good stuff since it shines through the subtle cocoa
- Milk: Just enough to bring the dough together without making it sticky
- Red food coloring: Gel coloring gives that stunning deep red without altering the dough texture
- White chocolate chips: Creamy pockets that complement the cocoa beautifully
- Oreo cookies: Roughly chopped so every bite gets that cookies and cream surprise
Instructions
- Get your oven ready:
- Preheat to 350°F and line two baking sheets with parchment paper while you prep your ingredients.
- Whisk the dry team:
- In a medium bowl, combine flour, cocoa powder, baking soda, and salt until everything is evenly distributed.
- Build the creamy base:
- Beat butter, brown sugar, and granulated sugar together for 2 to 3 minutes until light and fluffy.
- Add the wet ingredients:
- Mix in egg, egg yolk, vanilla, milk, and red food coloring until the dough turns a gorgeous uniform red.
- Bring it all together:
- Gradually fold in the dry ingredients, mixing just until combined to keep cookies tender.
- The fun part:
- Gently fold in white chocolate chips and chopped Oreos until distributed throughout the red dough.
- Scoop and space:
- Drop rounded balls onto prepared sheets, leaving about 2 inches between each for spreading.
- Bake to perfection:
- Bake 10 to 12 minutes until edges are set but centers still look slightly underbaked.
- Patience pays off:
- Let cookies cool on the baking sheet for 5 minutes before moving them to a wire rack.
 Save to Pinterest
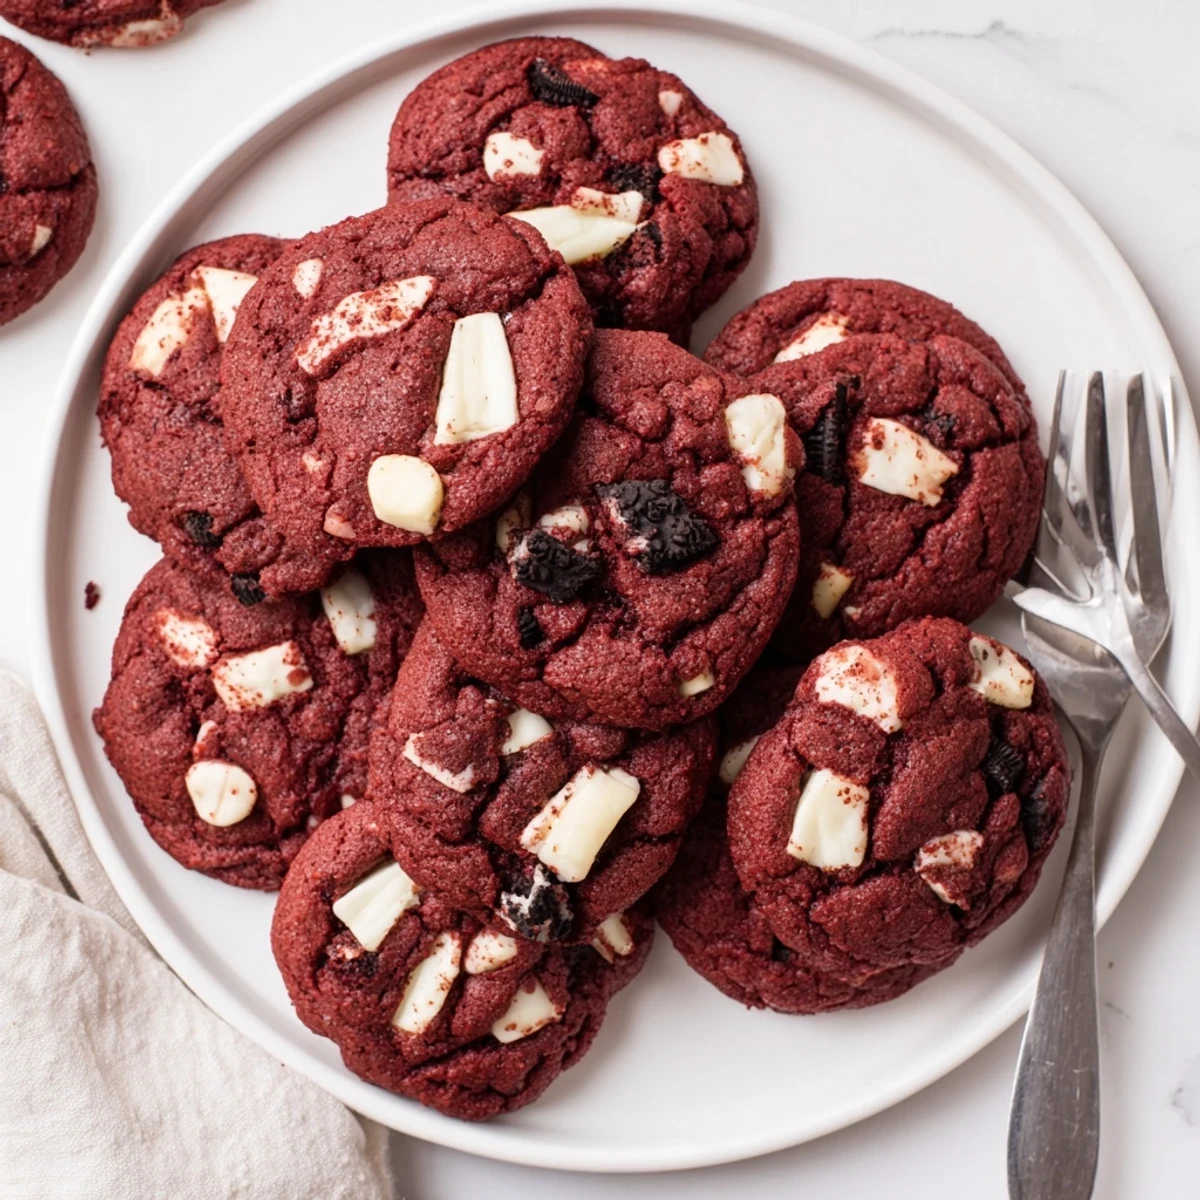
 My sister in law actually hid the last three cookies during a family gathering, which I discovered later when I saw her sneaking them into her purse. That is when I knew these werent just cookies, they were contraband level good.
Getting That Perfect Red
Liquid food coloring can thin out your dough and throw off the whole cookie texture. I learned this the hard way with pale pink cookies that spread into weird amoeba shapes. Gel coloring concentrates the pigment so you get that dramatic red without compromising the dough consistency at all.
The Oreo Strategy
Rough chopping Oreos creates varied sizes, which means some bites get big chunks while others get subtle cookie crumbles. I used to crush them into fine dust, but those bigger chunks are what make these cookies special. Press a few extra Oreo pieces onto the tops before baking for that bakery style look.
Storage Secrets
These cookies actually improve after a day as the flavors meld together. Store them in an airtight container with a slice of white bread to keep them soft. The bread absorbs excess moisture and keeps cookies bakery fresh for nearly a week.
- Freeze unbaked dough balls for fresh cookies anytime
- Warm cookies for 10 seconds in the microwave to recreate that fresh baked experience
- Layer parchment between cookies if you stack them to prevent sticking
 Save to Pinterest
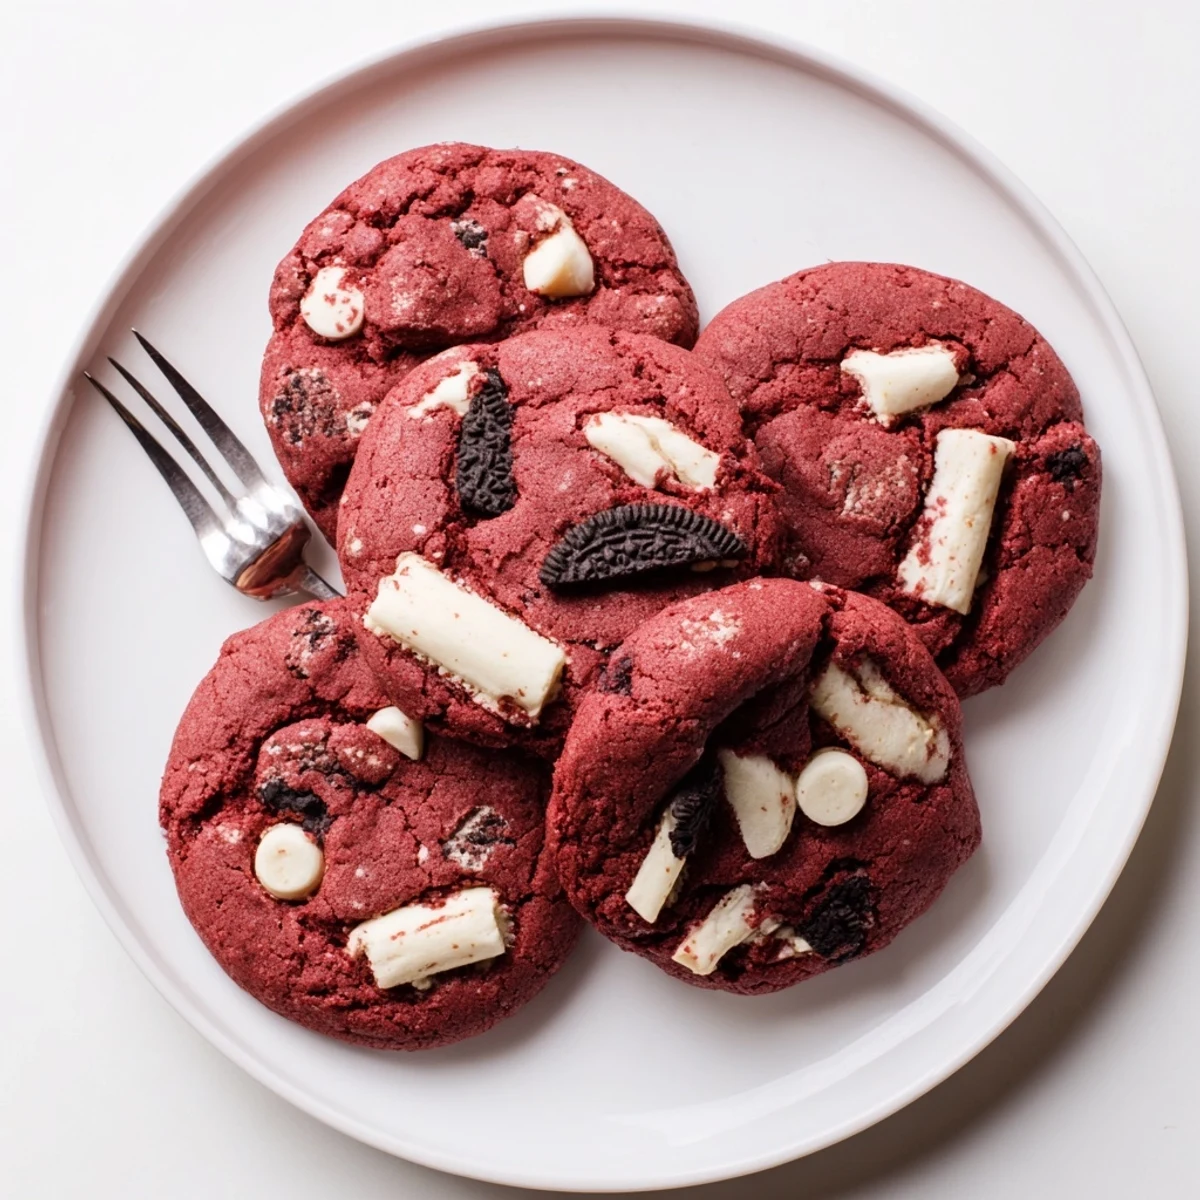
 Hope your kitchen fills with that incredible cocoa and vanilla aroma as these bake. There is something magical about pulling a tray of ruby red cookies from the oven.
Recipe Questions & Answers
- → Can I use natural food coloring instead of gel?
-
Liquid food coloring works, though you may need 1-2 tablespoons to achieve the same vibrant red hue. Gel coloring provides concentrated pigment without adding excess moisture to the dough.
- → Why do the centers look underbaked?
-
The centers should appear slightly soft when removed from the oven. This ensures the cookies stay chewy rather than becoming hard or dry as they cool on the baking sheet during that essential 5-minute resting period.
- → Can I freeze the cookie dough?
-
Scoop the dough into balls and freeze on a baking sheet until solid, then transfer to an airtight container. Bake from frozen, adding 1-2 minutes to the baking time. Frozen dough keeps well for up to 3 months.
- → What if I don't have white chocolate chips?
-
Dark chocolate, milk chocolate, or even chopped white chocolate baking bars make excellent substitutes. The sweetness level will vary slightly depending on your choice of chocolate.
- → How should I store these cookies?
-
Keep completely cooled cookies in an airtight container at room temperature for up to 5 days. Place parchment paper between layers to prevent sticking. For longer storage, freeze for up to 3 months.
