 Save to Pinterest
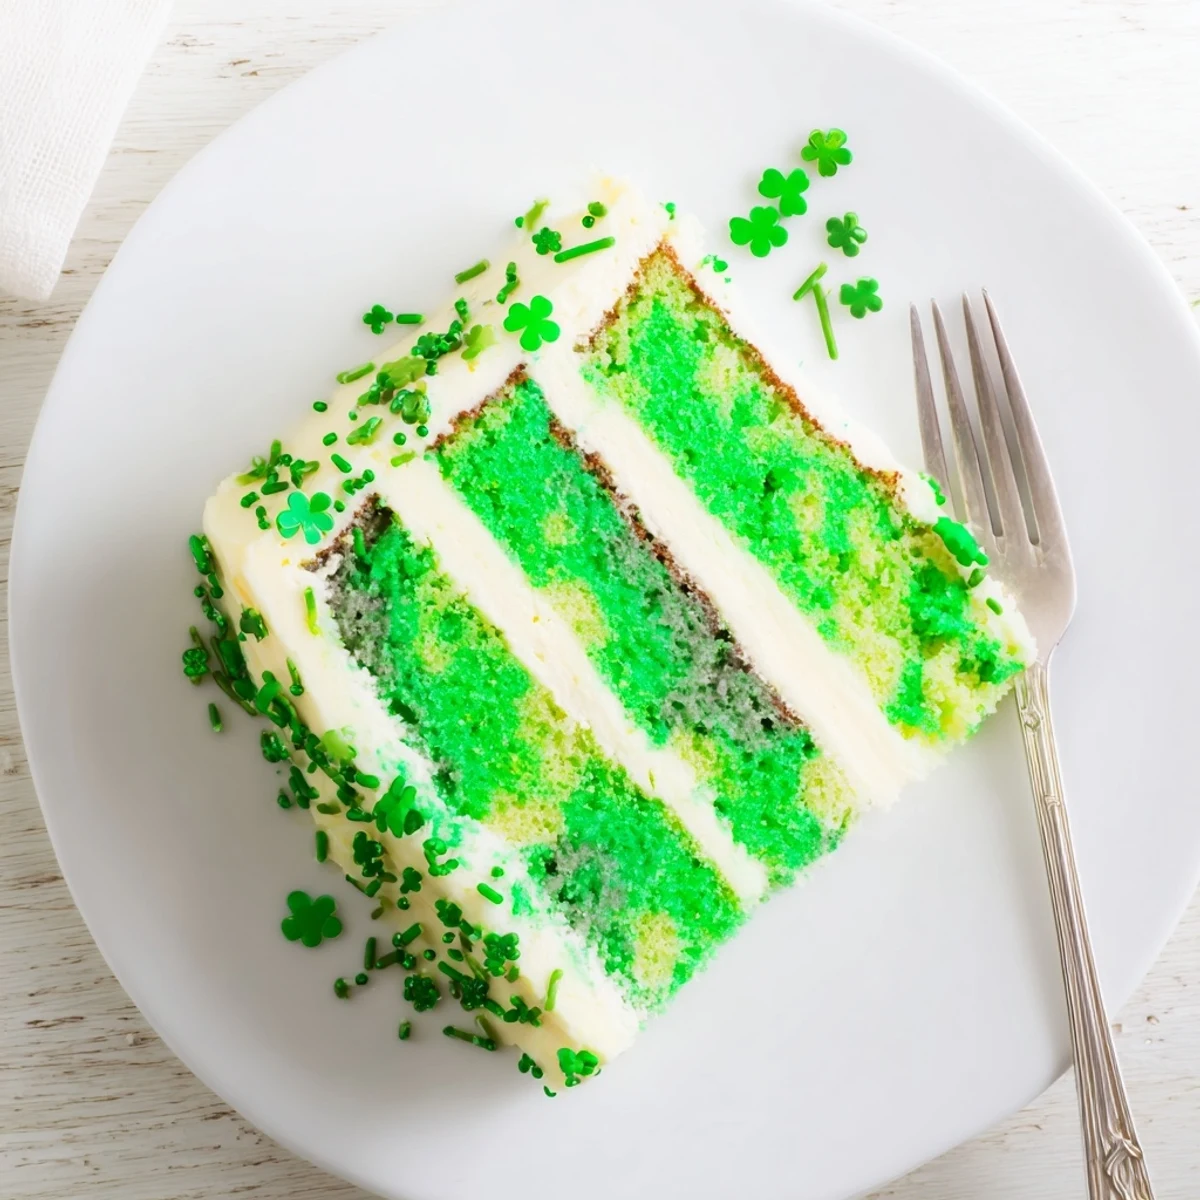
 This stunning green layered cake brings festive cheer to any St. Patricks Day celebration. The moist, tender sponge gets its vibrant hue from food coloring, while layers of creamy vanilla buttercream hold everything together beautifully.
With straightforward preparation and just one hour total time, you can create a showstopping centerpiece that serves twelve guests. The buttermilk ensures exceptional tenderness, while the optional mint variation adds authentic Irish flair.
Decorate with green sprinkles or edible shamrocks for the perfect finishing touch to your holiday dessert table.
The first time I attempted a St. Patrick's Day cake, I went overboard with the green food coloring and ended up with something that looked more like a science experiment than a dessert. My kids couldn't stop laughing, but you know what? That cake disappeared faster than any I've made since. Now I've learned that a soft, minty green is much more appetizing than neon.
Last year my neighbor came over while I was frosting this cake and ended up staying for two hours, just talking and licking the spatula. Something about a homemade cake makes people pause their busy lives and gather around the kitchen counter.
Ingredients
- All-purpose flour: The foundation of our tender crumb, measured carefully for consistent results
- Baking powder and soda: These work together to give the cake its lift and lightness
- Salt: Just enough to balance the sweetness and enhance all the flavors
- Unsalted butter: Room temperature butter creates the perfect structure for a moist sponge
- Granulated sugar: Creamed with butter to create tiny air pockets for a lighter texture
- Large eggs: Must be at room temperature to emulsify properly into the batter
- Buttermilk: The secret ingredient that makes this cake exceptionally tender and adds subtle tang
- Vanilla and almond extract: A classic pairing that makes the cake taste professionally made
- Green gel food coloring: Gel coloring gives you vibrant color without adding extra liquid
- Powdered sugar: Sift it first to avoid any lumps in your silky frosting
- Whole milk or cream: Adjust this to get your ideal frosting consistency
- Green sprinkles: The finishing touch that makes everyone smile before they even take a bite
Instructions
- Prepare your pans:
- Preheat that oven to 350°F and get your three 8-inch pans ready with parchment paper and grease.
- Whisk the dry ingredients:
- Combine the flour, baking powder, baking soda, and salt in a medium bowl so everything is evenly distributed.
- Cream the butter and sugar:
- Beat them together for a good 3-4 minutes until the mixture looks pale and fluffy.
- Add the eggs:
- Drop them in one at a time, letting each one fully incorporate before adding the next.
- Mix in the extracts:
- Both vanilla and almond extracts go in now to perfume the whole batter.
- Combine wet and dry:
- Add the flour mixture in three parts, alternating with buttermilk, starting and ending with the flour.
- Add the green:
- Start with a tiny amount of gel coloring and add more until you reach your perfect shade.
- Bake the layers:
- Divide the batter evenly and bake for 25-30 minutes until a toothpick comes out clean.
- Cool completely:
- Let them rest in the pans for 10 minutes, then turn them onto wire racks to cool fully.
- Make the frosting:
- Beat the butter until creamy, then gradually add powdered sugar, milk, vanilla, and salt.
- Optional green frosting:
- Tint a portion of the frosting if you want extra decoration on the outside.
- Assemble the cake:
- Spread frosting between each layer, then coat the top and sides generously.
- Add the finishing touches:
- Sprinkle with green decorations or arrange edible shamrocks on top.
 Save to Pinterest
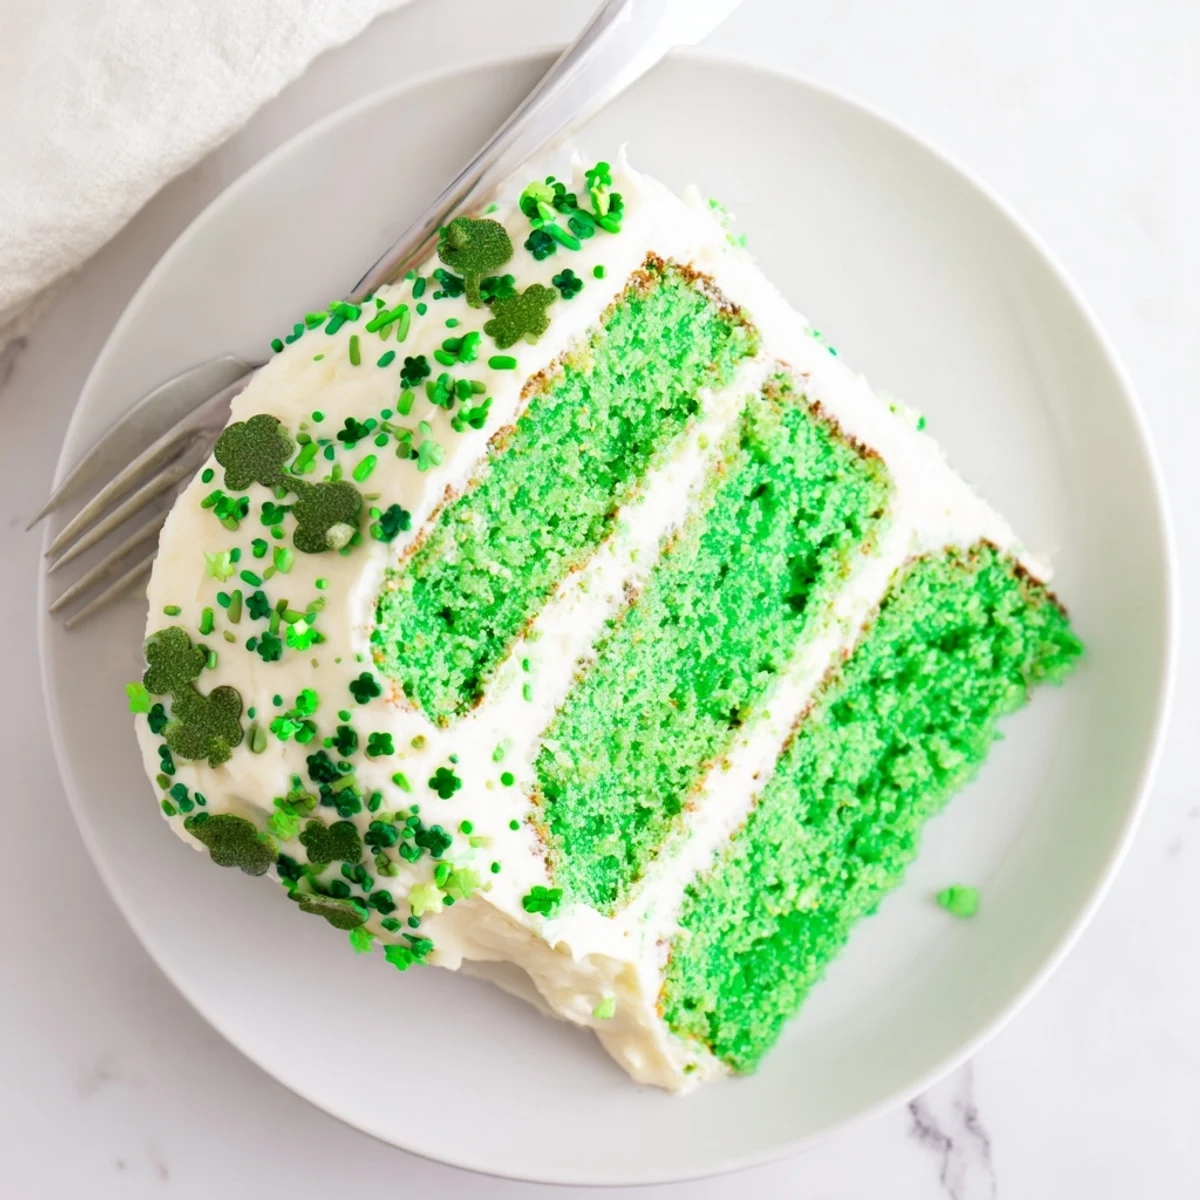
 My grandmother always said that a cake baked with love tastes different, and I think she was right. The extra care you take with each step really does translate into something special.
Getting The Perfect Green Shade
Start with less food coloring than you think you need. You can always add more, but you can't take it away. A soft mint green looks much more elegant than something that glows.
Make Ahead Magic
The cake layers freeze beautifully for up to a month. Wrap them tightly in plastic wrap and foil, then thaw on the counter before frosting. This makes party prep so much easier.
Serving Suggestions
This cake deserves to be the star of the show. Let it sit at room temperature for 30 minutes before serving so the frosting softens slightly.
- A warm Irish coffee is the perfect companion on a chilly March evening
- Cold milk balances the richness of the frosting beautifully
- Leftovers keep well in the refrigerator for up to four days
 Save to Pinterest
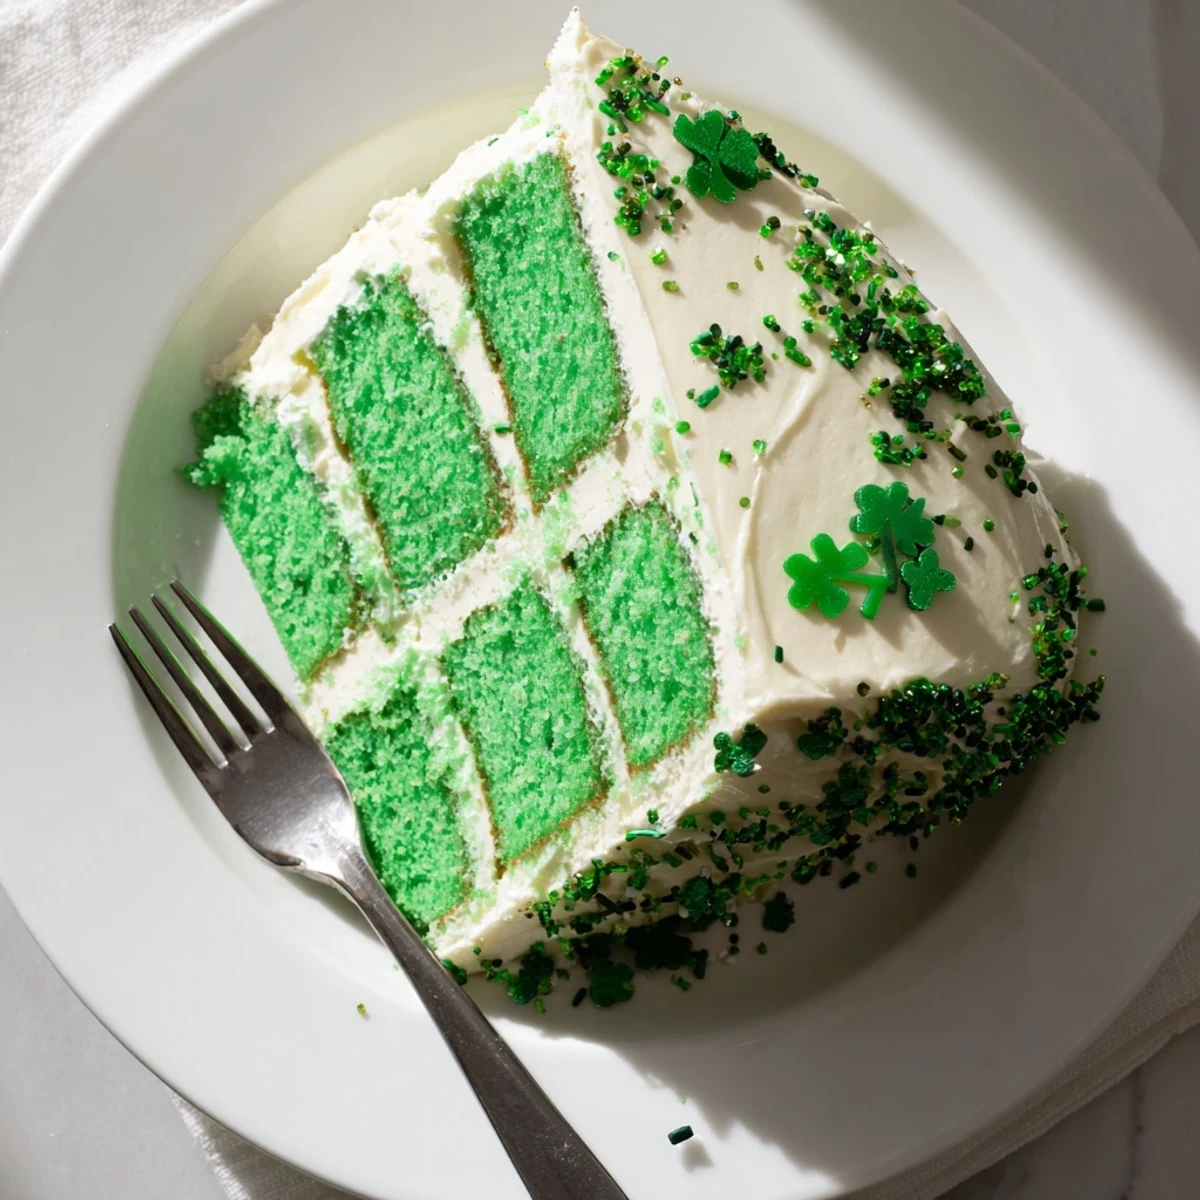
 However you celebrate, this cake brings a little extra joy to the table. Happy baking!
Recipe Questions & Answers
- → What makes this cake green?
-
Green gel food coloring is added to the cake batter to achieve the vibrant festive shade. Start with a small amount and gradually increase until you reach your desired color intensity.
- → Can I make the cake layers ahead of time?
-
Yes, bake and cool the layers completely, then wrap tightly in plastic wrap and freeze for up to 3 months. Thaw overnight at room temperature before frosting and assembling.
- → How do I get the most vibrant green color?
-
Use gel food coloring rather than liquid for deeper color without affecting batter consistency. Add the coloring after mixing the batter, then fold gently to distribute evenly.
- → Can I substitute the buttermilk?
-
Mix 1 cup of regular milk with 1 tablespoon of lemon juice or white vinegar. Let stand for 5-10 minutes until slightly thickened before using in the batter.
- → How should I store the finished cake?
-
Keep at room temperature for up to 2 days, covered with a cake dome or plastic wrap. For longer storage, refrigerate for up to 5 days, though bring to room temperature before serving for best texture.
- → What's the best way to frost this cake?
-
Apply a thin crumb coat first and chill for 15 minutes, then add the final layer of frosting. An offset spatula helps achieve smooth sides and an even top layer.
