 Save to Pinterest
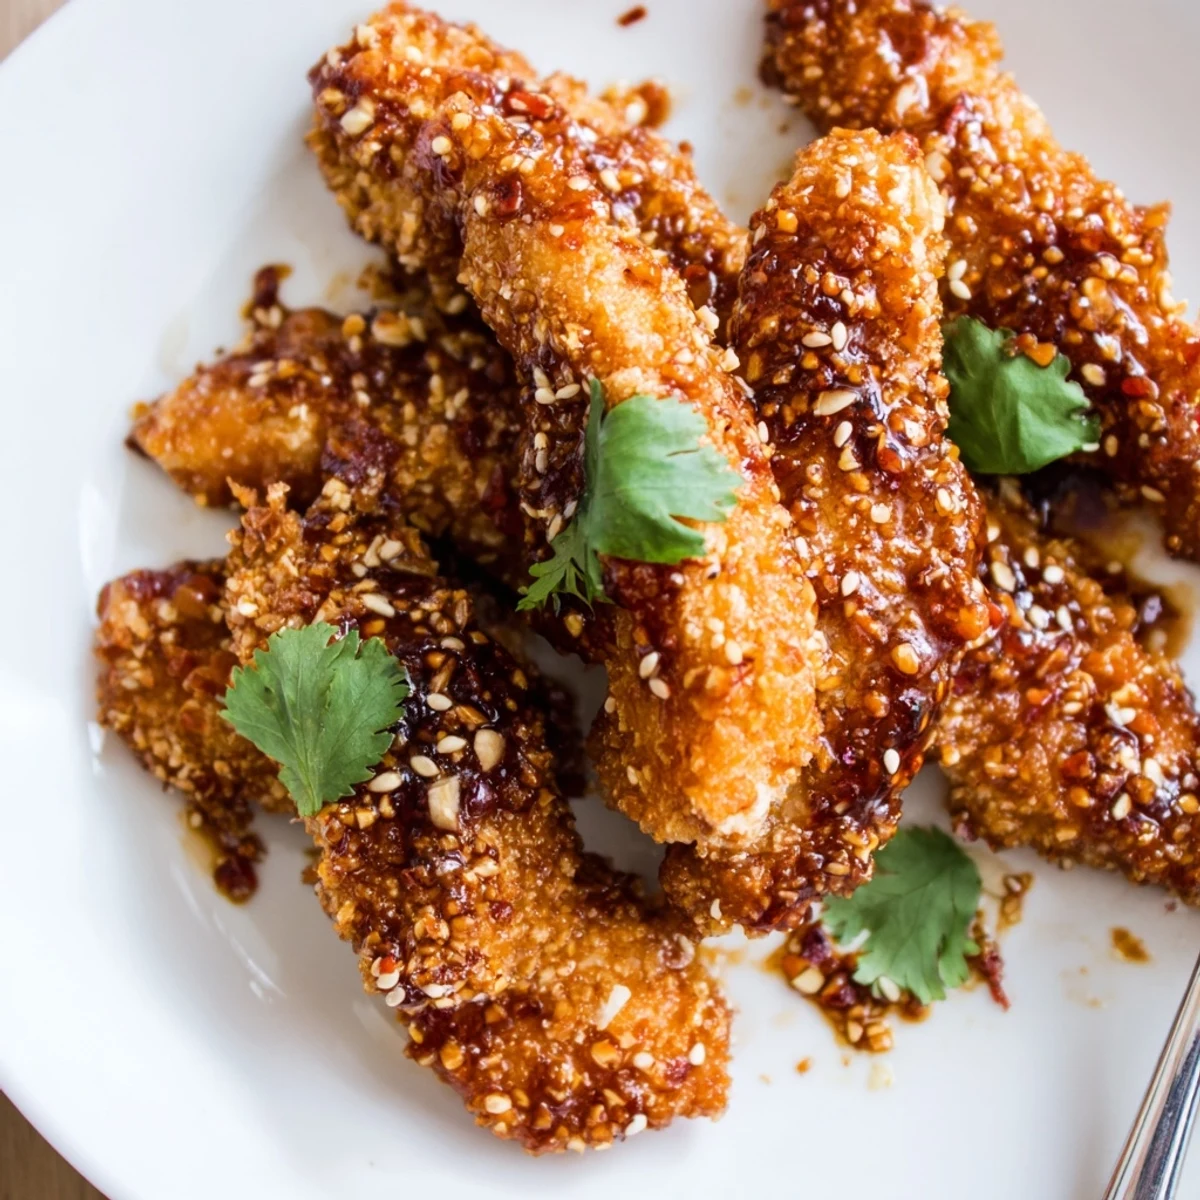
 These crunchy chicken strips feature a crispy panko and coconut coating, baked until golden then tossed in a homemade sweet chili glaze. The sauce balances heat from sriracha with sweetness from honey and fresh lime juice. Ready in under an hour, these make excellent appetizers for gatherings or a fun family dinner.
The first time I made these, my kitchen smelled like garlic and toasted coconut for days. My roommate wandered in with wide eyes, asking what takeout place Id discovered, and looked genuinely shocked when I pointed to a baking sheet of golden chicken fingers. Now they are the most requested item for every gathering, and honestly, I get it.
Last Super Bowl, I made a triple batch thinking Id have leftovers for lunch the next day. By the third quarter, the platter was completely empty, and my cousin was literally scraping the last bits of sauce onto her plate. I have learned to always make extra sauce.
Ingredients
- Chicken tenders or breast strips: Fresh tenders work beautifully here, but slicing breasts into even strips gives you more control over portion sizes
- Salt and black pepper: A simple but crucial foundation that seasons the meat itself before any breading touches it
- All-purpose flour: Creates the first dry layer that helps the egg wash cling and keeps everything in place
- Large eggs: Room temperature eggs coat more evenly and create a better adhesive layer for the crumbs
- Panko breadcrumbs: These Japanese-style crumbs stay remarkably crispy and never get soggy like traditional breadcrumbs
- Shredded coconut: Totally optional, but adds this incredible subtle sweetness and extra crunch that people cannot quite identify
- Sweet chili sauce: The backbone of the glaze and provides that signature sticky texture we are after
- Soy sauce: Deep umami that rounds out all the sugar and keeps the sauce from being too cloying
- Honey: Helps the sauce cling to the chicken and adds a floral sweetness unlike plain sugar
- Rice vinegar: Just enough brightness to cut through the richness and wake up your palate
- Sriracha: Adjust this based on your crowd, but even heat-averse folks usually tolerate this amount
- Garlic and fresh ginger: Fresh aromatics make a huge difference here and smell absolutely incredible while simmering
- Fresh lime juice: Acid is essential for balance and brightens the entire dish beautifully
- Fresh cilantro and toasted sesame seeds: These toppings add color, texture, and a fresh finish that makes everything look intentional
- Lime wedges: Squeeze them right before eating for a burst of acidity that makes the flavors pop
Instructions
- Get your oven ready first:
- Crank it to 220°C (425°F) and line a baking sheet with parchment paper, then give it a light coating of oil so nothing sticks
- Season the chicken:
- Pat the strips really dry with paper towels, then sprinkle salt and pepper evenly over all sides
- Set up your breading station:
- Arrange three shallow bowls in order: flour first, beaten eggs second, and panko mixed with coconut last
- Coat each strip systematically:
- Dredge in flour to cover completely, dip in egg to coat, then press firmly into the crumb mixture until thoroughly coated
- Bake until golden and crisp:
- Arrange on the prepared sheet, give them a light spray or brush of oil, then bake 20 to 25 minutes, flipping halfway through
- Simmer the sauce while chicken cooks:
- Combine sweet chili sauce, soy sauce, honey, rice vinegar, sriracha, garlic, ginger, and lime juice in a small pan, then simmer 3 to 4 minutes until slightly thickened
- Toss and coat while hot:
- Transfer the baked chicken to a bowl, pour the warm sauce over top, and toss gently until every piece is glossy and coated
- Finish with fresh touches:
- Pile onto a serving platter, scatter cilantro and sesame seeds over top, and arrange lime wedges around the edges
 Save to Pinterest
 My daughter now requests these for every birthday dinner instead of cake. Something about the combination of textures and that perfect sticky glaze just hits different.
Making Ahead Like a Pro
You can bread the chicken strips up to six hours ahead and store them layered between parchment paper in the refrigerator. The sauce can also be made a day ahead and reheated gently while the chicken bakes.
Getting That Restaurant-Quality Crunch
An air fryer at 200°C (400°F) for 12 to 15 minutes will give you an even crisper exterior, and you do not have to turn them halfway through. Just work in batches so they are not crowded.
Serving Suggestions That Complete the Meal
These pair beautifully with jasmine rice that soaks up any extra sauce, or serve alongside a crisp Asian slaw with cabbage, carrots, and a light vinaigrette.
- Consider cucumber slices for a refreshing contrast
- Extra lime wedges never hurt anyone
- Napkins are non-negotiable with this recipe
 Save to Pinterest
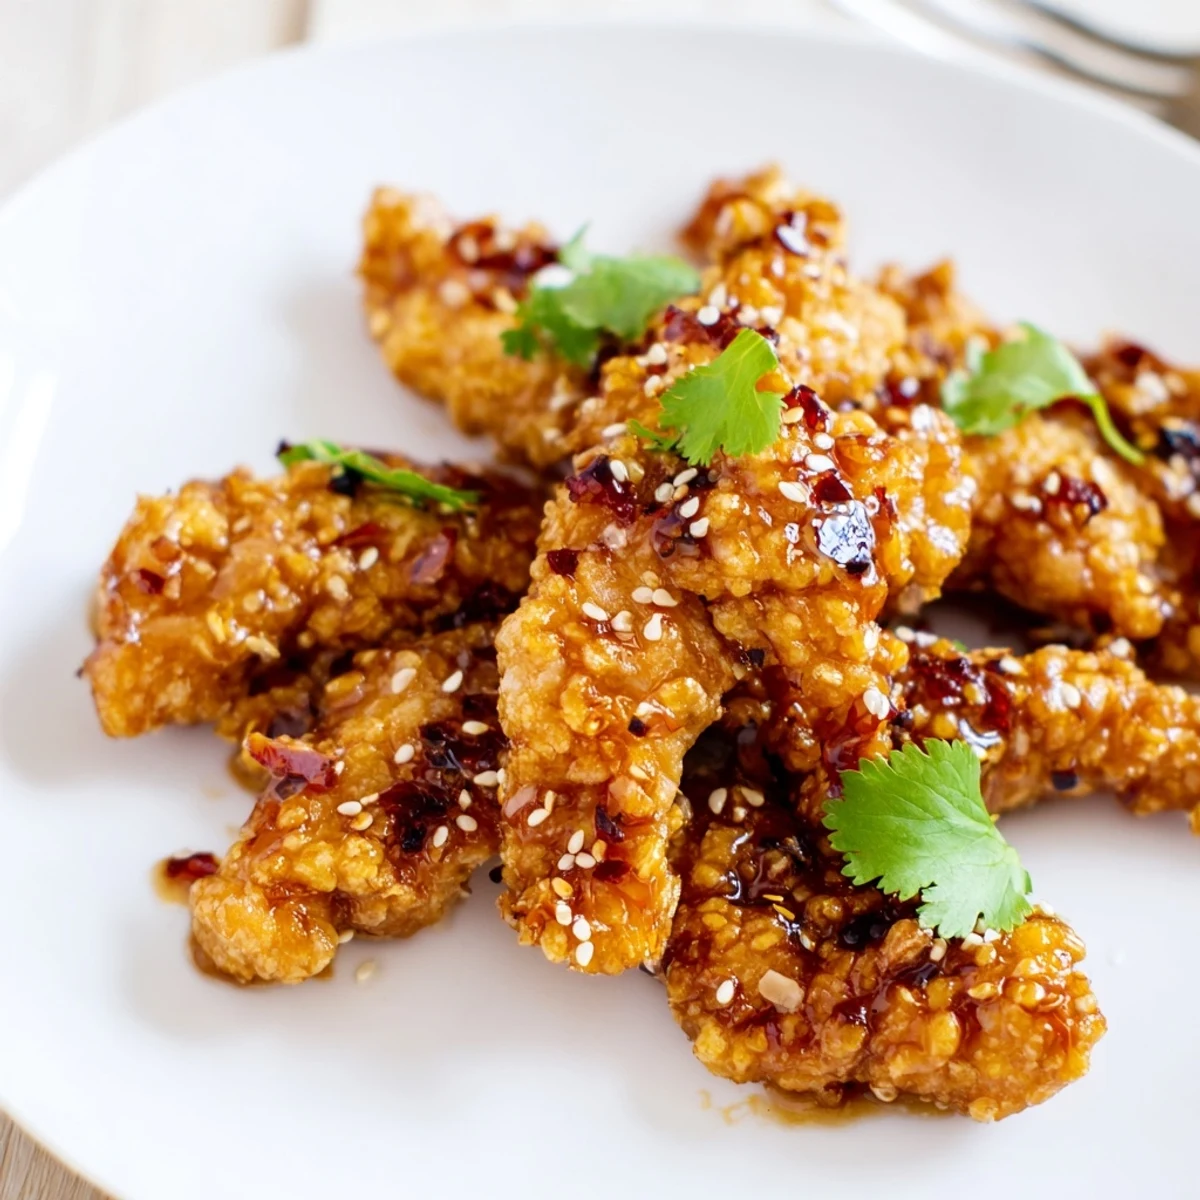
 Enjoy every sticky, crispy bite of this recipe.
Recipe Questions & Answers
- → Can I make these spicy chicken fingers ahead of time?
-
Bread and bake the chicken strips up to a day in advance. Store in the refrigerator and reheat in the oven at 200°C for 10 minutes. Toss with the warm sauce just before serving to maintain crispiness.
- → What's the best way to get extra crispy coating?
-
Spray the breaded chicken generously with oil before baking. For maximum crunch, air fry at 200°C for 12-15 minutes, shaking the basket halfway through. The coconut in the coating adds natural texture and flavor.
- → Can I substitute the panko breadcrumbs?
-
Crushed cornflakes or regular breadcrumbs work in a pinch, though panko creates the lightest, crispiest texture. The optional shredded coconut adds authentic Thai flair and extra crunch.
- → How do I adjust the heat level in the sauce?
-
Start with 1 tablespoon sriracha for moderate heat. Reduce to 1 teaspoon for mild flavor or increase to 2 tablespoons for extra spice. The sweet chili sauce provides base sweetness that balances the heat beautifully.
- → What sides pair well with these Thai-style strips?
-
Serve over jasmine rice, alongside Asian cucumber salad, or with crisp cabbage slaw. Lime wedges and extra cilantro brighten the rich flavors. They're also great with peanut noodles for a complete meal.
- → Can I make this dairy-free and vegan?
-
Yes, this version is naturally dairy-free. For vegan, use plant-based chicken tenders and substitute honey with agave syrup or maple syrup. The egg wash can be replaced with plant milk mixed with cornstarch.
