 Save to Pinterest
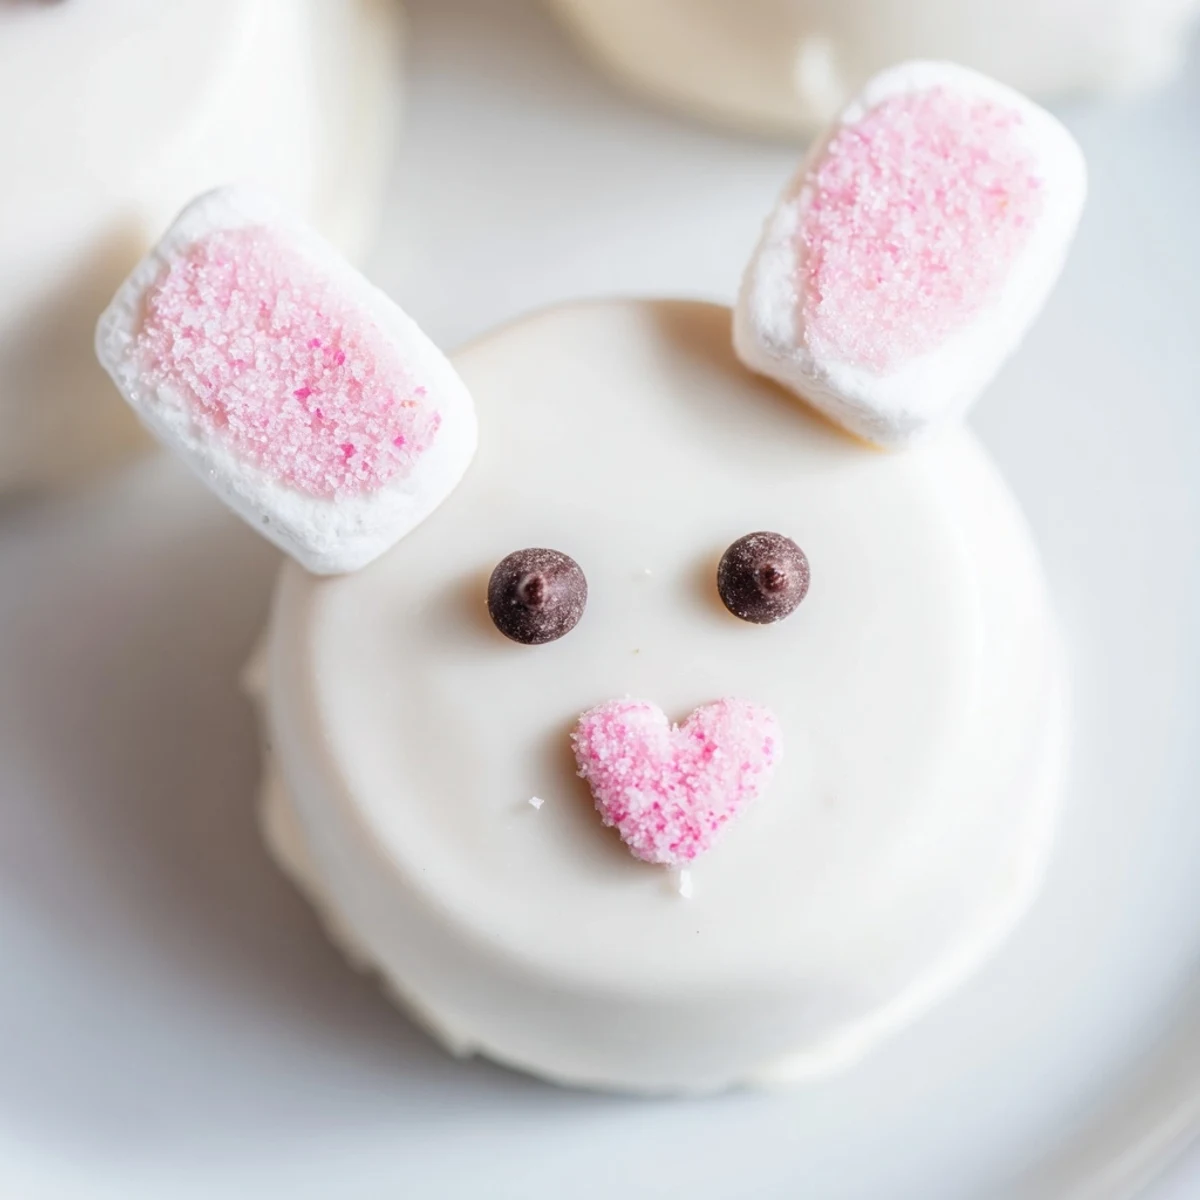
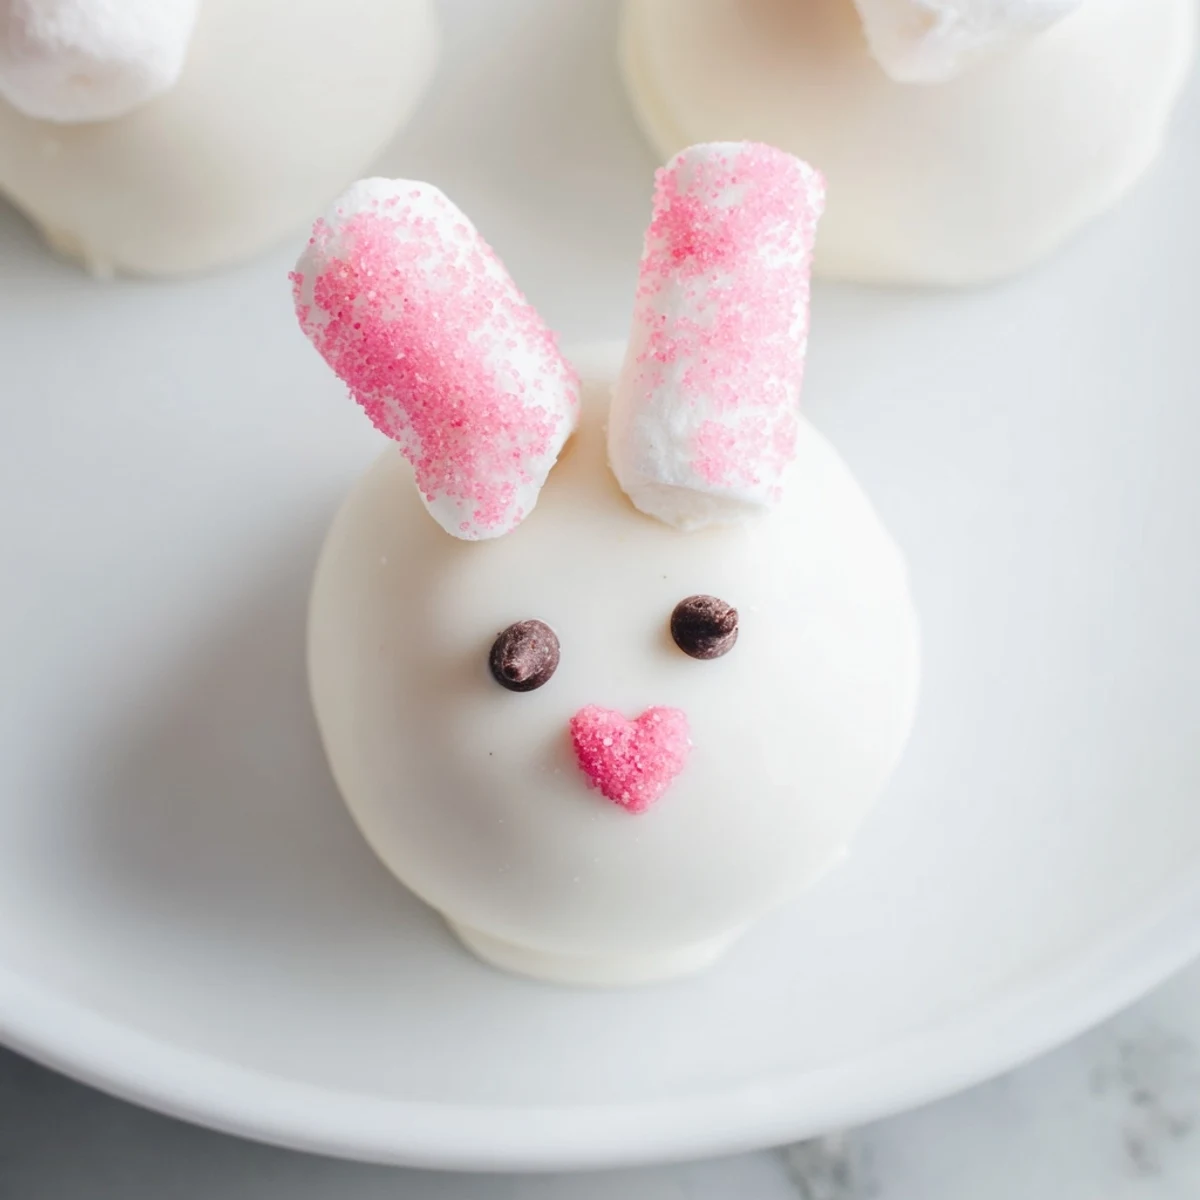
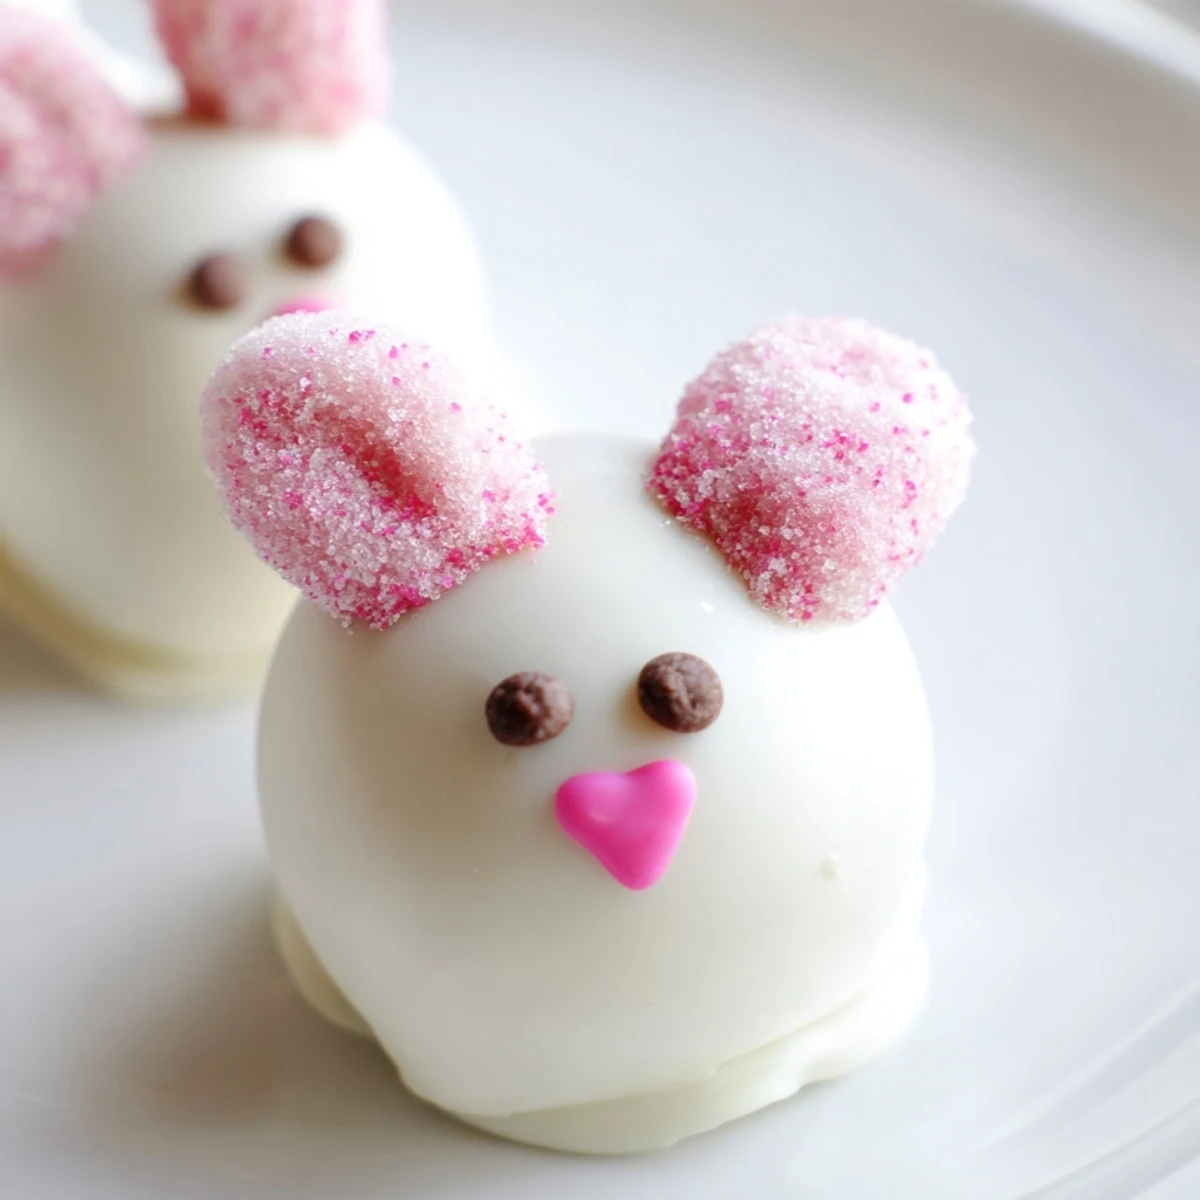
 These delightful bunny-shaped Oreo balls combine the classic crunch of chocolate sandwich cookies with creamy cheesecake filling, all coated in smooth white chocolate. The no-bake preparation makes them accessible for bakers of any skill level, while the charming bunny faces with marshmallow ears and chocolate chip eyes create an irresistible presentation that will brighten any spring dessert table.
The kitchen counter was covered in white chocolate splatters and pink sugar when my daughter announced we needed something adorable for her class spring party. I had never made cake pops or truffles before, but there's something about the combination of Oreos and cream cheese that's basically foolproof. We ended up staying up way too past bedtime decorating these tiny bunny faces, giggling at our lopsided ears and crossing eyes. Now they're the most requested treat whenever spring rolls around.
Last Easter I made three batches because my family kept eating them before I could package them up for gifts. The first batch disappeared while we were testing different ear techniques. The second batch vanished during a movie night marathon. I had to hide the third batch in the back of the fridge just to have something left for the actual celebration.
Ingredients
- 36 Oreo cookies (about 300 g): The chocolate sandwich cookies create the perfect crumbly base that binds beautifully with cream cheese
- 225 g (8 oz) cream cheese, softened: Must be truly soft to avoid lumps in your mixture, leave it out for at least an hour
- 400 g (14 oz) white chocolate or white candy melts: Candy melts are easier to work with since they are designed for coating without tempering
- 48 mini marshmallows: Cut these diagonally to create those adorable bunny ears with the sticky side grabbing onto decorations
- Pink sanding sugar or edible pink gel: This gives the ears that sweet blushing color inside
- 48 mini chocolate chips or edible black marker: Tiny dots for eyes bring these bunnies to life instantly
- 24 pink heart sprinkles or pink M&M minis: The perfect petite nose for each bunny face
- 24 mini white marshmallows (optional): Fluffy little tails make them look extra cute from behind
Instructions
- Prep your workspace:
- Line a baking sheet with parchment paper so the balls do not stick and have it ready before you start mixing
- Make the dough:
- Pulse the Oreos in a food processor until they are fine crumbs, then add the softened cream cheese and blend until everything comes together into a thick dark dough
- Shape the balls:
- Scoop out tablespoon sized portions and roll them between your palms into smooth rounds, placing them on your prepared sheet as you go
- Chill thoroughly:
- Freeze the balls for 20 to 30 minutes until they are firm to the touch, otherwise they will slide right off your fork when dipping
- Melt the coating:
- Heat your white chocolate in a microwave safe bowl, stirring every 30 seconds until it is completely smooth and fluid
- Dip each ball:
- Use a fork to lower each chilled ball into the chocolate, lift it out letting the excess drip back into the bowl, then return it to the parchment
- Add the faces fast:
- While the chocolate is still tacky, press in your marshmallow ears, candy eyes, and pink noses before it starts to set
- Final chill:
- Refrigerate the completed bunnies for at least 30 minutes so the coating hardens completely and the decorations stay in place
 Save to Pinterest
 My friend's daughter asked if she could adopt one of the bunnies after seeing them on the serving platter. She was genuinely concerned they might hop away when nobody was looking. I had to promise her they were purely chocolate before she would finally take a bite, and then she asked for three more.
Making Them Ahead
You can prepare the Oreo balls up to three days before decorating if you store them in an airtight container in the refrigerator. Dip and decorate them the day of your event for the freshest appearance.
Decoration Variations
Pastel candy melts in pink, yellow, or lavender create a gorgeous spring palette. You can also use different colored sprinkles for the ears or swap the white chocolate shell for milk or dark chocolate if you prefer a classic look.
Serving Suggestions
Arrange these in a basket with edible grass or nestle them into paper cupcake liners for easy grabbing. They are adorable as place settings or piled high on a cake stand for maximum impact.
- Set up a decorating station at parties and let guests create their own bunny faces
- Package them individually in clear bags tied with pastel ribbon for party favors
- Keep them refrigerated until serving time because the chocolate coating softens at room temperature
 Save to Pinterest
 Every time I make these now, I think about that messy kitchen floor covered in pink sugar and the way my daughter's face lit up when the first batch turned out actually bunny shaped. Some recipes are just worth the extra cleanup.
Recipe Questions & Answers
- → How long do bunny Oreo balls stay fresh?
-
Store in an airtight container in the refrigerator for up to one week. The white chocolate coating remains firm and the centers stay perfectly creamy when chilled properly.
- → Can I make these ahead of time?
-
Yes, prepare the Oreo balls and coat them up to two days before serving. Keep refrigerated and add the final marshmallow decorations closer to serving time for best appearance.
- → What if I don't have a food processor?
-
Place Oreos in a sealed plastic bag and crush with a rolling pin or heavy mallet until fine crumbs form. Mix with cream cheese by hand until combined.
- → Can I use dark or milk chocolate instead?
-
Absolutely! While white chocolate provides the classic bunny look, milk or dark chocolate works beautifully. The decorations will still pop against darker coatings.
- → Why do my balls crack when dipping?
-
This usually happens when the centers are too cold. Let them sit at room temperature for 5 minutes after freezing before dipping into warm chocolate for smooth results.
- → Can I freeze these for later?
-
Freeze undecorated coated balls for up to one month. Thaw in refrigerator overnight, then add marshmallow decorations before serving.
