 Save to Pinterest
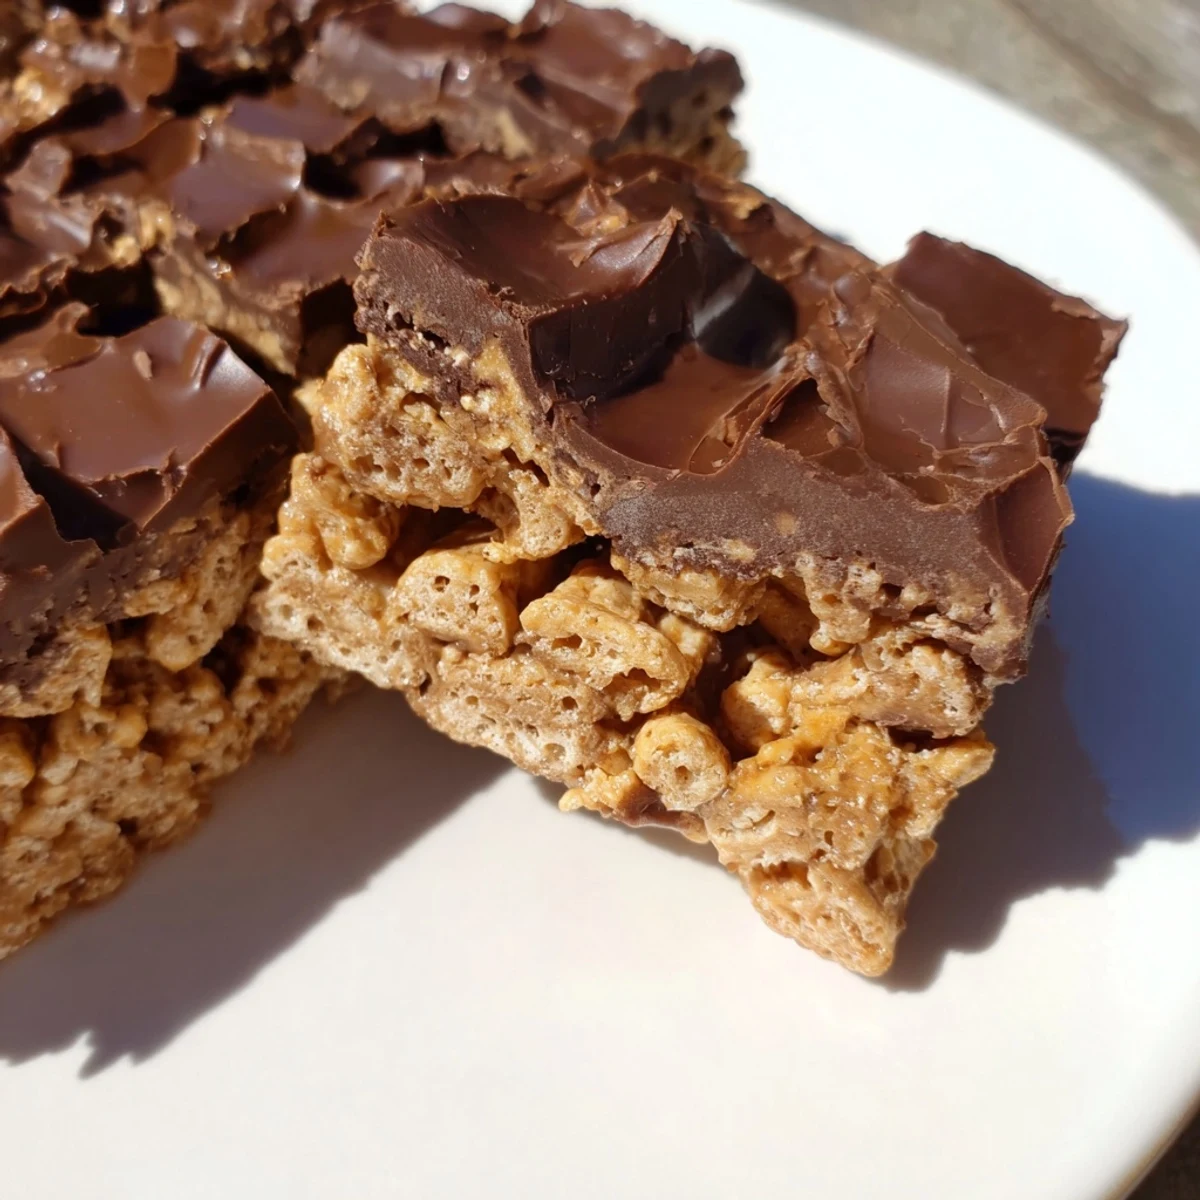
 Whip up these irresistible honey Chex bars with just 15 minutes of active prep time. The combination of crunchy gluten-free Chex cereal, sweet honey, and creamy peanut butter creates a perfectly chewy-crunchy base, while the chocolate topping adds indulgent richness.
Simply melt the peanut butter mixture on the stovetop, fold in the cereal, press into a pan, and top with melted chocolate. After an hour in the refrigerator, you'll have 16 perfectly portioned bars that stay fresh for up to a week. They're ideal for potlucks, after-school snacks, or whenever you need something sweet without turning on the oven.
The afternoon I discovered I could make something this incredible without turning on my oven changed everything about summer baking. My daughter had been begging me to make treats, but the thought of heating up the kitchen when it was already ninety degrees outside was just too much. These bars came together in fifteen minutes flat, and the way her eyes lit up when she took that first crunchy, chocolatey bite made me an instant convert to the no-bake life.
Last summer at our neighborhood block party, I brought these bars as a last-minute addition to the dessert table. Within twenty minutes, three different neighbors had cornered me asking for the recipe, and two of them were gluten-free eaters who were just thrilled to find something they could actually enjoy. There is something magical about watching people discover that gluten-free treats can be just as indulgent and satisfying as anything else.
Ingredients
- 4 cups gluten-free Honey Chex cereal: This provides the perfect crunchy texture and naturally sweet base that holds everything together beautifully
- 1 cup creamy peanut butter: The creamy variety coats the cereal evenly and creates that signature fudgy texture when set
- 1/2 cup honey: Honey adds a depth of flavor that complements the peanut butter and helps bind the bars without being overly sweet
- 1/4 cup unsalted butter: Just enough to create richness and help the mixture set properly when chilled
- 1 cup semisweet chocolate chips: Look for certified gluten-free options to create the perfect smooth, snappy topping that contrasts with the crunchy base
- 2 tablespoons creamy peanut butter: Adding a bit of peanut butter to the chocolate topping creates a smoother texture and prevents the chocolate from becoming too hard when chilled
Instructions
- Prepare your pan:
- Line an 8x8-inch baking pan with parchment paper, letting the edges hang over the sides like handles. This is going to make removing your bars so much easier later.
- Melt the sticky mixture:
- Combine your peanut butter, honey, and butter in a large saucepan over medium-low heat. Stir constantly until everything melts together into this gorgeous, smooth mixture that smells absolutely incredible.
- Coat the cereal:
- Remove the pan from heat and gently fold in your Honey Chex cereal. Keep folding until every single piece is evenly coated, and the mixture holds together when you press a spoon into it.
- Press it in:
- Pour the coated cereal into your prepared pan and press it down firmly with the back of a spoon or a spatula. You want to really pack it in tight so the bars hold their shape when you cut them later.
- Make the chocolate topping:
- Microwave your chocolate chips and the extra peanut butter in thirty-second intervals, stirring between each. Stop when the mixture is completely smooth and glossy, about one to two minutes total.
- Add the chocolate layer:
- Pour the melted chocolate over your cereal base and spread it evenly with a spatula. Work quickly since the chocolate starts to set as soon as it hits the cool base.
- Chill until set:
- Pop the pan in the refrigerator for at least one hour. You want the chocolate to be completely firm and the base to be solid before you try cutting them.
- Cut and serve:
- Use those parchment paper handles to lift the whole block out of the pan. Cut into sixteen squares and try not to eat three of them immediately like I always do.
 Save to Pinterest
 My grandmother always said the best desserts are the ones that bring people together, and these bars have become my go-to contribution for every gathering now. I remember watching my cousin take her first bite at a family reunion last year, watching her face go from polite curiosity to absolute delight. She had just been diagnosed with celiac disease and was still adjusting to life without her favorite treats, and seeing her genuinely excited about dessert again reminded me why sharing good food matters so much.
Making The Bars Your Own
I have tried so many variations of these bars over the years, and honestly most of them work beautifully. Sunflower seed butter makes a perfect nut-free version that my daughters school actually allows, though the flavor does change slightly. Sometimes I add a pinch of sea salt to the chocolate topping, and that tiny addition creates this amazing salty-sweet contrast that people go absolutely crazy for. During the holidays, I have even stirred in some crushed candy canes or chopped pecans to make them feel extra festive.
Storage And Serving
These bars actually taste better after they have been in the refrigerator for a day, so I often make them the night before I need them. The flavors really meld together, and the texture becomes perfectly fudgy. Keep them stored in an airtight container in the fridge, and they will stay fresh for up to a week, though in my house they rarely last more than two days. If you are taking them somewhere, pack them in a single layer with parchment between the layers, because the chocolate can get a little soft at room temperature.
Common Questions
People always ask if they can use different cereals, and the answer is yes, though the texture will change. Rice Chex work but are slightly lighter, while Corn Chex have a different crunch. Can you freeze them? Absolutely, they freeze beautifully for up to three months, just thaw them in the refrigerator overnight. What if your chocolate seizes while melting? Add a tiny drop of coconut oil and keep stirring, usually you can save it.
- Let the bars sit at room temperature for ten minutes before serving for the best texture
- Use a warm knife to get clean cuts through the chocolate layer
- These bars travel well if you keep them chilled until right before serving
 Save to Pinterest
 There is something deeply satisfying about making such a delicious treat with so little effort and time. These bars have saved me countless times when I need something impressive but do not have hours to spend in the kitchen.
Recipe Questions & Answers
- → Do I need to bake these bars?
-
No baking required! Simply melt the ingredients on the stovetop and in the microwave, then refrigerate for at least one hour until set. The bars firm up nicely in the refrigerator without any oven time.
- → Can I use regular Chex instead of gluten-free?
-
Yes, regular Chex cereal works perfectly fine. Just note that traditional Rice Chex and Corn Chex are naturally gluten-free, but Wheat Chex contain gluten. Always check labels if dietary restrictions are a concern.
- → How should I store these bars?
-
Store in an airtight container in the refrigerator for up to one week. The cool temperature keeps the chocolate firm and prevents the bars from becoming too soft. You can also freeze them for longer storage—just thaw before serving.
- → Can I make these nut-free?
-
Absolutely! Substitute sunflower seed butter for the peanut butter in both the base and chocolate topping. The flavor profile changes slightly but still delivers creamy, nutty goodness that pairs beautifully with the chocolate and Chex.
- → Why add sea salt to the chocolate topping?
-
A sprinkle of flaky sea salt creates a delicious sweet-and-salty contrast that enhances both the chocolate and peanut butter flavors. The salt cuts through the richness and adds a gourmet touch to these simple bars.
- → Can I double this recipe?
-
Yes, simply double all ingredients and use a 9x13-inch pan instead of 8x8. You may need to adjust the chilling time slightly to ensure the center sets completely, but the preparation method remains exactly the same.
